Back to Help

How to Create an Email Broadcast

You can send one email to a group of contacts, contact lists, or tags as an email broadcast. Open Email Broadcast from More, click CREATE, then enter the From name and sender email (you need a sender email set up first). Add a Title and Subject, write the email content, and optionally click Choose File under Attachments (attachments are charged at 1 credit per 1 MB, rounded up). Click NEXT: DEFINE YOUR AUDIENCE to choose who should receive the email and, if needed, use Exclude Recipients; the estimated credit cost updates as you go (each email costs 1 credit). Click NEXT: SELECT YOUR TIMING and choose Schedule Time or Send Now. You can then SEND BROADCAST, SAVE DRAFT, or SEND TO SELF.

You can send one email to a group of contacts, contact lists, or tags as an email broadcast. You'll set the sender, write the content, choose the audience, then pick a send time.

You need a sender email set up before you can send a broadcast. That's covered in How to Add Sender Email for Broadcast.

This guide starts from the Email Broadcast page. You can open it from More in the left sidebar.

1. Open Email Broadcast

  1. Open Email Broadcast from More in the left sidebar.
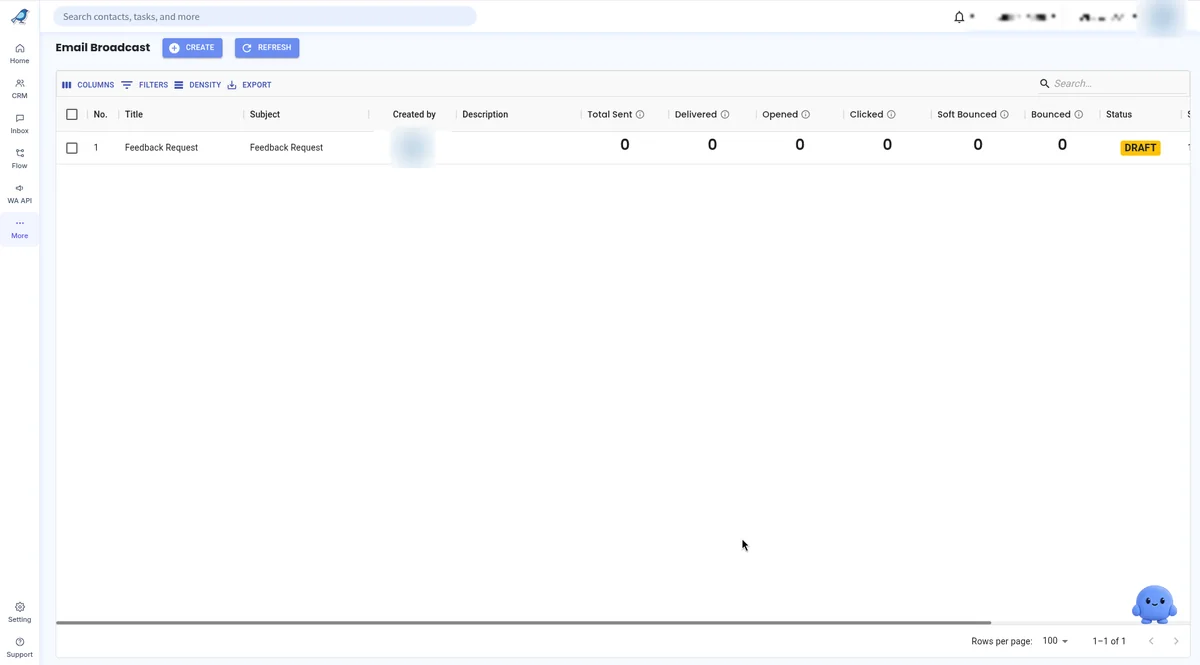
  2. The Email Broadcast list page, opened from More in the left sidebar. An existing row titled Feedback Request has DRAFT status. The Created by value and the organisation name in the top right are blurred.
    The Email Broadcast page, opened from More in the left sidebar.

2. Start a new broadcast

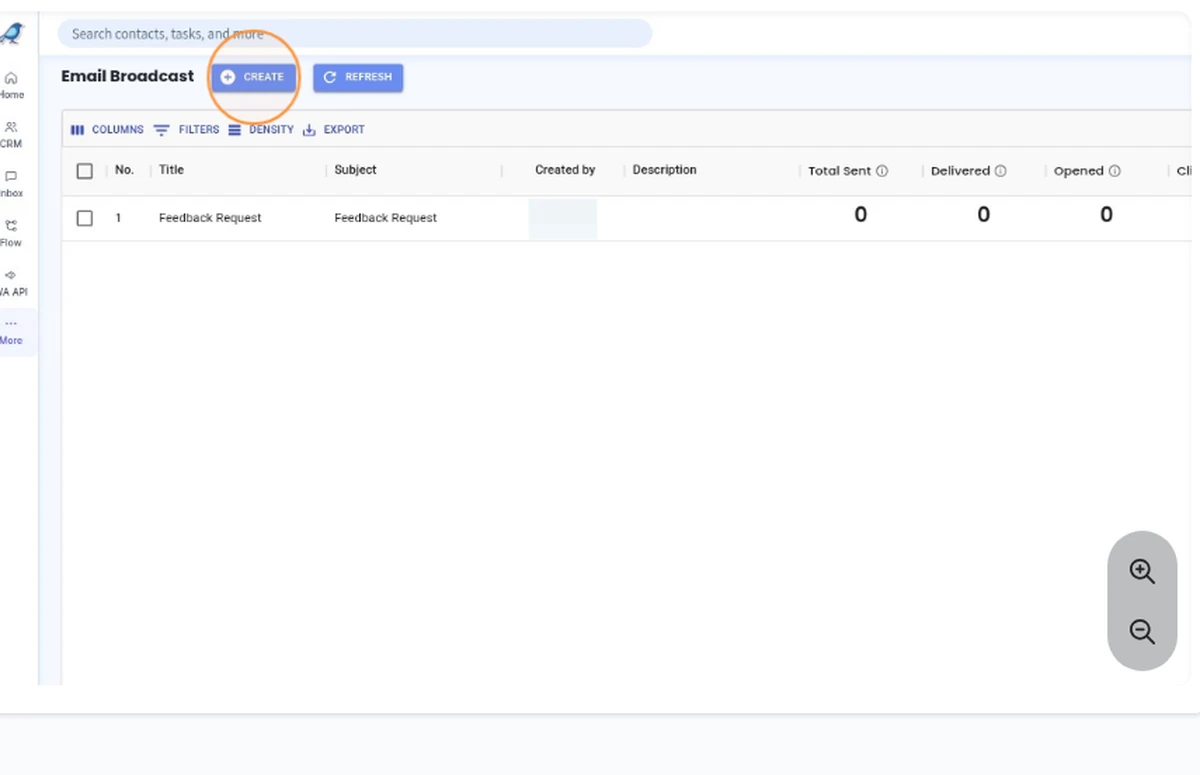
  1. Click CREATE.

  2. The Email Broadcast list, with the CREATE button circled next to REFRESH. An existing row titled Feedback Request is visible. The Created by value is blurred.
    Click CREATE.

The NEW EMAIL BROADCAST page opens on step 1, Create your email content.

3. Enter the From name and sender email

  1. Click the From name field and type the sender name your contacts will see.

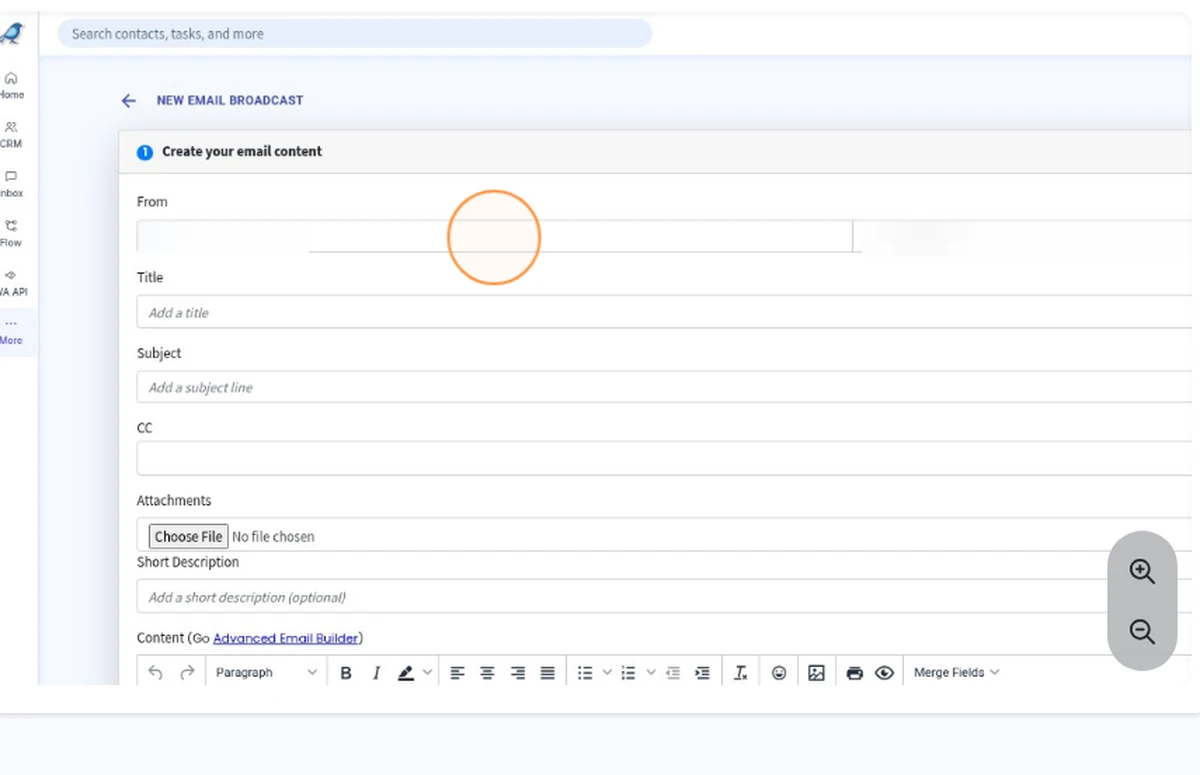
  2. The New Email Broadcast page on Create your email content, with the empty From name field circled. The sender email field is already blurred.
    Click the From name field and type the sender name your contacts will see.
  3. Click the sender email dropdown and select your sender email.
  4. The Create your email content form, with the sender email dropdown circled. The From name and the organisation name are blurred, and the sender email value is blurred.
    Click the sender email dropdown and select your sender email.
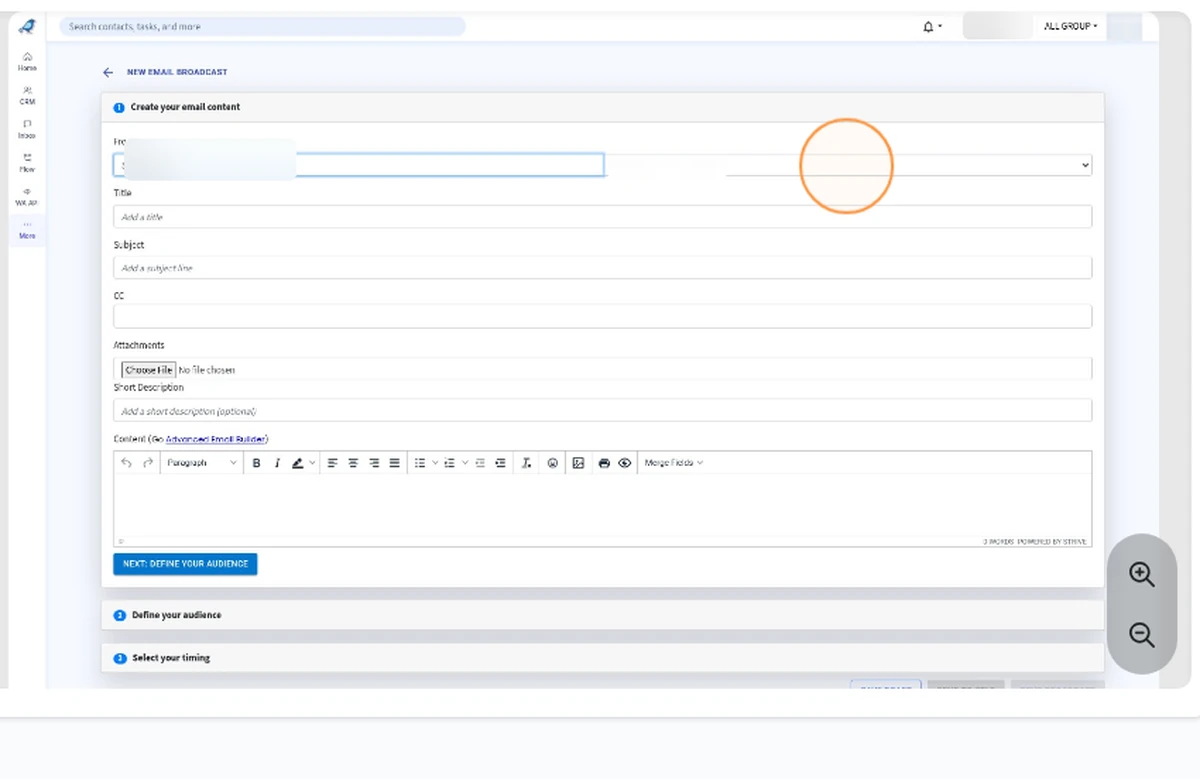
The form also has optional CC and Short Description fields.

4. Add a title and subject

  1. Click Title and type a title for your broadcast. This is the name shown in the Email Broadcast list.

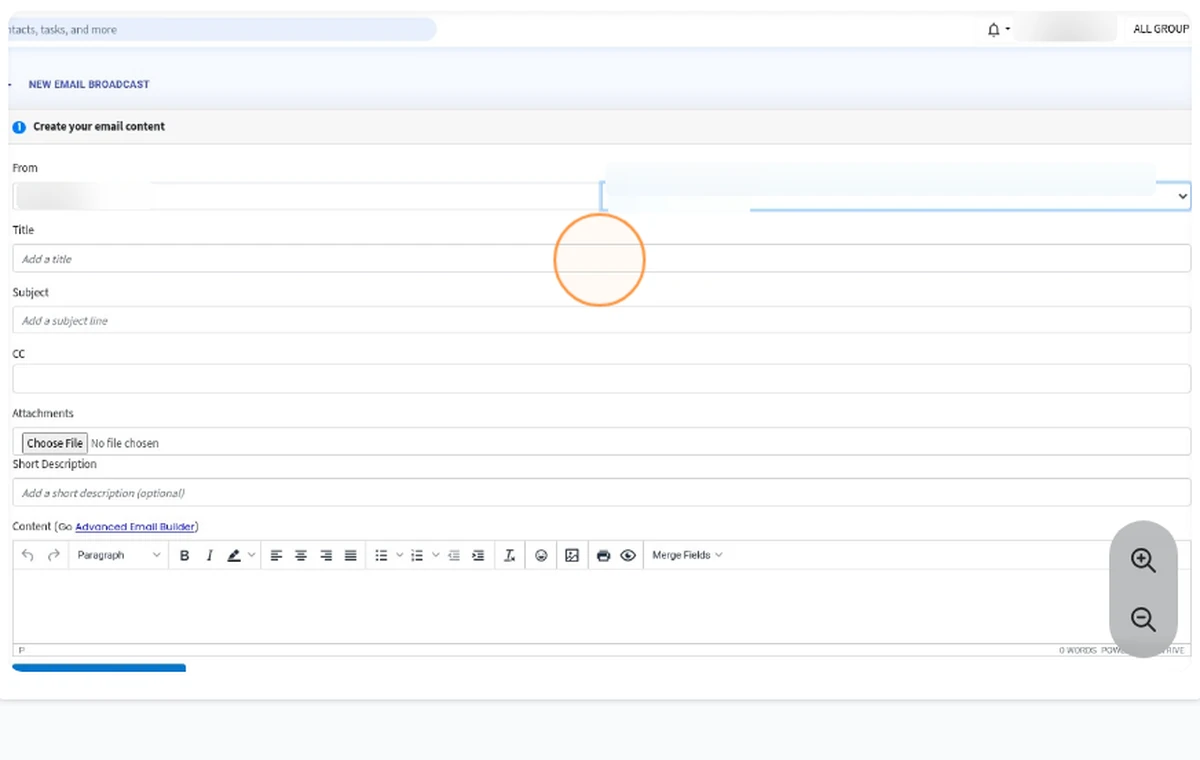
  2. The Create your email content form, with the empty Title field circled. The From name, organisation name, and sender email are blurred.
    Click Title and type a title for your broadcast.
  3. Click Subject and type the subject line of the email.
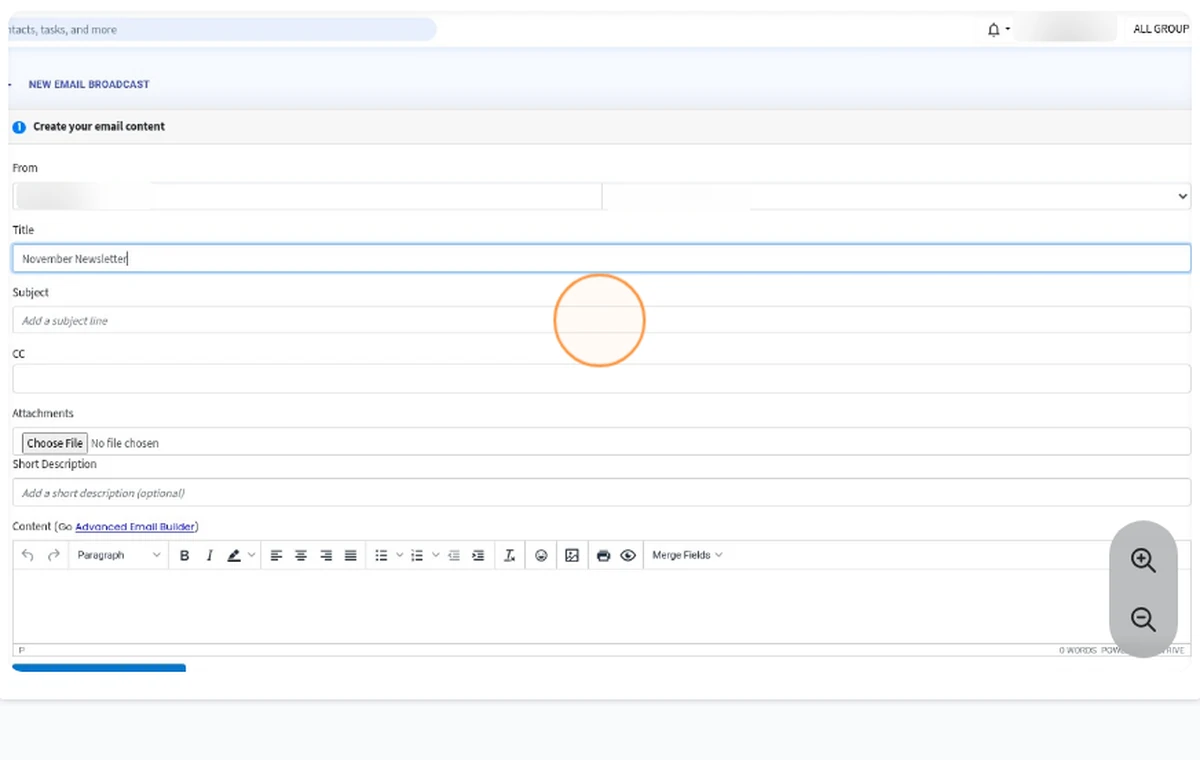
  4. The Create your email content form, with November Newsletter entered as the Title and the empty Subject field circled. The From name, organisation name, and sender email are blurred.
    Click Subject and type the subject line of the email.
5. Write the email content

  1. Click inside the content editor and write your email.

You can use Merge Fields to personalise the email, or click Go Advanced Email Builder for a designed layout.
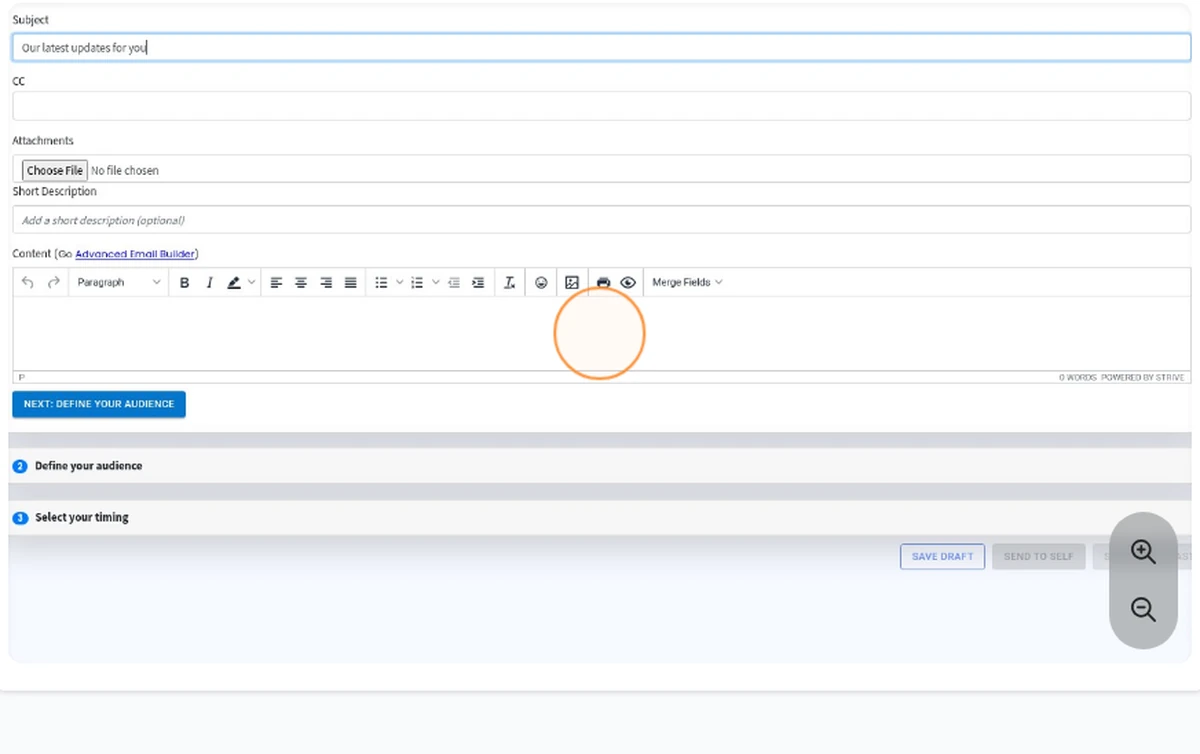
The lower part of the Create your email content form. The subject is Our latest updates for you. The content editor is empty, with Merge Fields and Go Advanced Email Builder visible, and an orange circle on the editor. NEXT: DEFINE YOUR AUDIENCE is below the editor.
Click inside the content editor and write your email. You can use Merge Fields to personalise it, or Go Advanced Email Builder for a designed layout.

6. Add an attachment (optional)

  1. Under Attachments, click Choose File if you want to upload a file to send with your email.
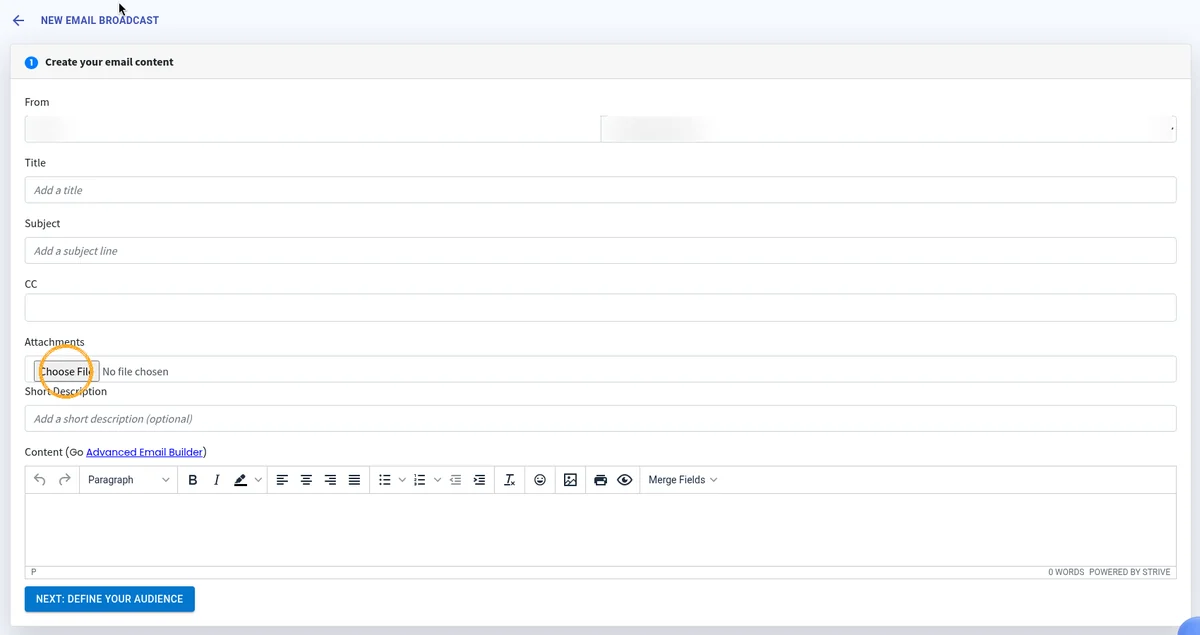
  2. The Create your email content form, with the Choose File button under Attachments circled. No file is chosen. The From name and sender email values are blurred. NEXT: DEFINE YOUR AUDIENCE is at the bottom.
    Under Attachments, click Choose File if you want to upload a file to send with your email. This is optional.

Attachments use credits. As shown on the Define your audience page, attachments are charged at 1 credit per 1 MB, rounded up.

7. Define your audience

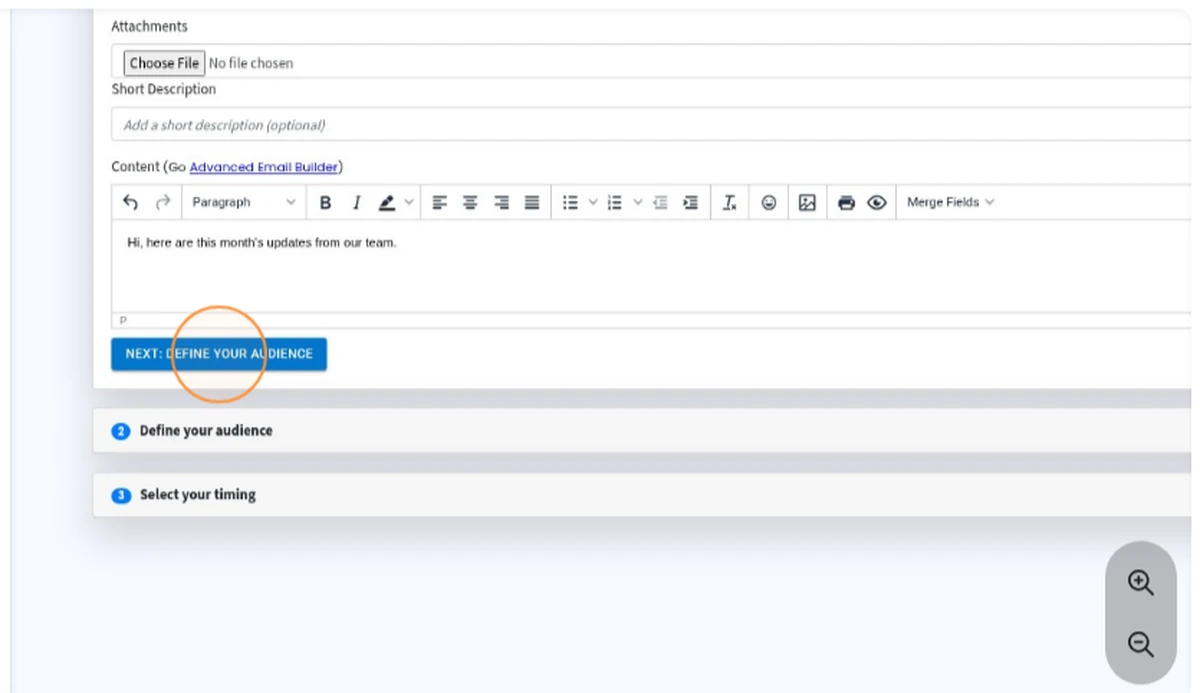
  1. Click NEXT: DEFINE YOUR AUDIENCE.

  2. The Create your email content form after a short message is entered in the editor. The NEXT: DEFINE YOUR AUDIENCE button is circled.
    Click NEXT: DEFINE YOUR AUDIENCE.
  3. Under Who should receive this email?, select the contacts, contact lists, or tags to send to.

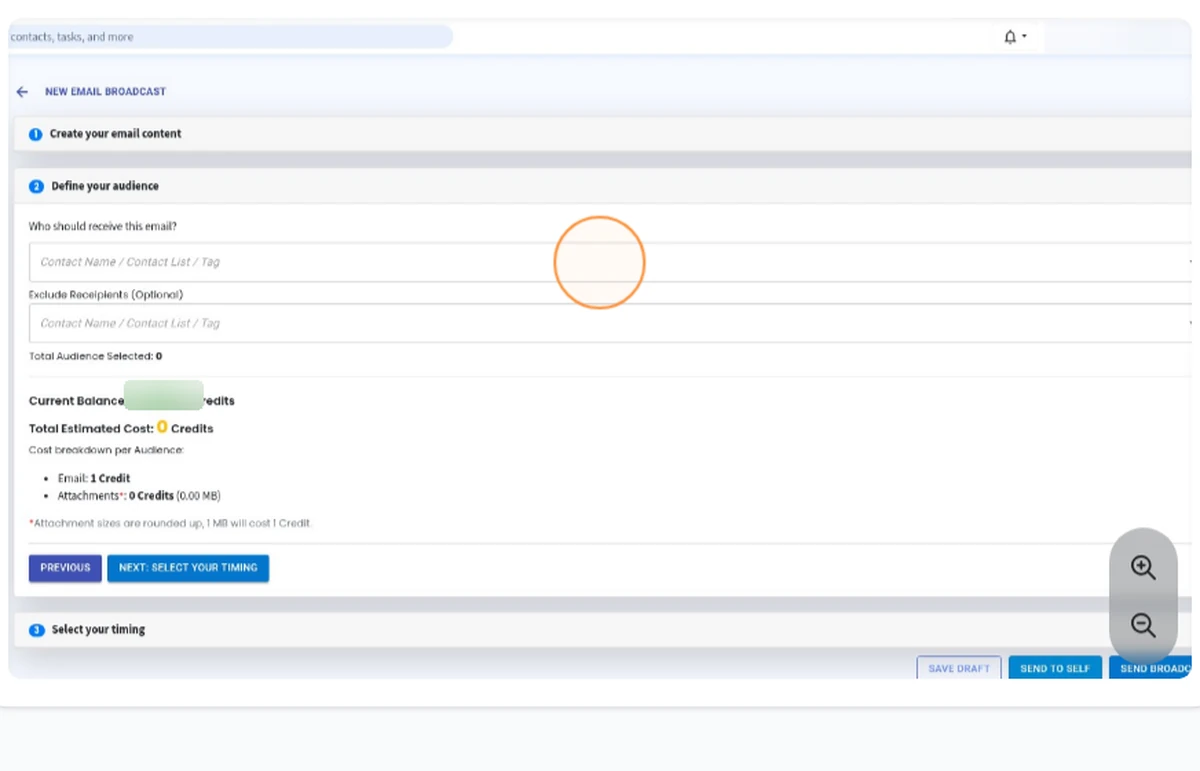
  4. The Define your audience step, with Who should receive this email? and optional Exclude Recipients fields. Total Audience Selected is 0. The current credit balance number is blurred. The cost breakdown shows Email: 1 Credit and Attachments: 0 Credits, with a note that attachment sizes are rounded up and 1 MB will cost 1 credit. NEXT: SELECT YOUR TIMING is at the bottom of the section.
    Under Who should receive this email?, select the contacts, contact lists, or tags to send to. Exclude Recipients is optional.
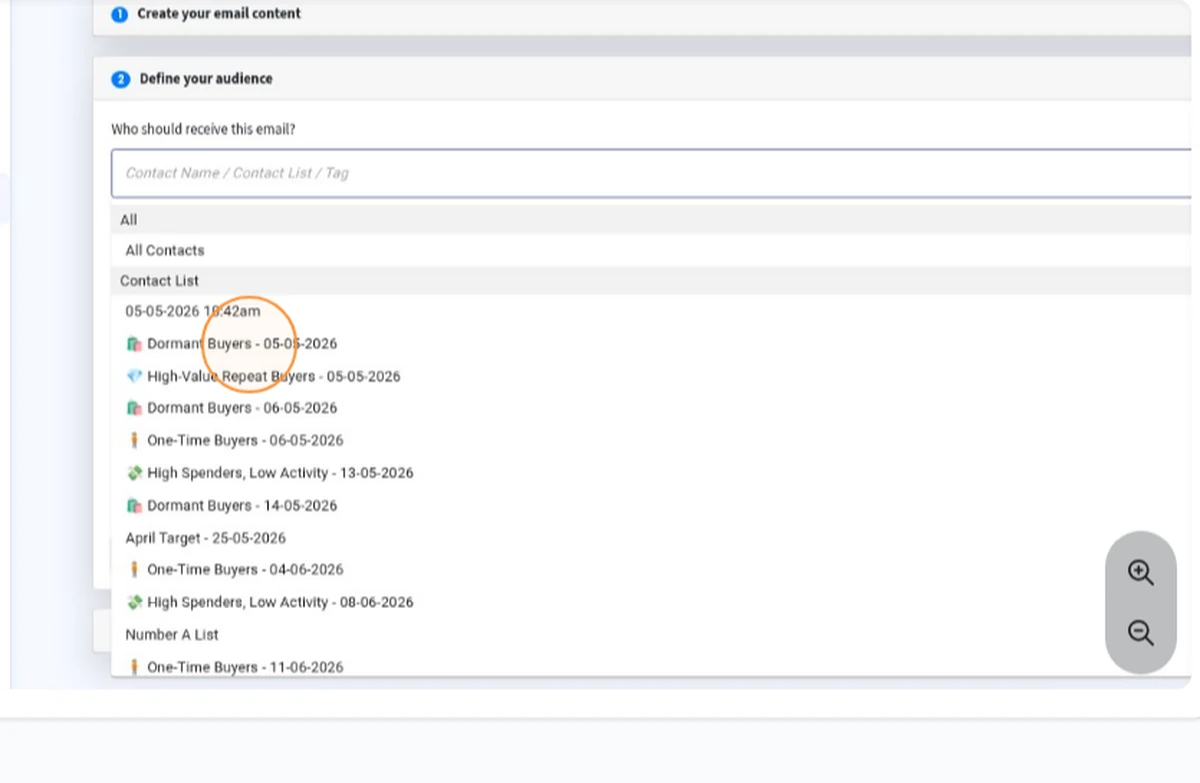
    The Who should receive this email? dropdown open, showing All, All Contacts, and a Contact List section with list names such as Dormant Buyers and One-Time Buyers. One list in the Contact List section is circled.
    Select a contact list, or choose contacts or tags. The total audience and estimated credit cost update automatically.
  5. If needed, add contacts, contact lists, or tags to Exclude Recipients (Optional).
Total Audience Selected and the estimated credit cost update as you go. The page shows your current credit balance, the Total Estimated Cost, and a cost breakdown per recipient. As shown on the page, each email costs 1 credit, and attachments are charged at 1 credit per 1 MB, rounded up.
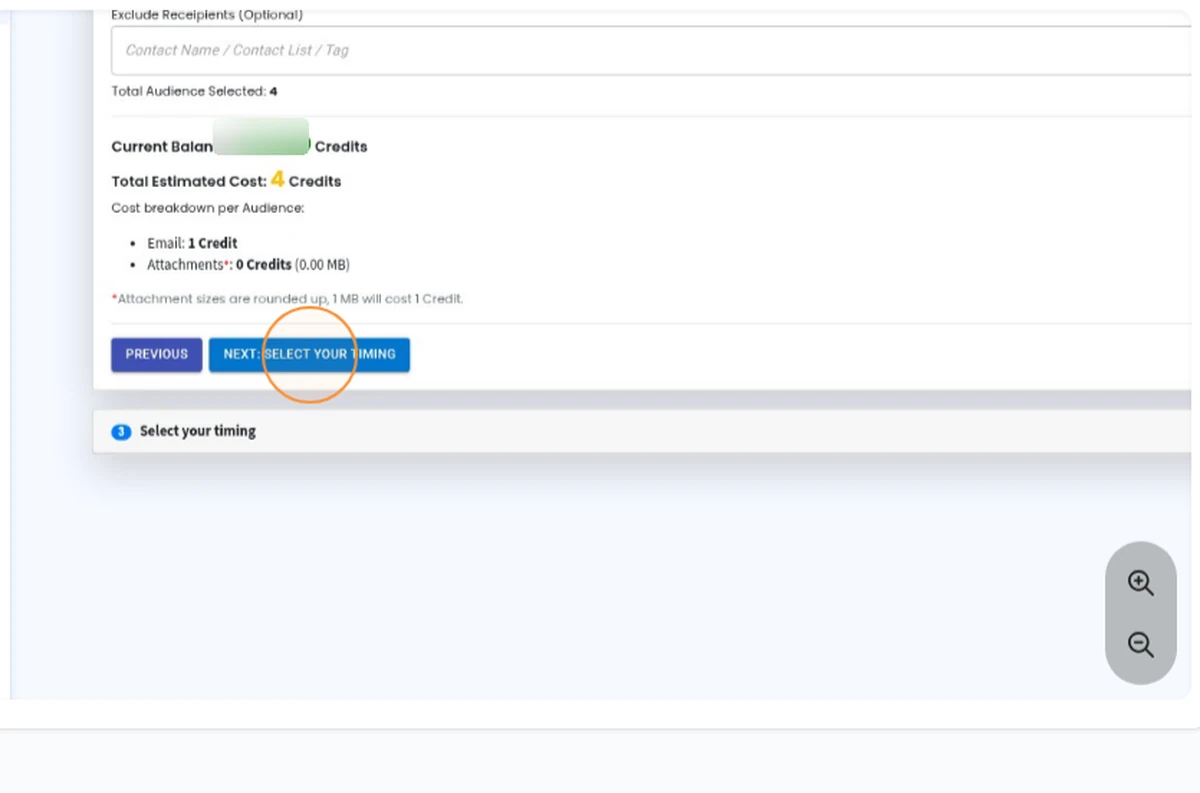
The Define your audience step after an audience is selected. Total Audience Selected is 4, and Total Estimated Cost is 4 Credits. The current credit balance number is blurred. The cost breakdown shows Email: 1 Credit. The NEXT: SELECT YOUR TIMING button is circled.
The total audience and estimated credit cost update as you go. Then click NEXT: SELECT YOUR TIMING.

8. Select your timing

  1. Click NEXT: SELECT YOUR TIMING.

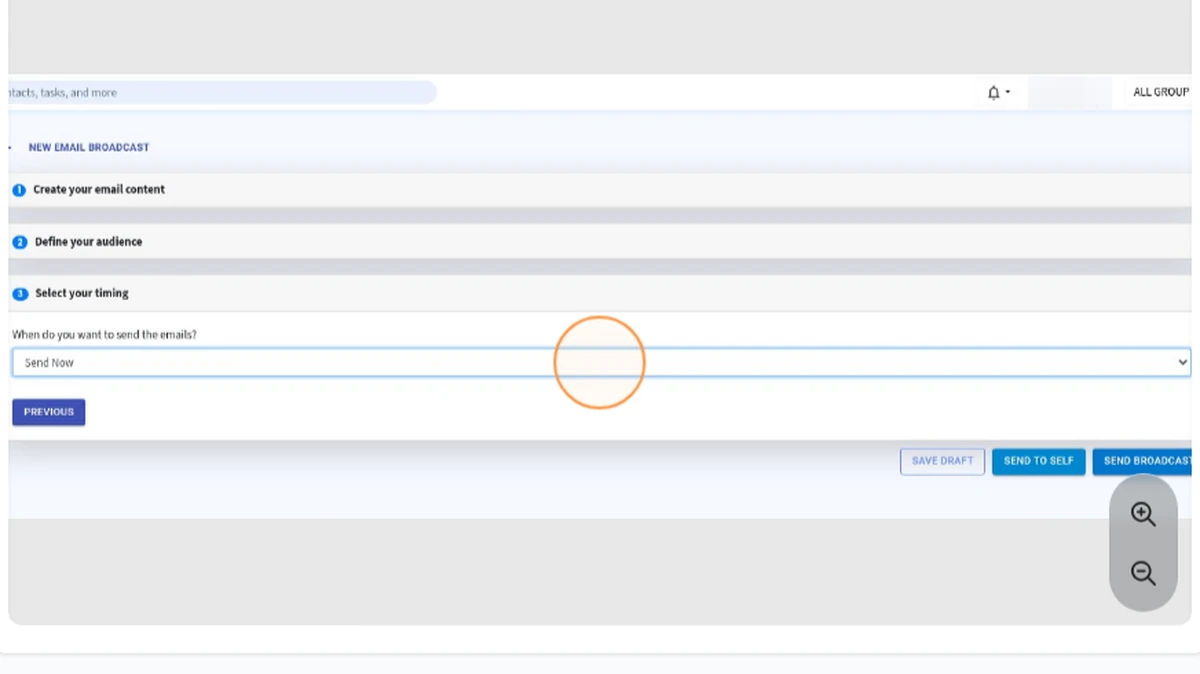
  2. Under When do you want to send the emails?, select Schedule Time and choose a date and time, or select Send Now to send it straight away.
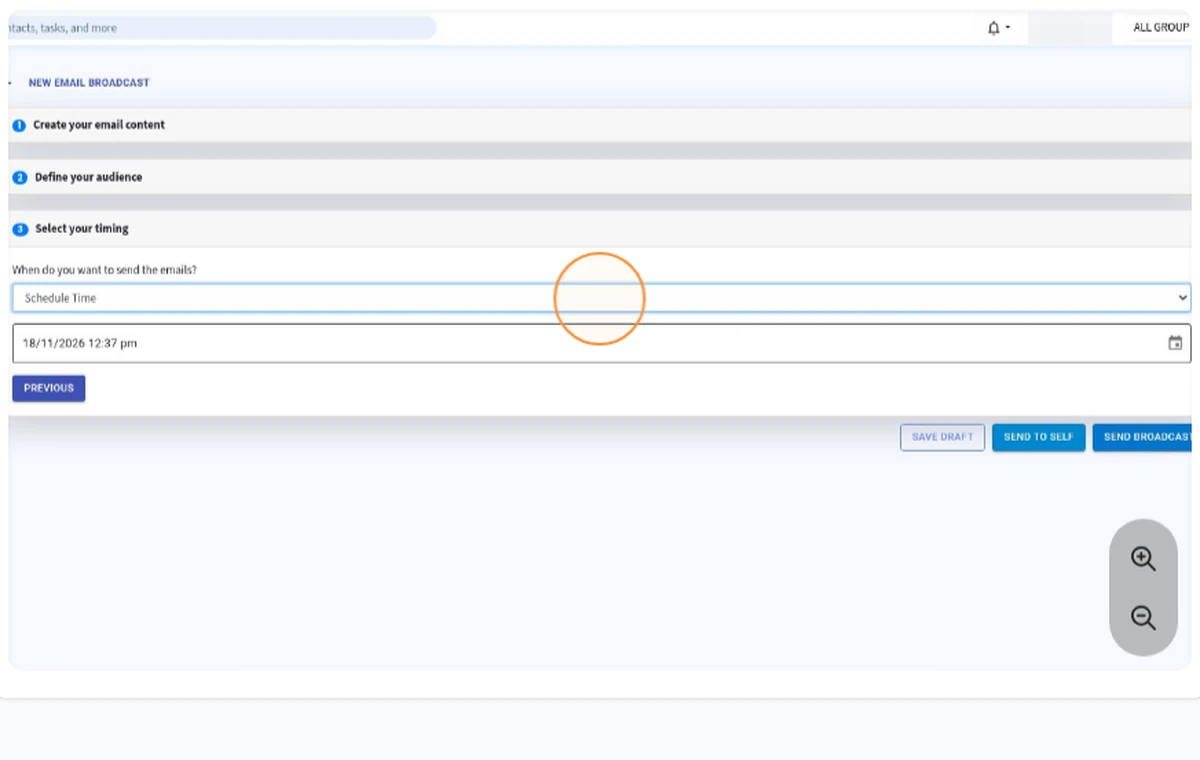
  3. The Select your timing step, with When do you want to send the emails? set to Schedule Time and a date and time entered. The Schedule Time field is circled. SAVE DRAFT, SEND TO SELF, and SEND BROADCAST are at the bottom of the page. The organisation name is blurred.
    Select Schedule Time and choose a date and time for the broadcast.
    The Select your timing step, with When do you want to send the emails? set to Send Now and circled. SAVE DRAFT, SEND TO SELF, and SEND BROADCAST are at the bottom of the page. The organisation name is blurred.
    Or select Send Now to send it straight away.

9. Send or save

You can then choose one of these:

  • SEND BROADCAST sends the broadcast.

  • SAVE DRAFT saves it so you can finish later.

  • SEND TO SELF sends the email to yourself.