How to Create an Email Campaign
You can set up a series of emails as an email campaign. Open Email Campaign from More, click CREATE CAMPAIGN, enter a Campaign name, and click CONFIRM. Write the first email (From name, sender email, Subject, and content), choose the Timing (for example Send Instantly), then click SAVE AND CONTINUE. Add follow-up emails the same way; for timing, select Send X days after previous email and type the number of days, then click SAVE AND CONTINUE. When you have finished adding emails, click DONE. In the Email Campaign list, click the edit icon, then VIEW AUDIENCE, select who should receive the campaign (and Exclude Audience if needed), and click SAVE. You need a sender email set up before you can send a campaign.
You can set up a series of emails as an email campaign. You'll name the campaign, write each email and choose when it is sent, then add the audience.
You need a sender email set up before you can send a campaign. That's covered in How to Add Sender Email for Broadcast.
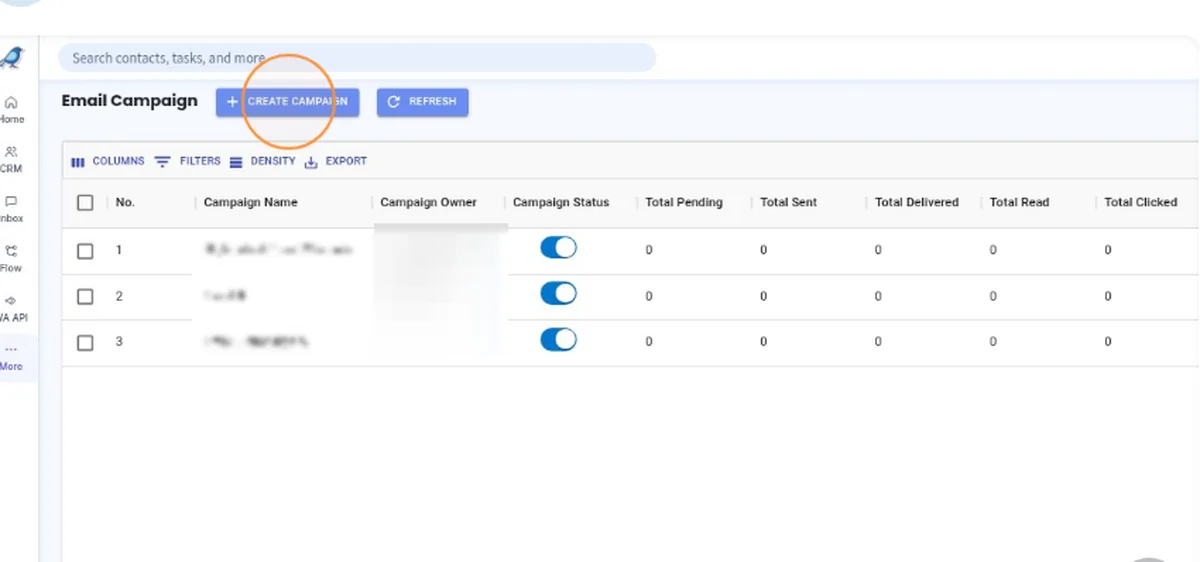
This guide starts from the Email Campaign page. You can open it from More in the left sidebar.
1. Open Email Campaign
Open Email Campaign from More in the left sidebar.
2. Create the campaign
Click CREATE CAMPAIGN.
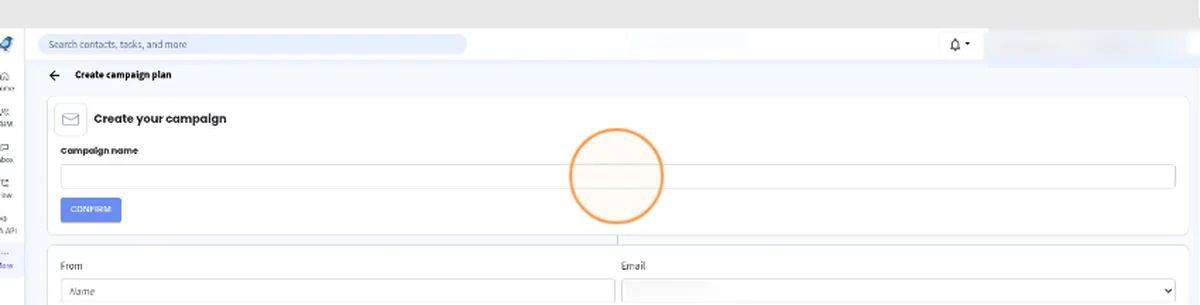
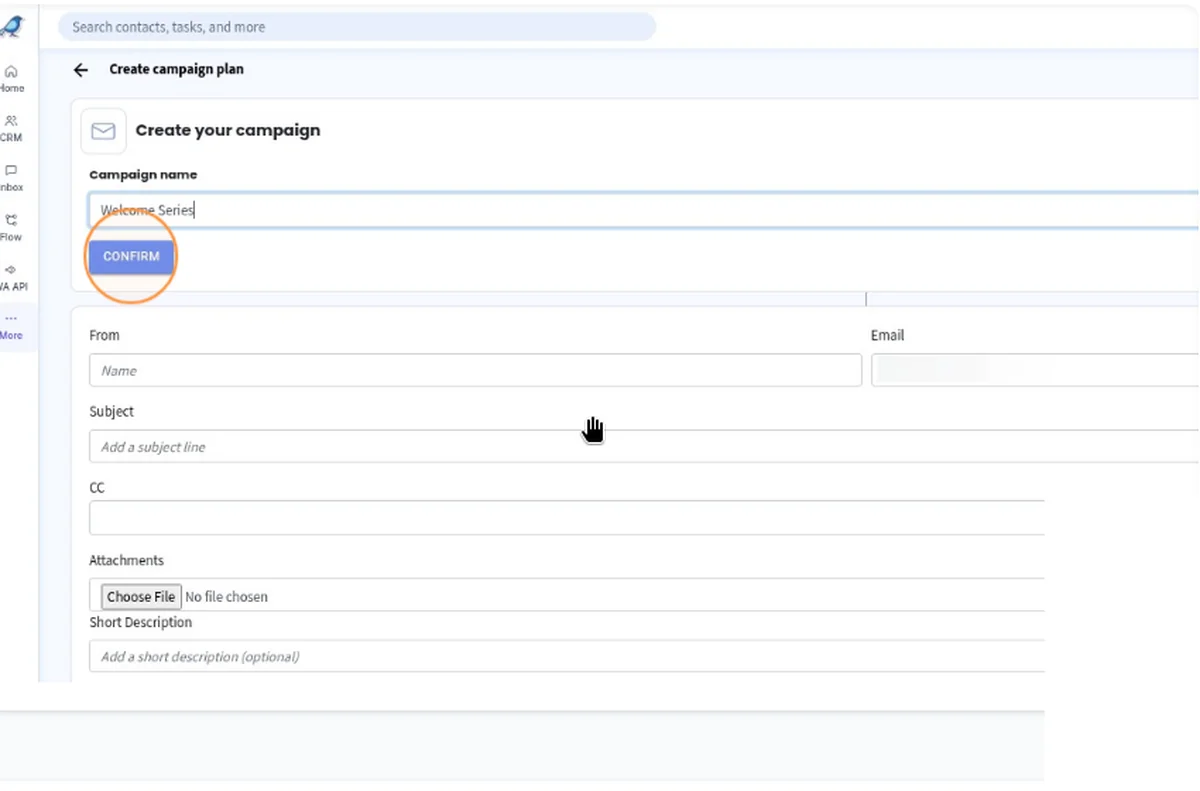
The Create campaign plan page opens. Under Create your campaign, click Campaign name and type a name for your campaign. This is the name shown in the Email Campaign list. The example in this guide is Welcome Series.
Click CONFIRM.
3. Write the first email
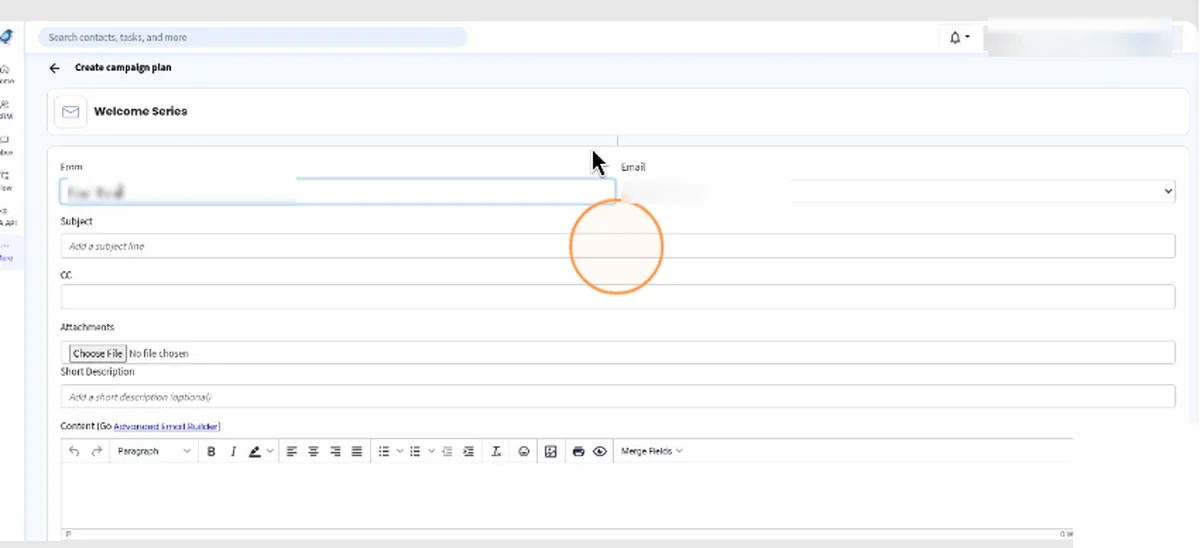
Click the From name field and type the sender name your contacts will see.
Click the Email dropdown and select your sender email.
Click Subject and type the subject line of the first email.
Click inside the content editor and write the first email.

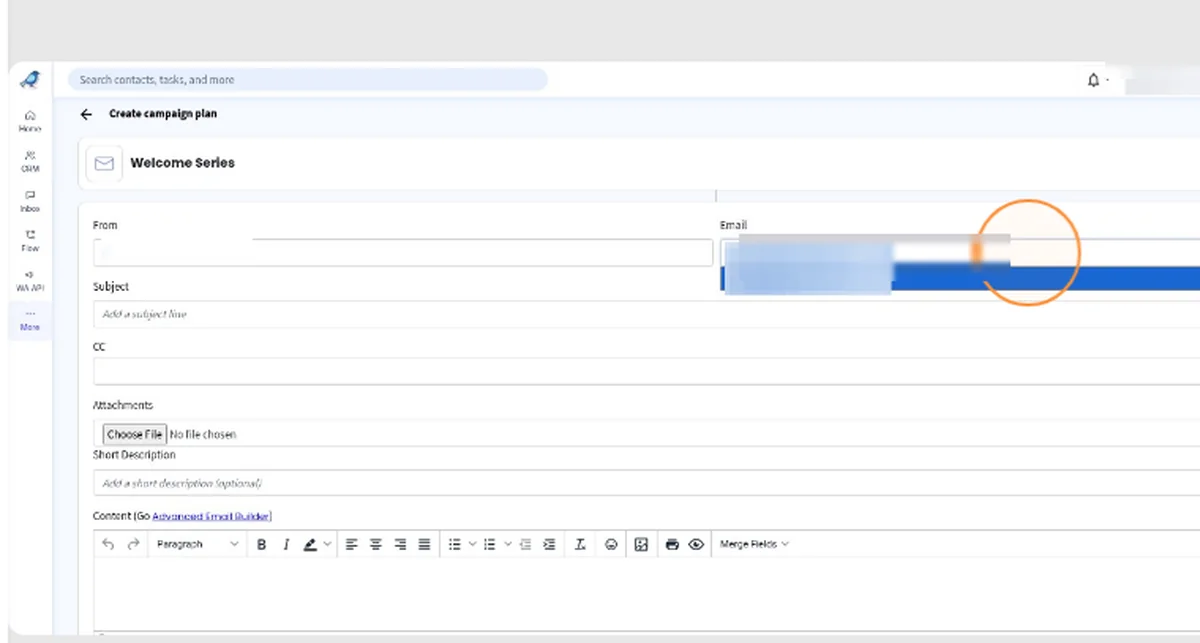
The form also has optional CC, Attachments, and Short Description fields. You can use Merge Fields to personalise the email, or click Go Advanced Email Builder for a designed layout.
4. Choose when the first email is sent
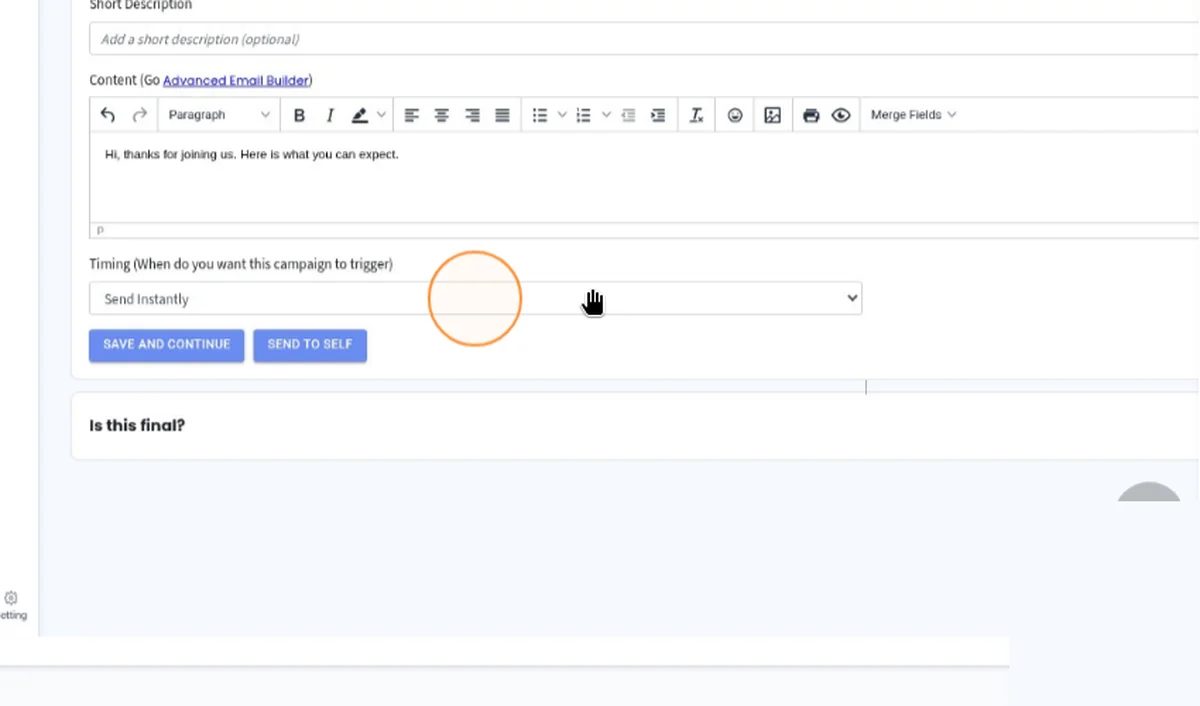
Under Timing (When do you want this campaign to trigger), select when the first email should be sent. For example, select Send Instantly.
Click SAVE AND CONTINUE.
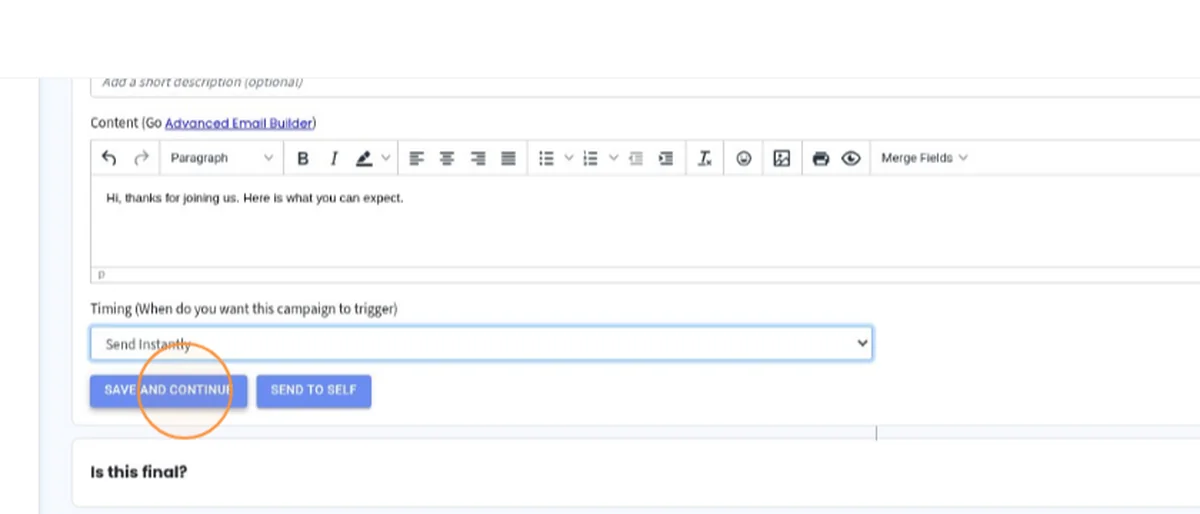
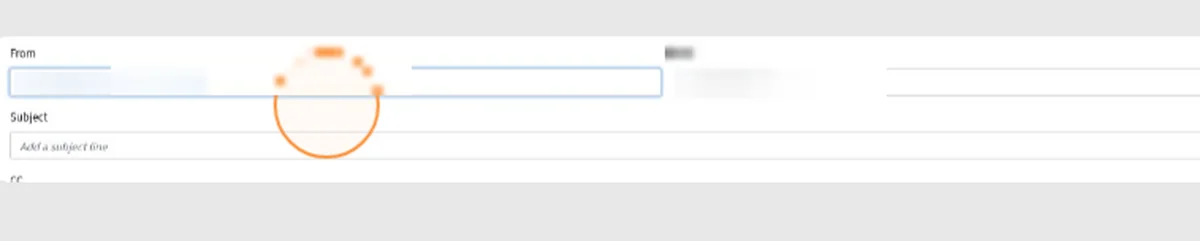
A new email step is added so you can write a follow-up email.
You can also click SEND TO SELF to send this email to yourself.
5. Add follow-up emails
Fill in the next email the same way: From name, sender email, Subject, and content.
Under Timing (When do you want this campaign to trigger), select Send X days after previous email, then type the number of days in the day(s) field. The example in this guide uses 2 days.
Click SAVE AND CONTINUE.
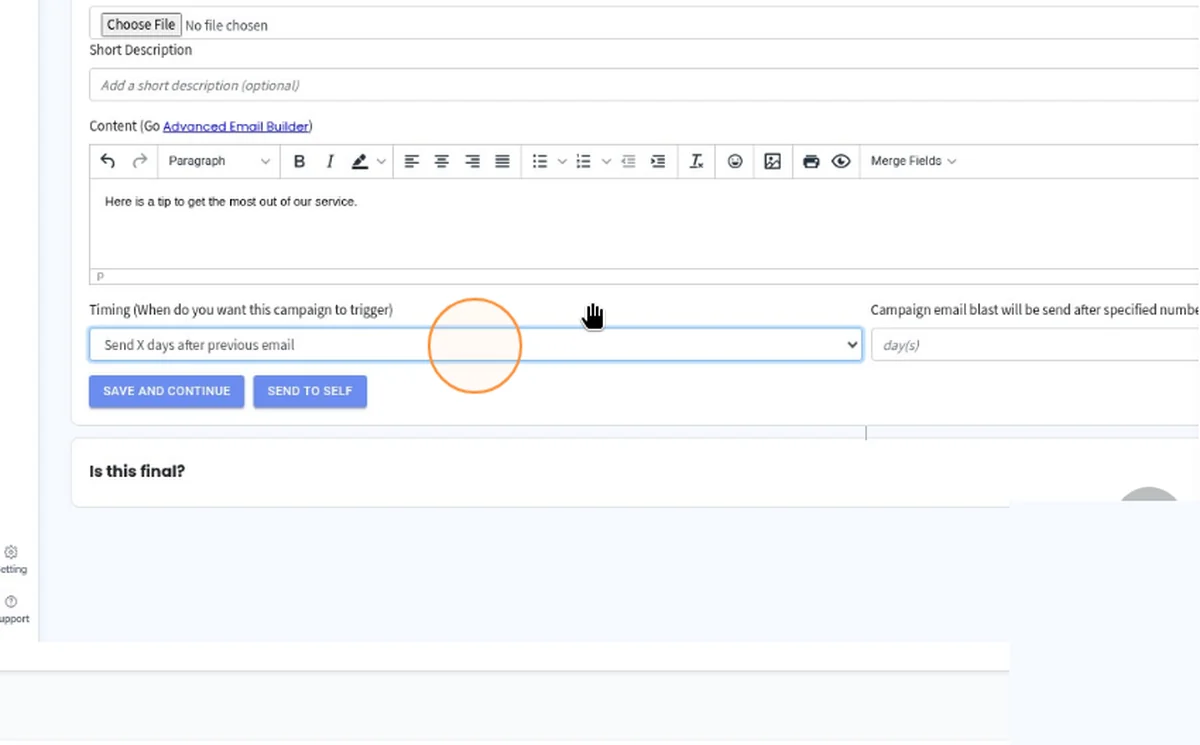
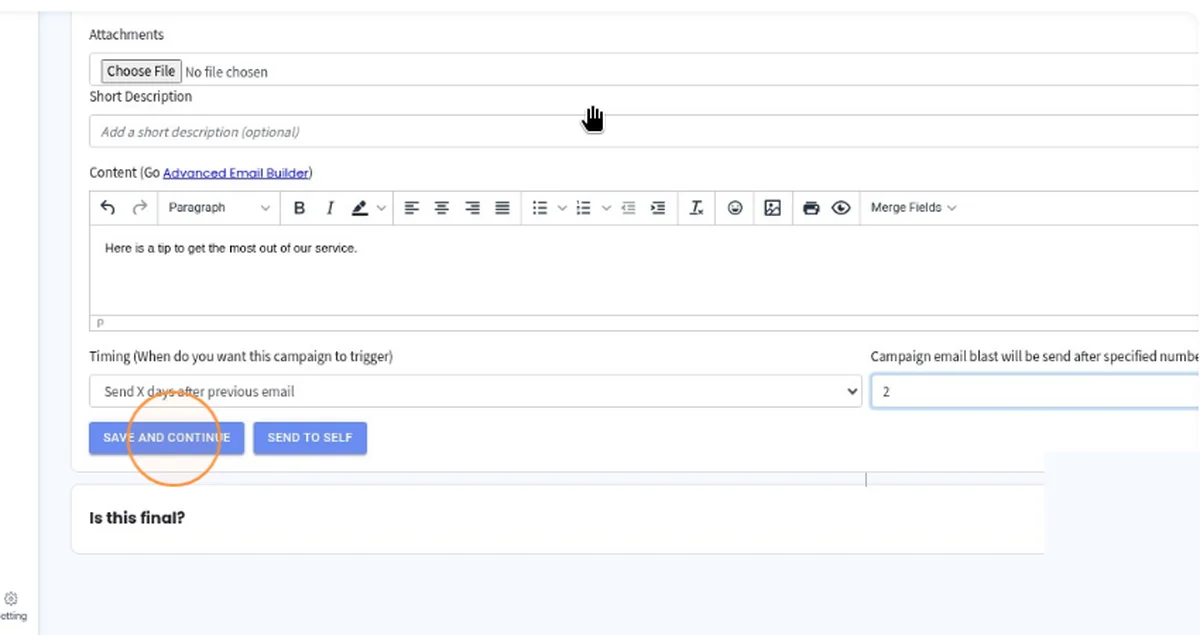
Repeat these steps for each follow-up email you want to add.
6. Finish adding emails
When you have finished adding emails, click DONE.
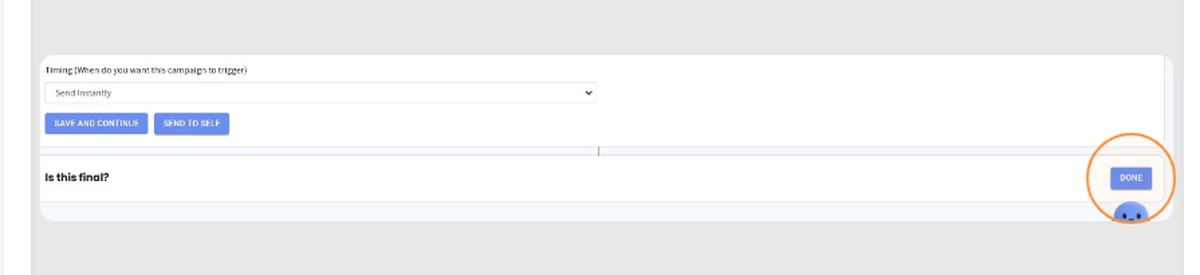
The campaign is added to the Email Campaign list.
7. Add the audience
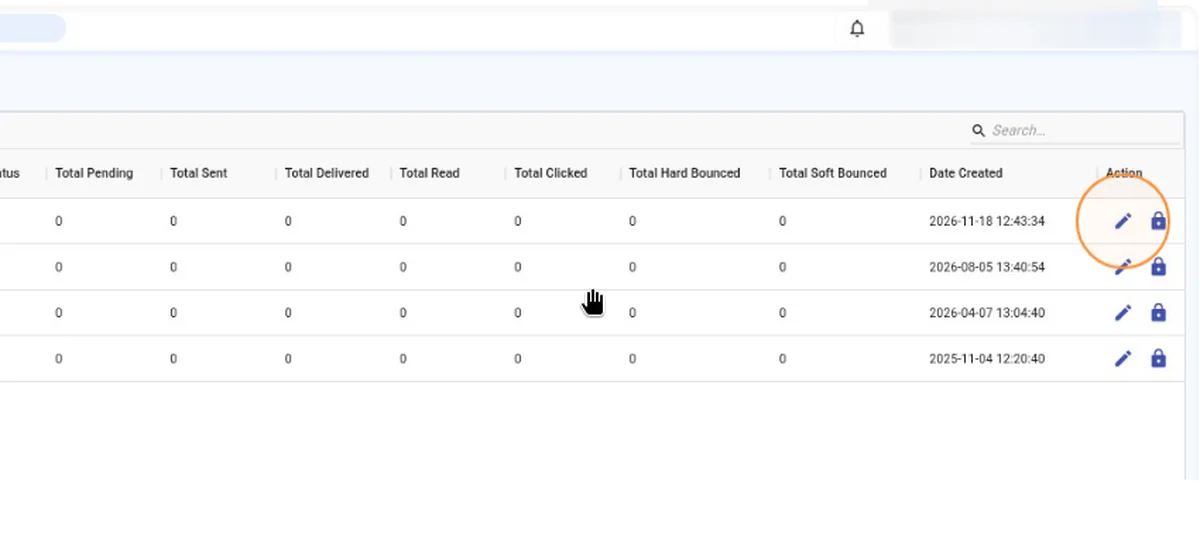
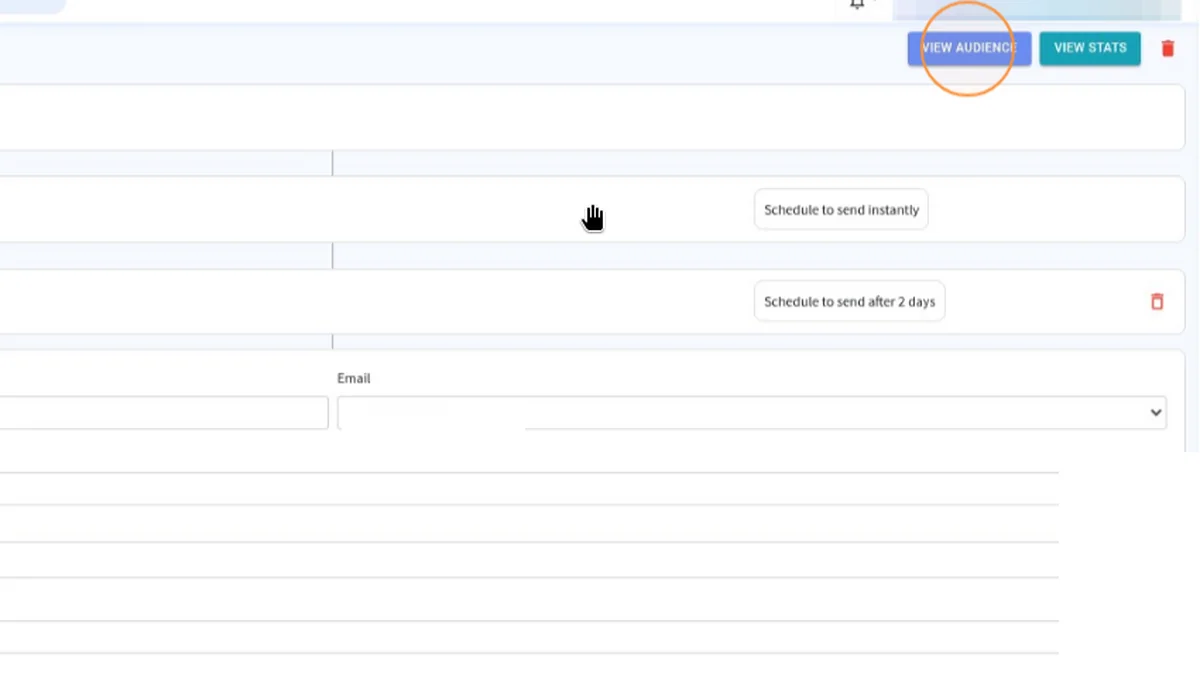
In the Email Campaign list, click the edit icon in the Action column for the campaign.
Click VIEW AUDIENCE.
The Campaign Audience window opens. Under Select Audience, select who should receive the campaign.
If needed, use Exclude Audience (Optional) to leave some people out.
Click SAVE.
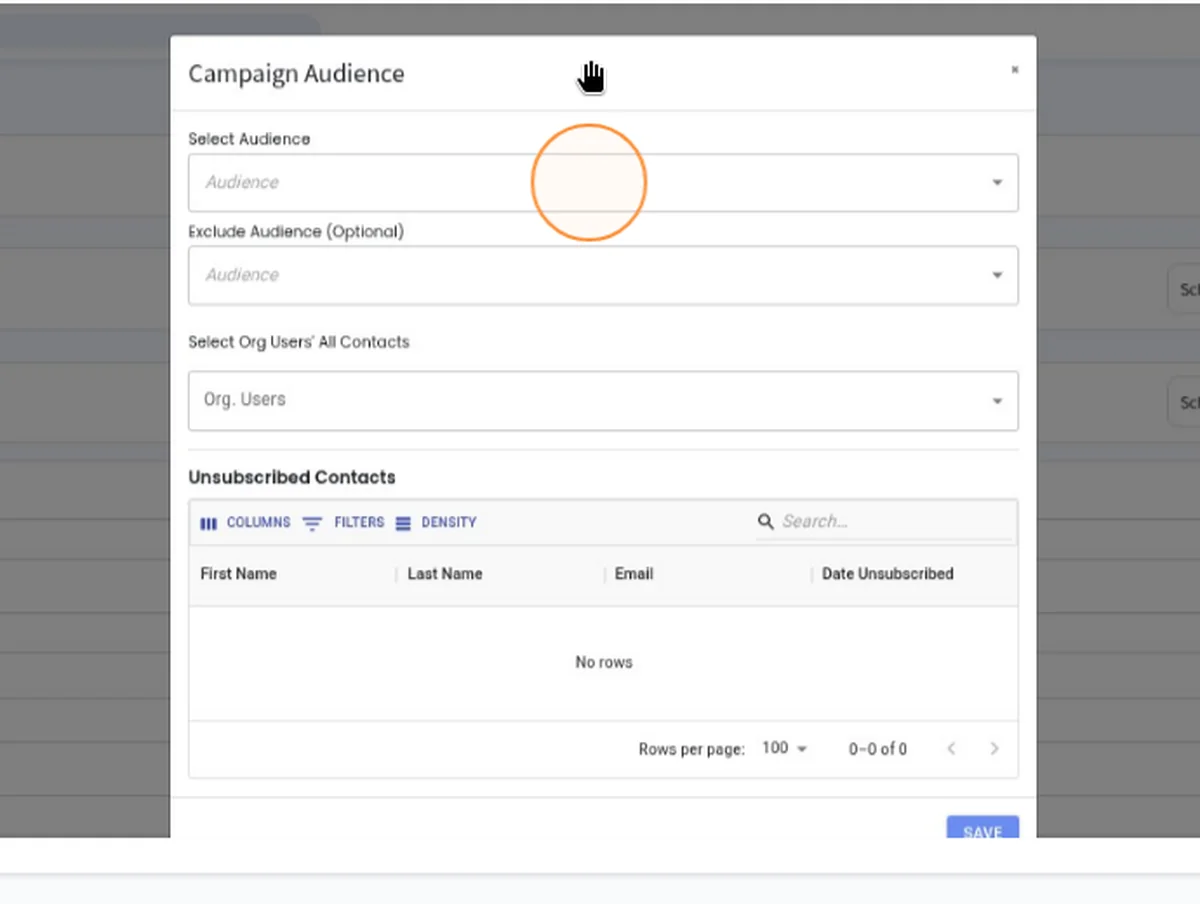
The window also has a Select Org Users' All Contacts field.