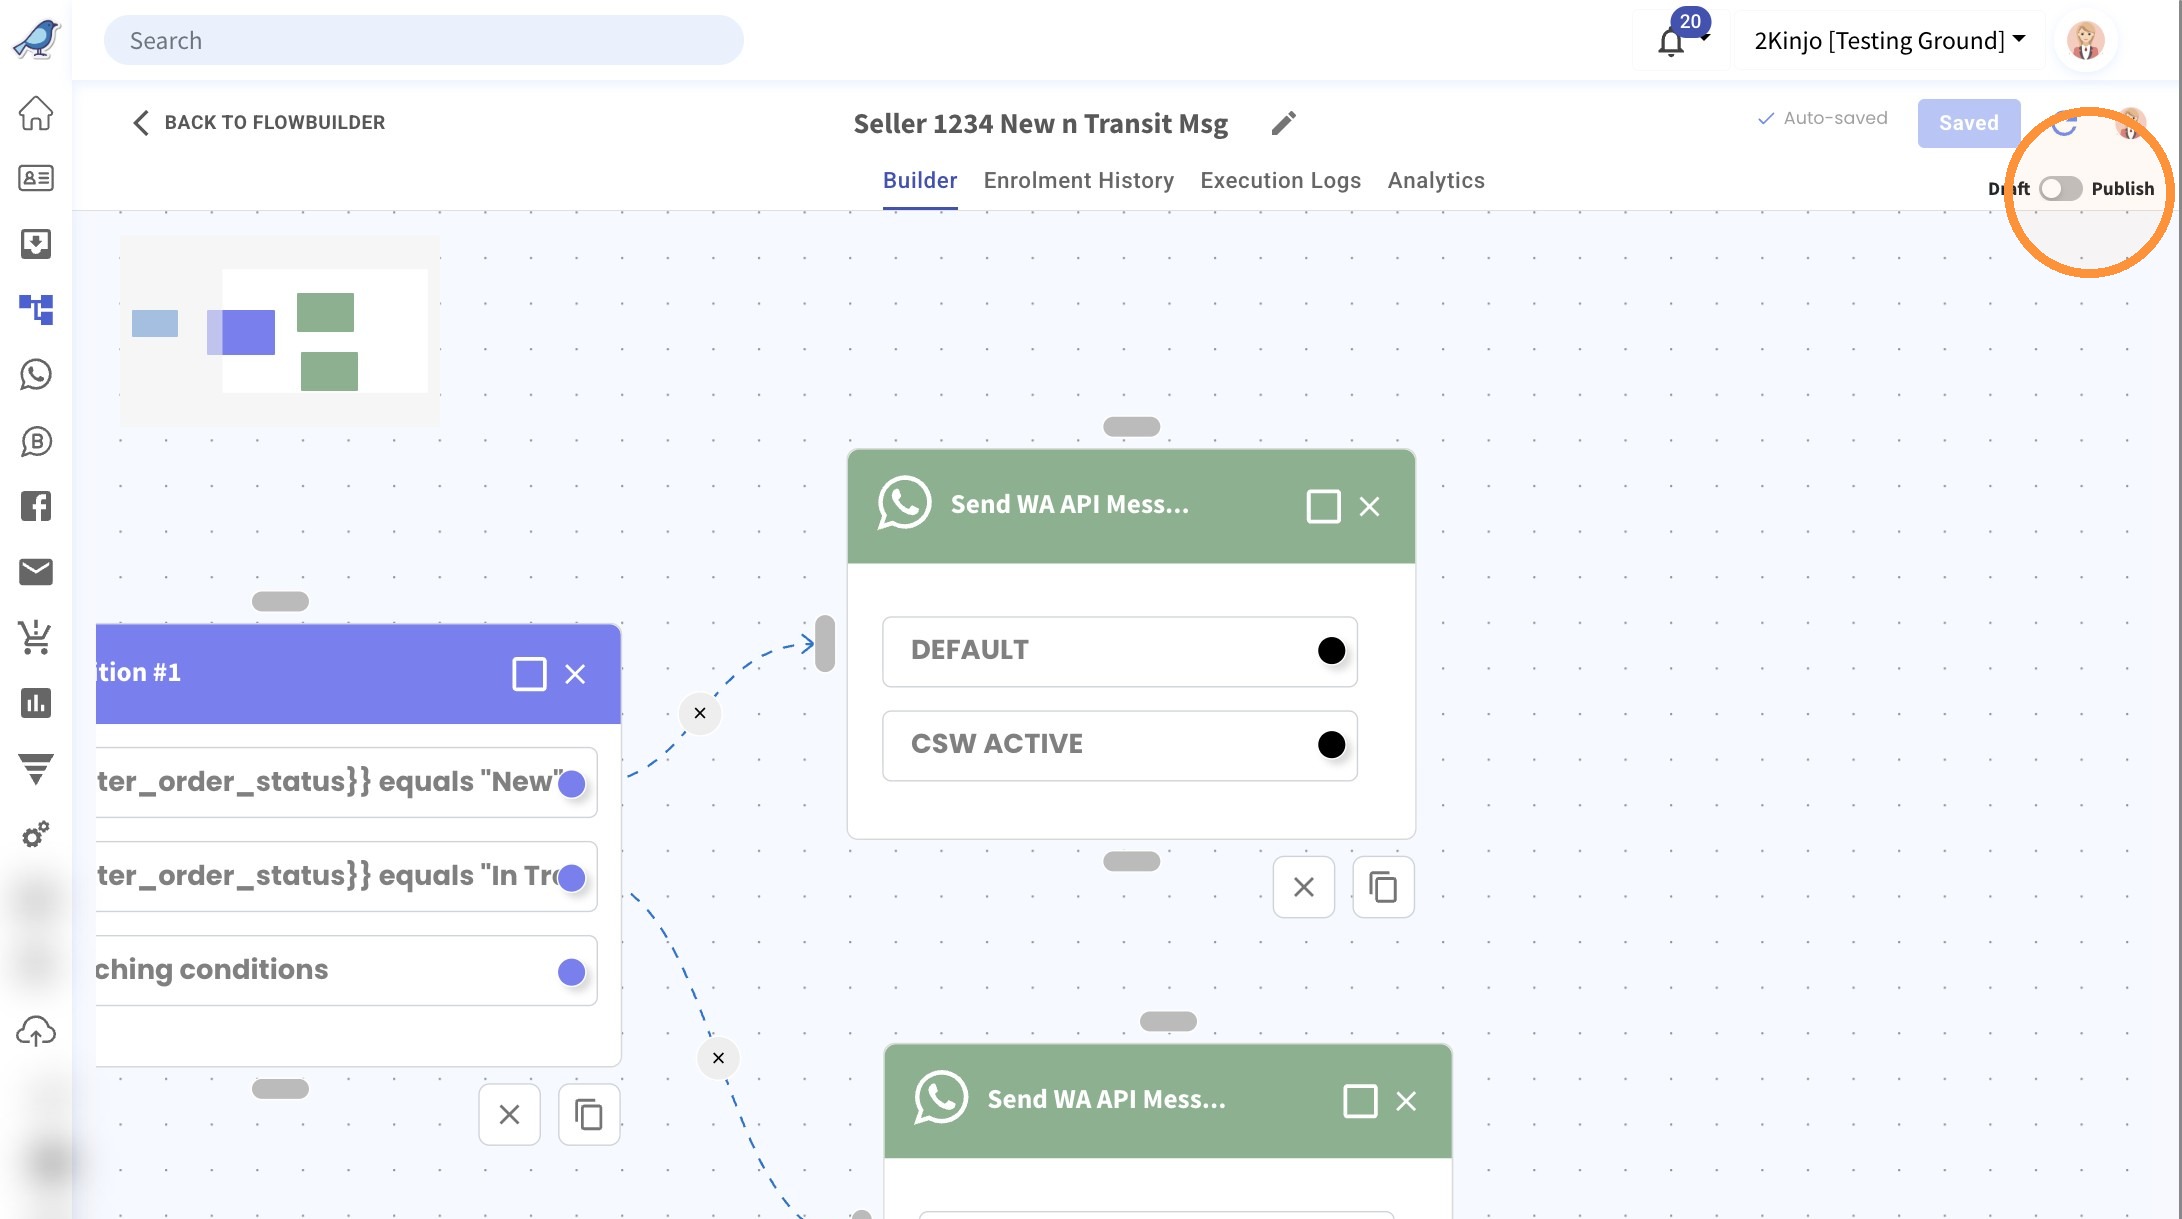
How to Create Fighter Flow to send WA API for New Order and In Transit
How to Create Fighter Flow to send WA API for New Order and In Transit
1. Navigate to https://strive.asia/flowbuilder
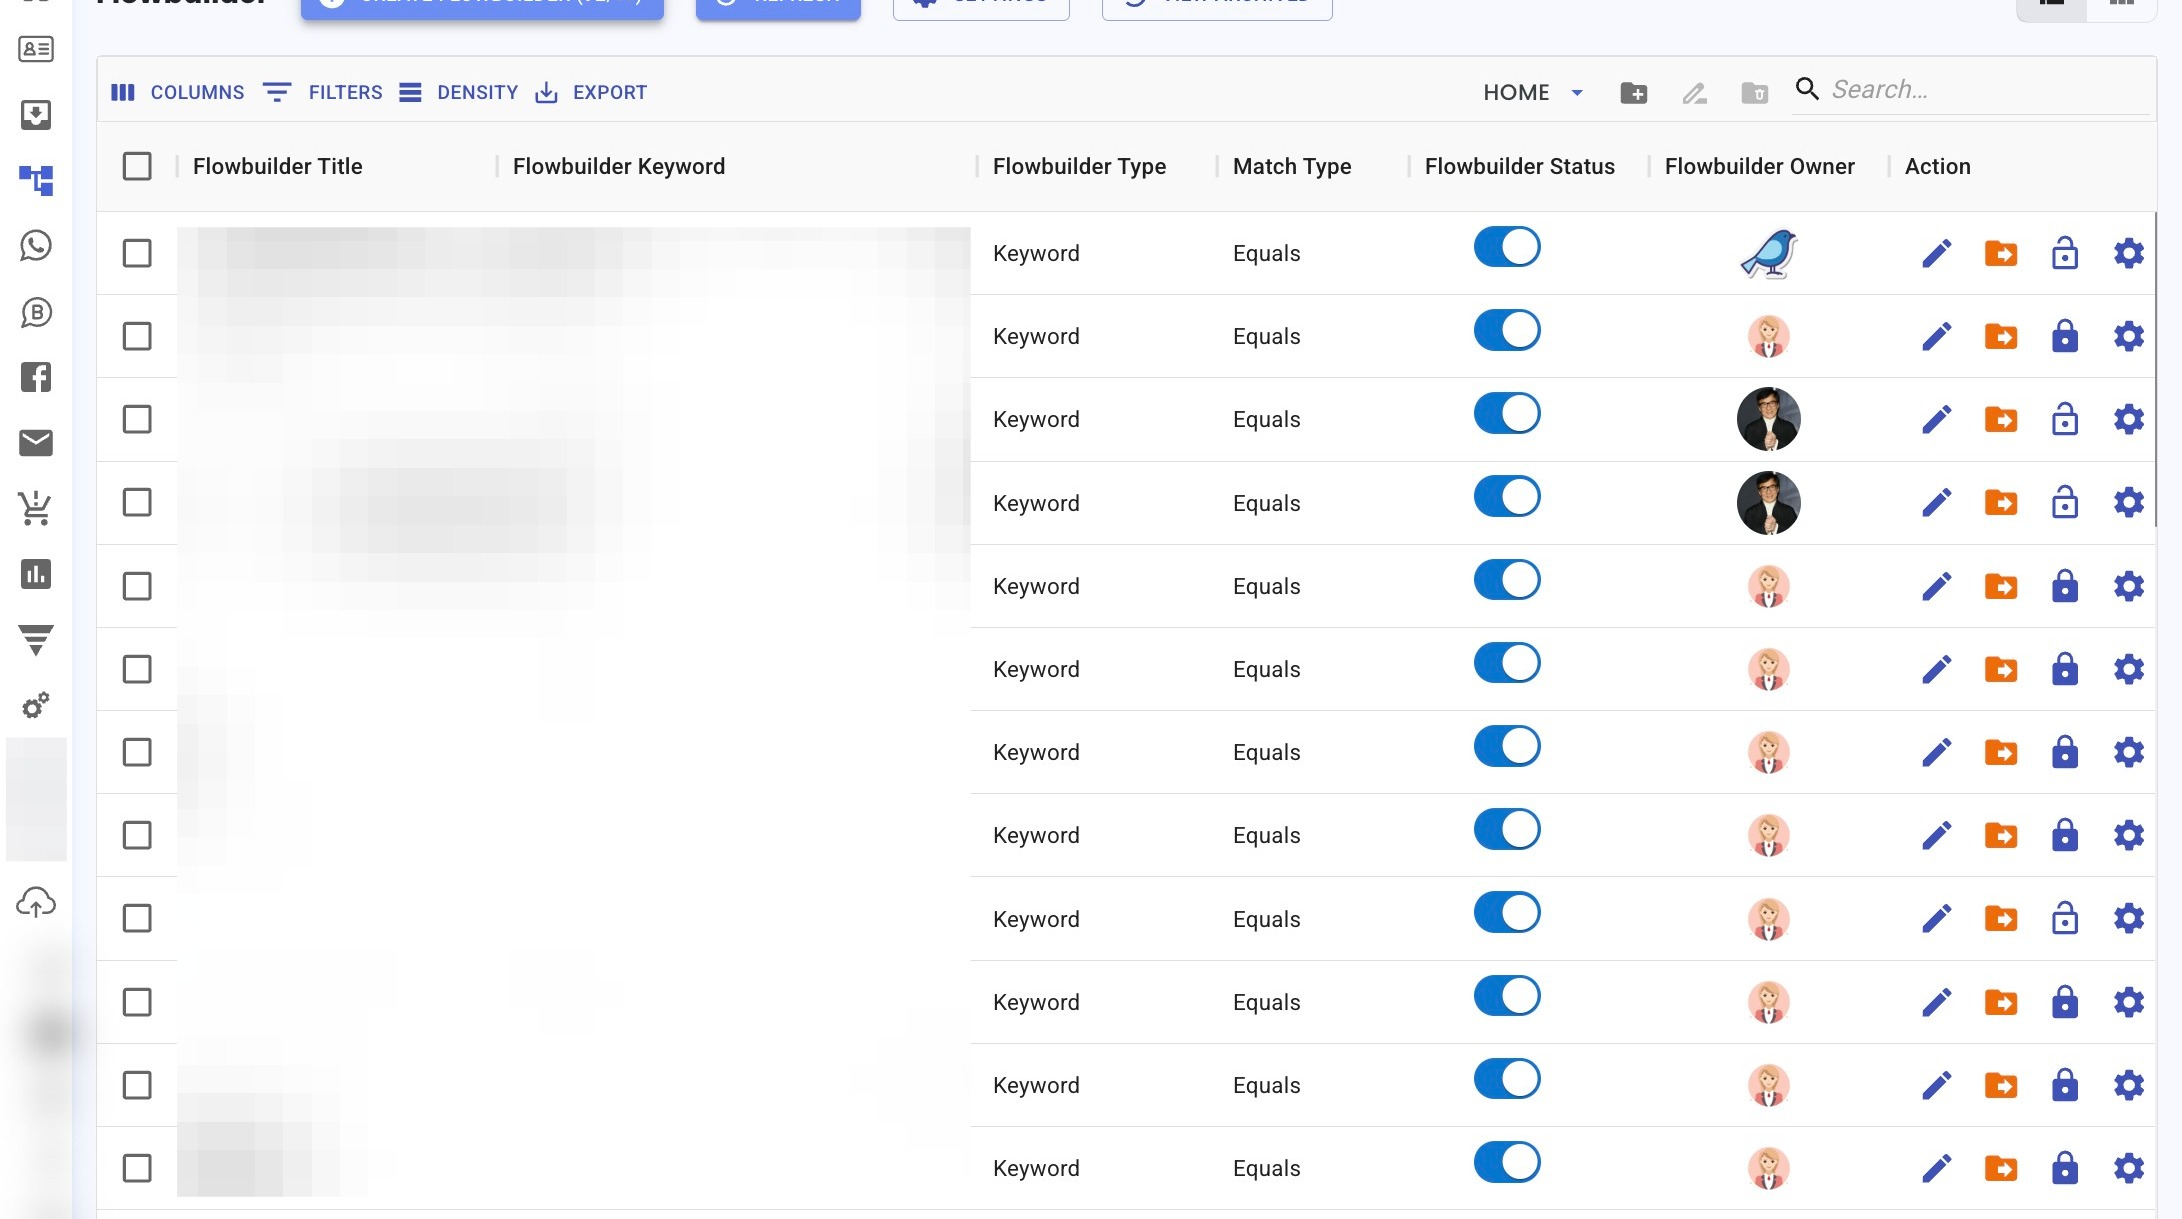
2. Click "Create Flowbuilder"
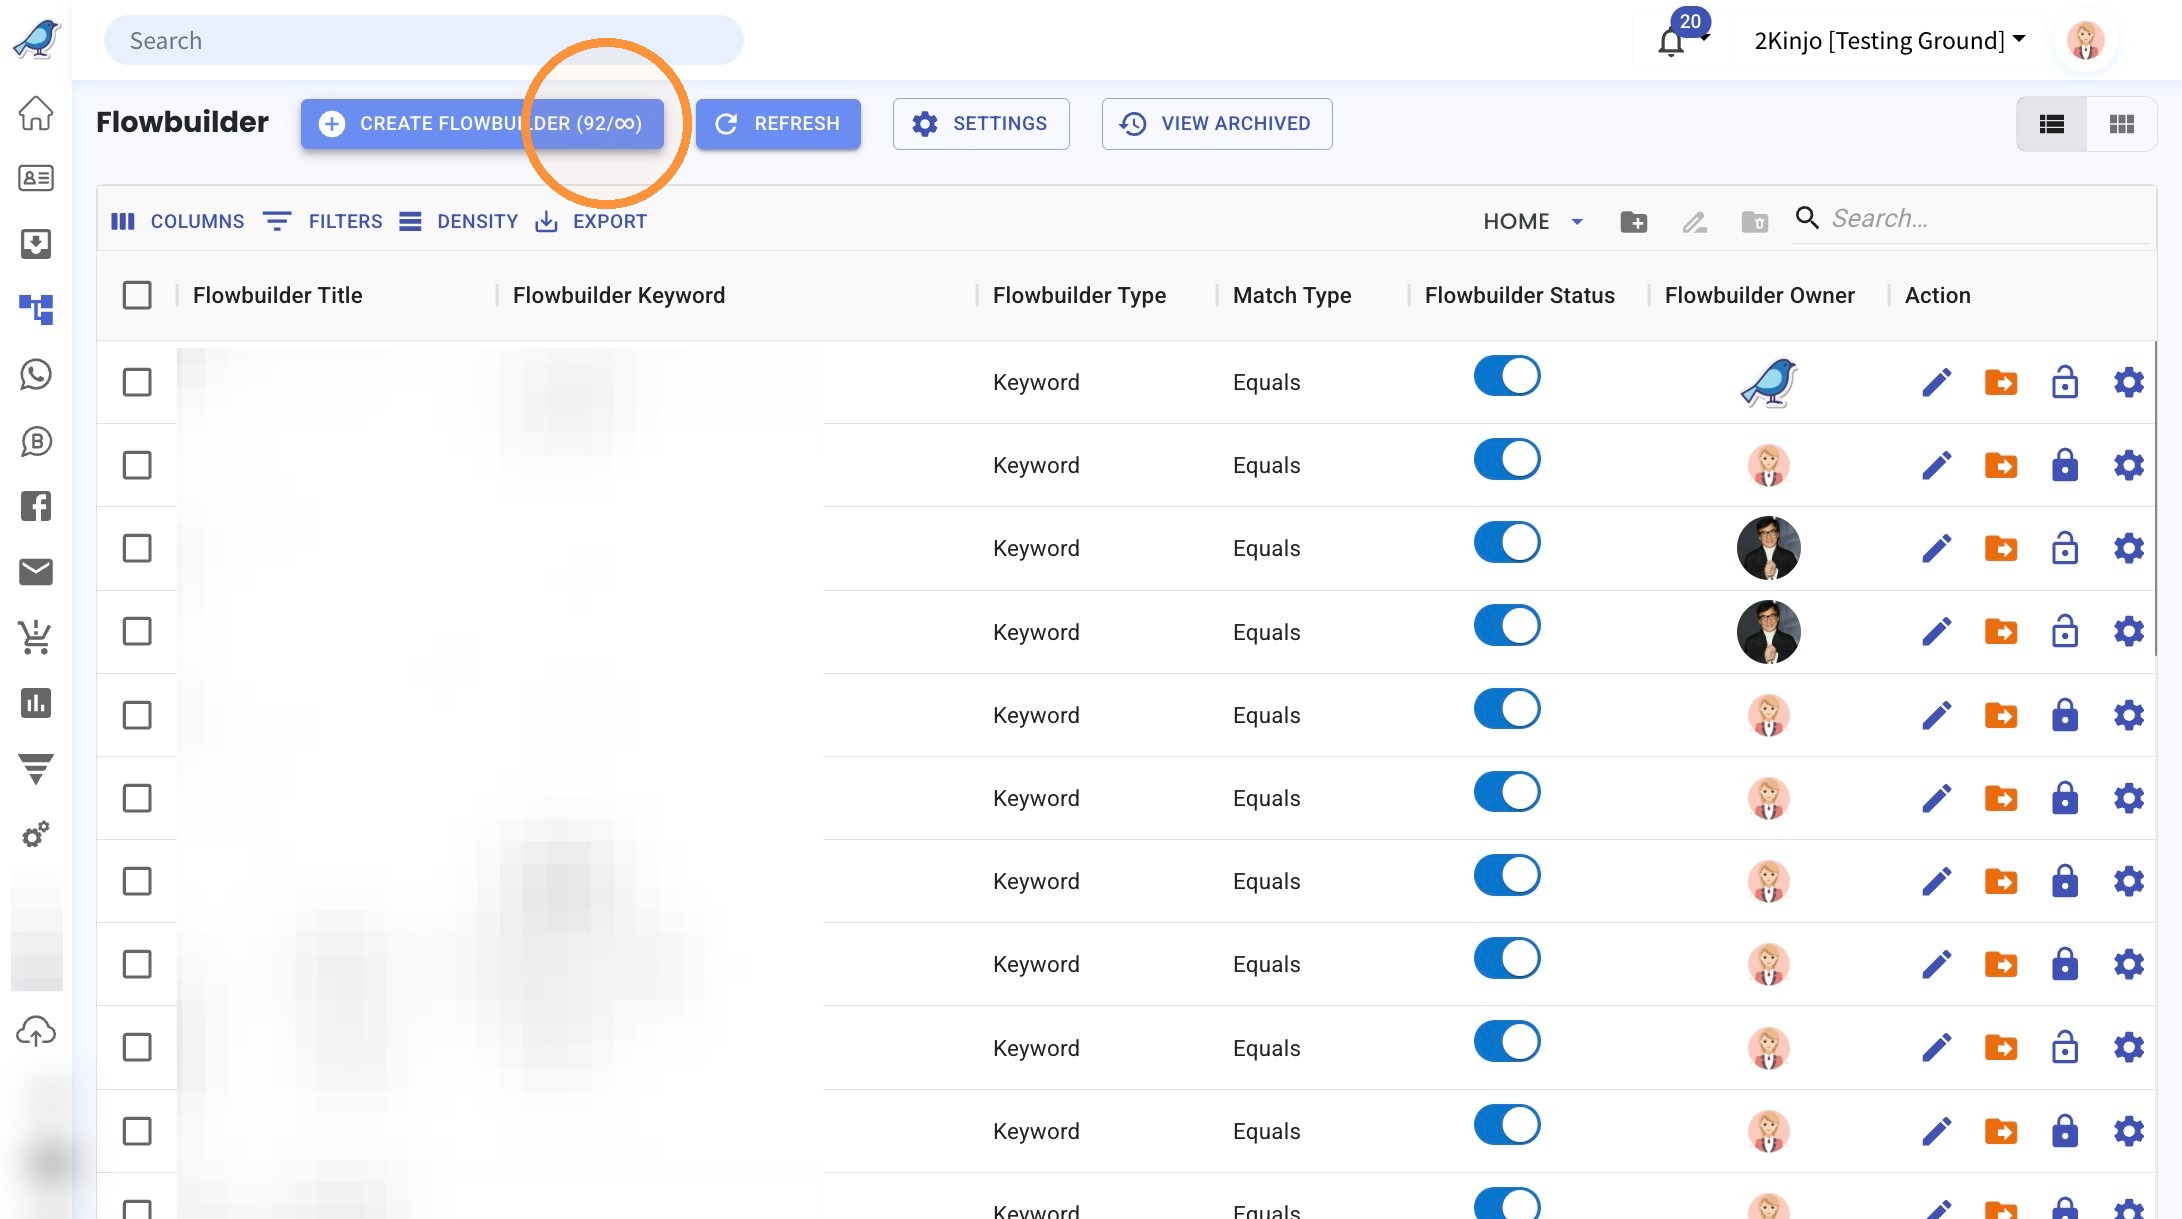
3. Click "Start from scratch"
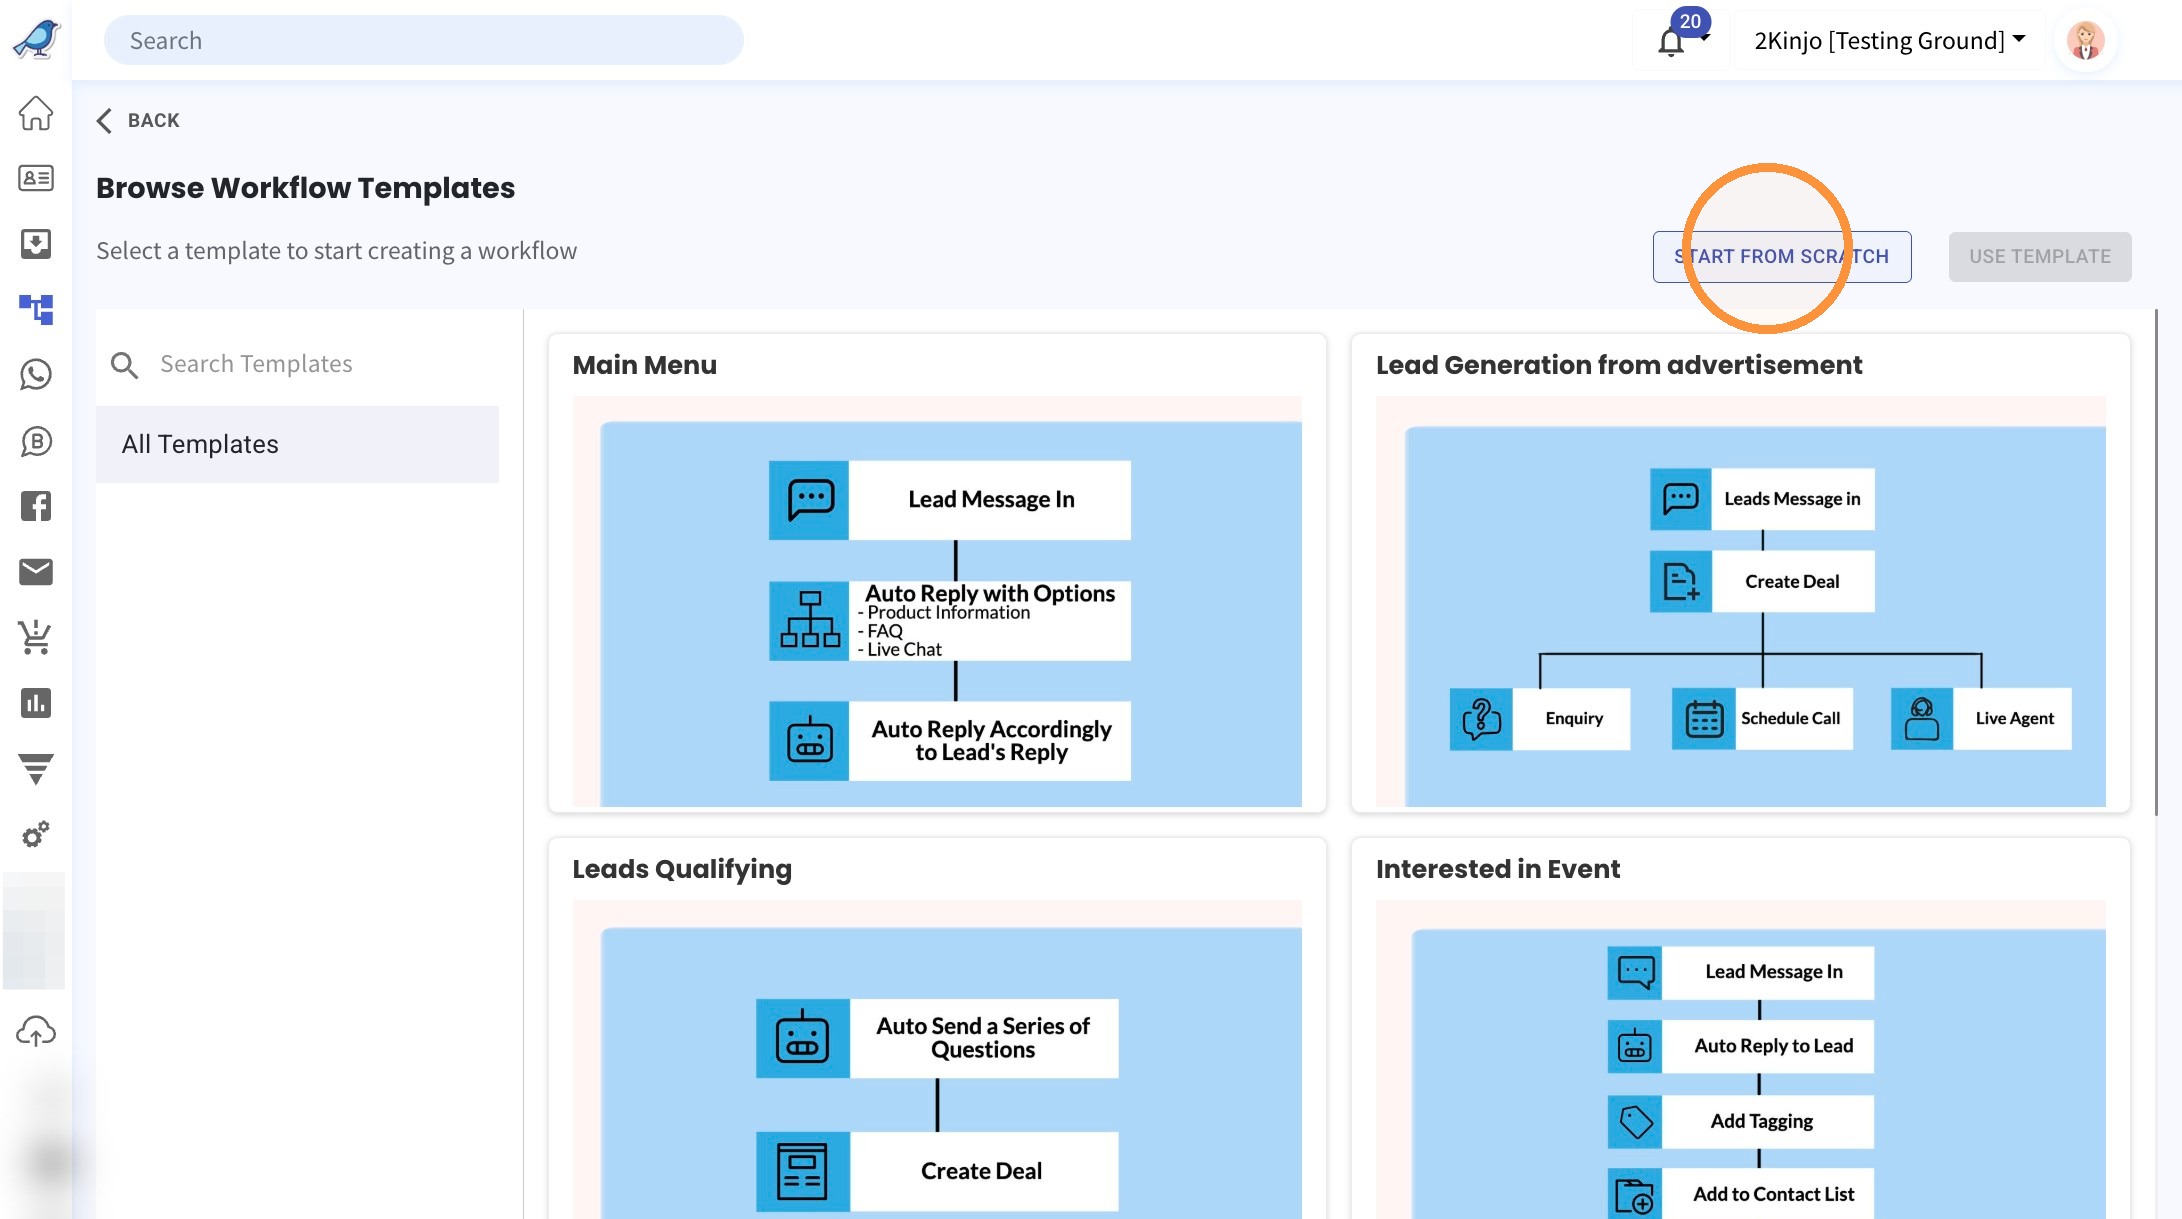
4. Select the "FIGHTER" option.
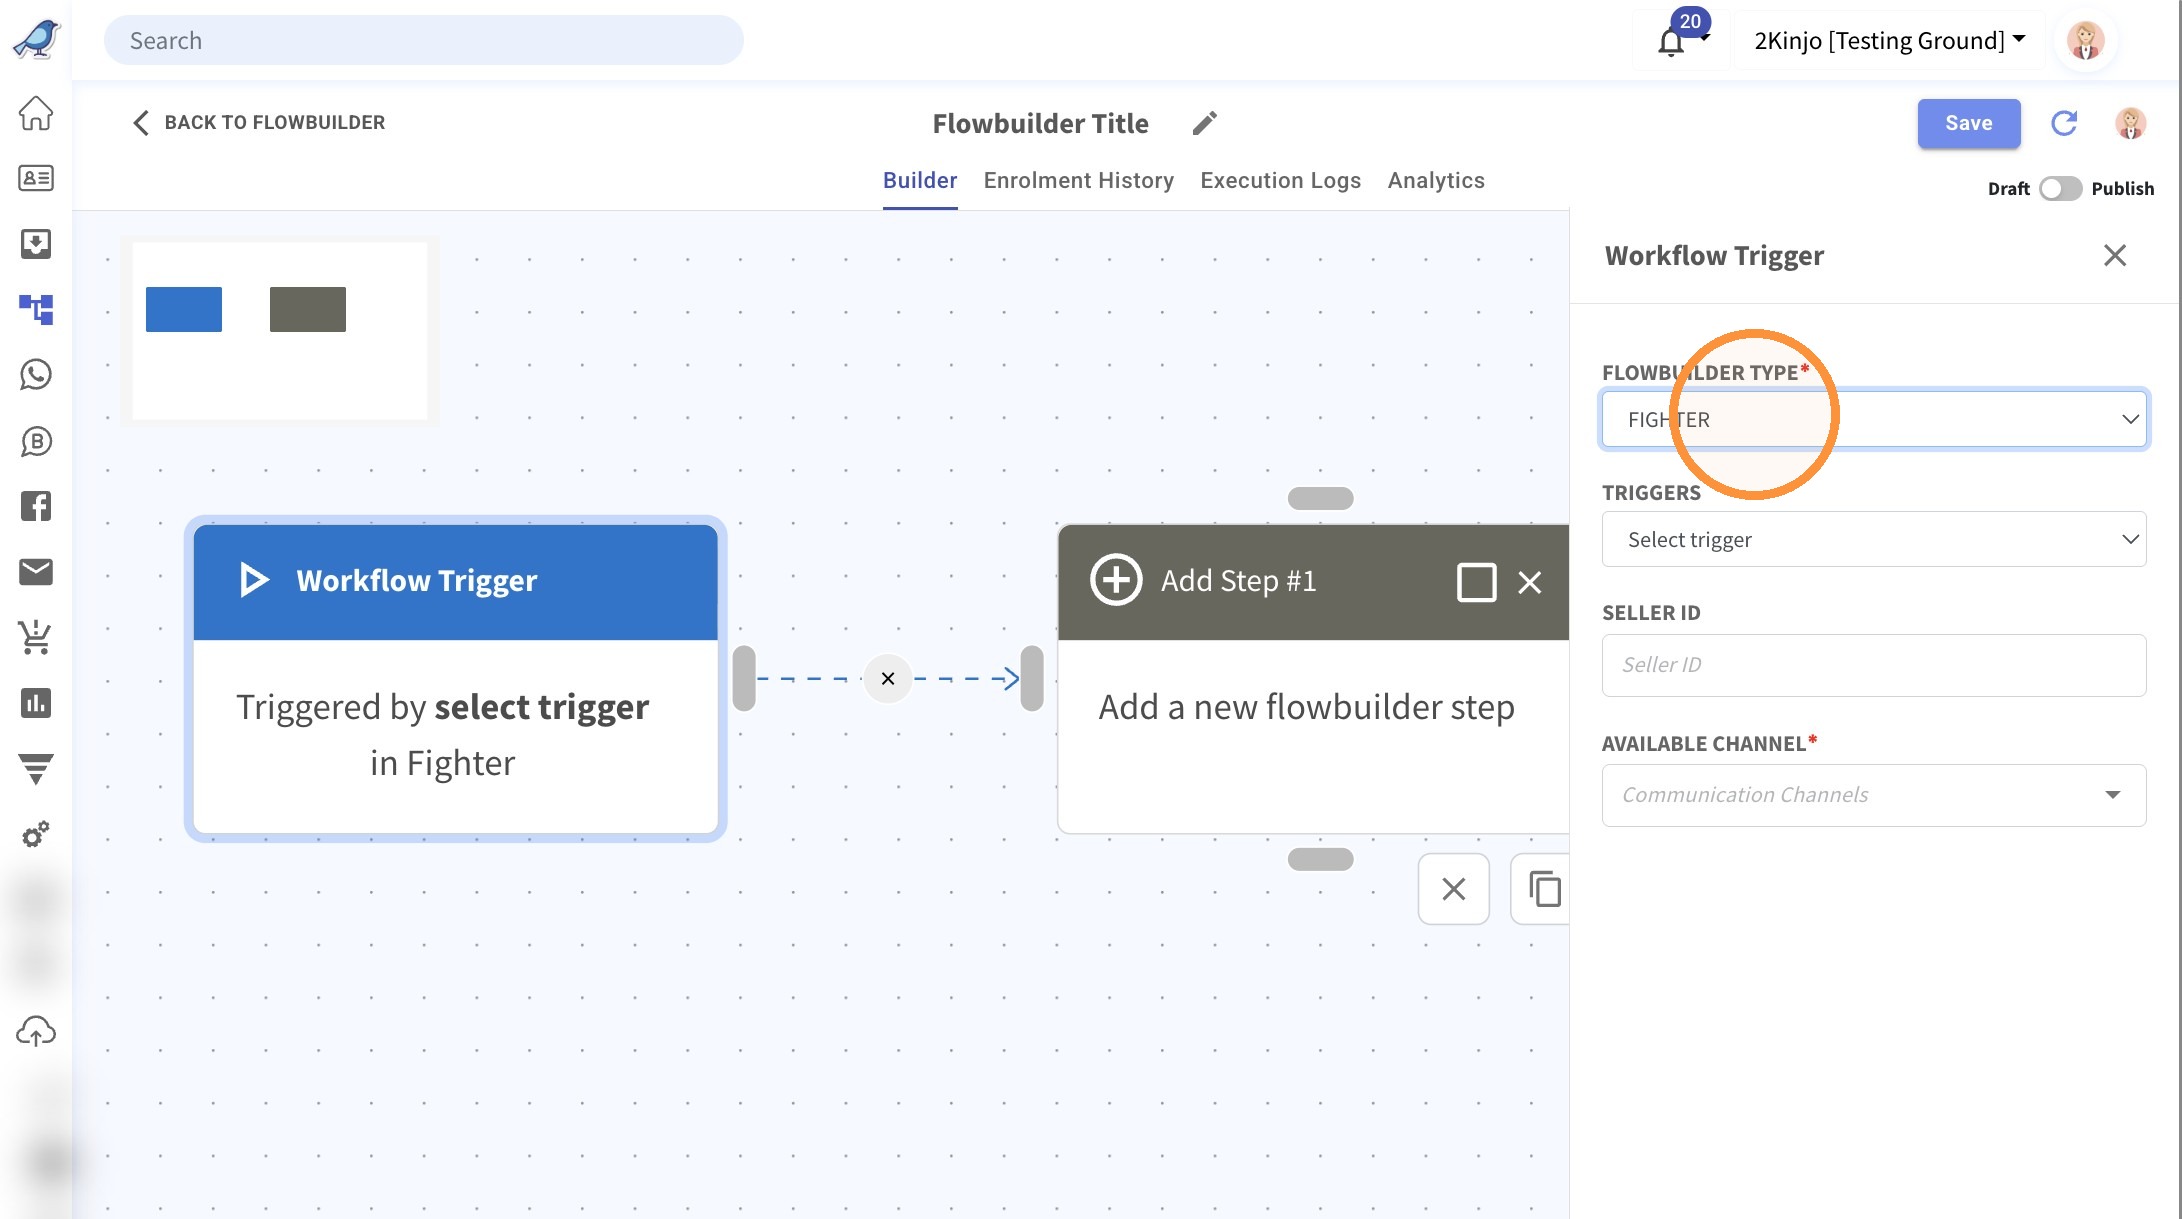
5. Select the "FIGHTER Webhook - Triggered via FIGHTER API webhook" option.
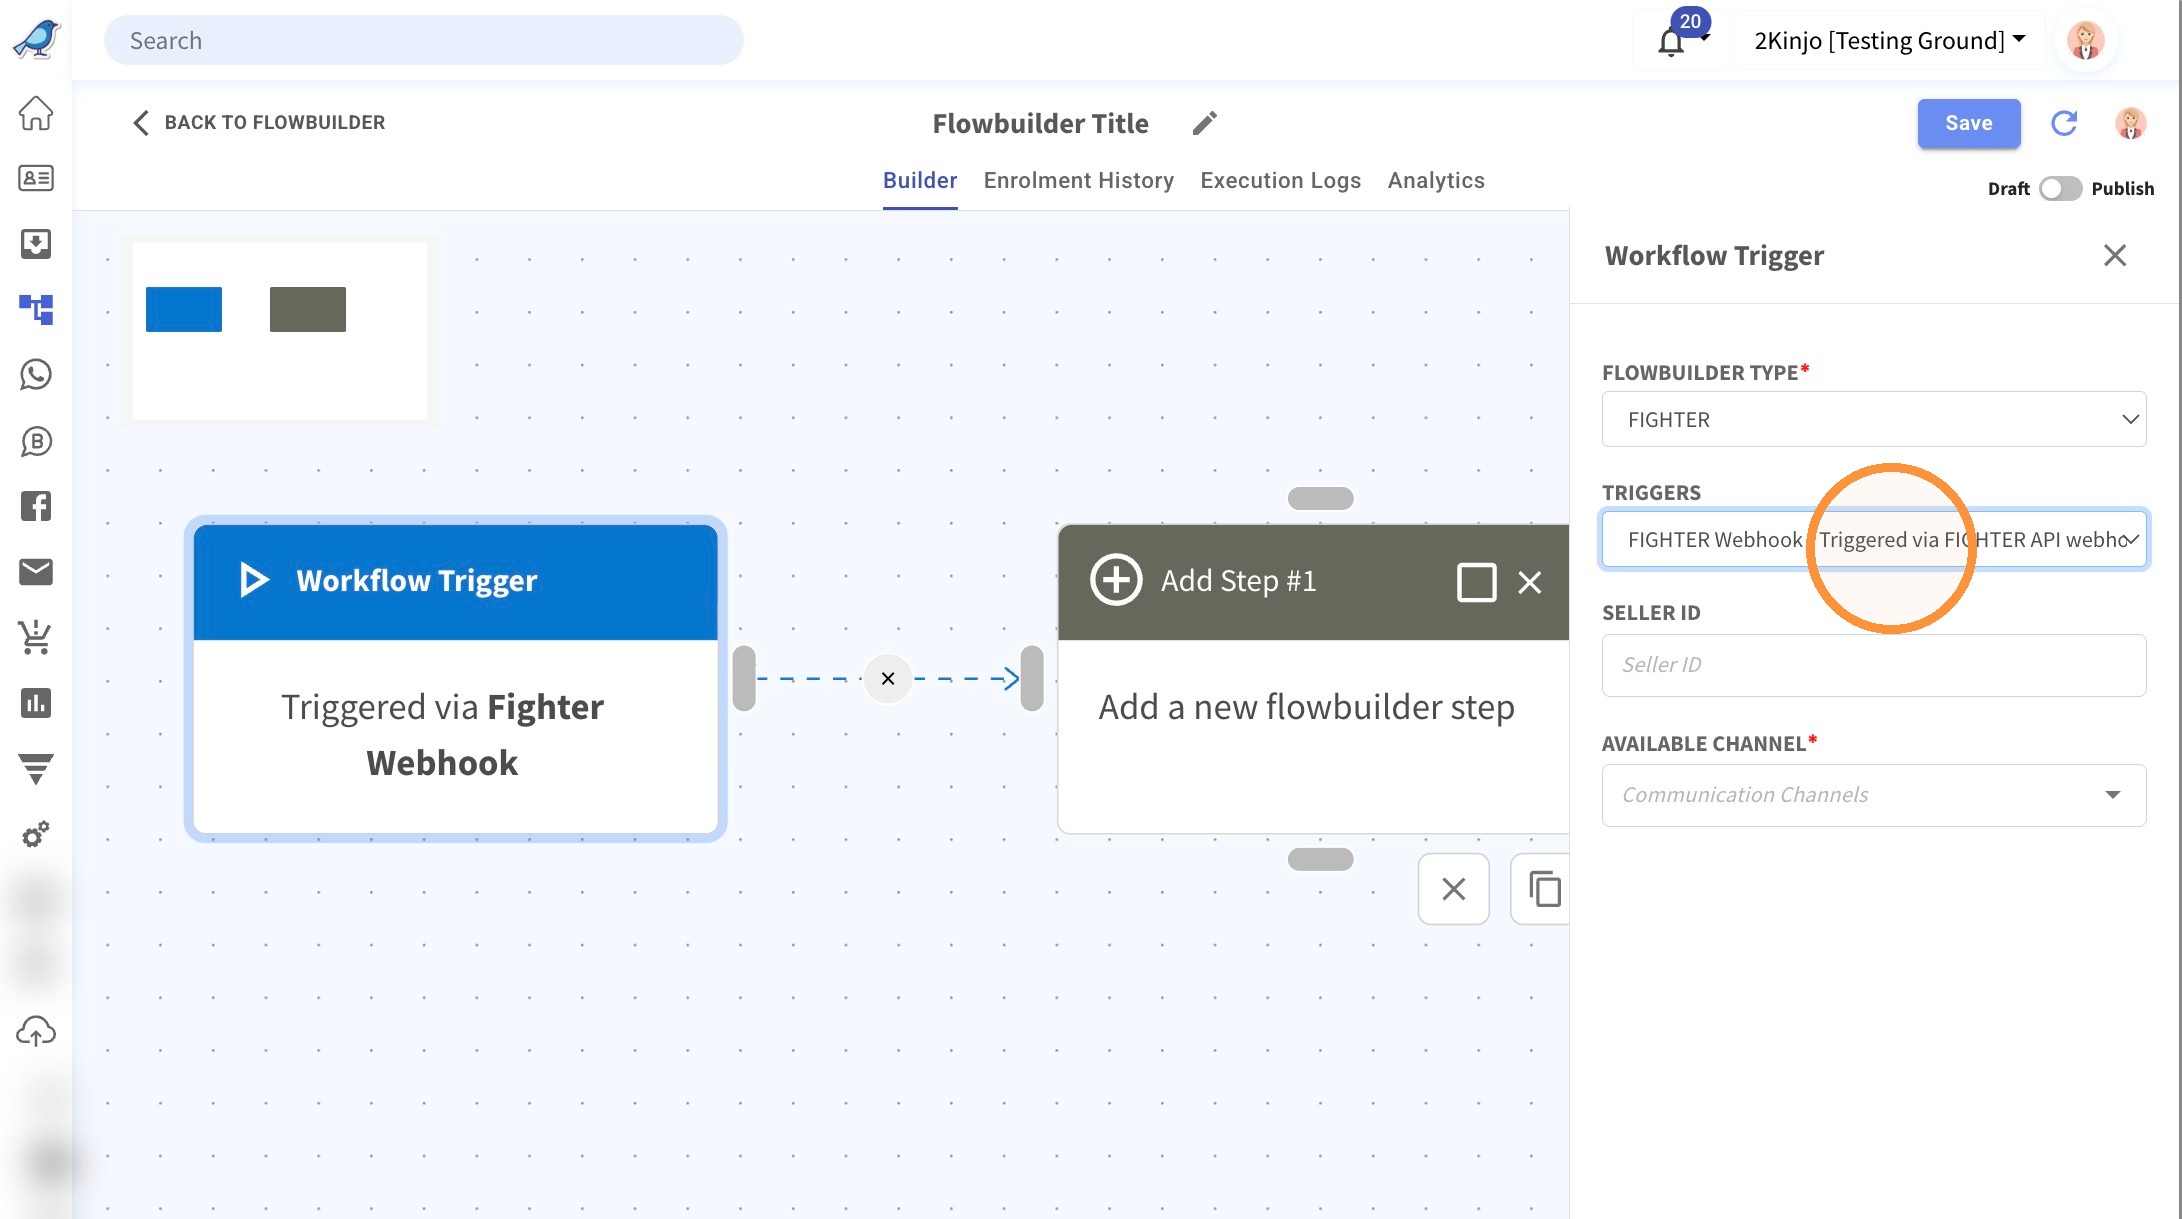
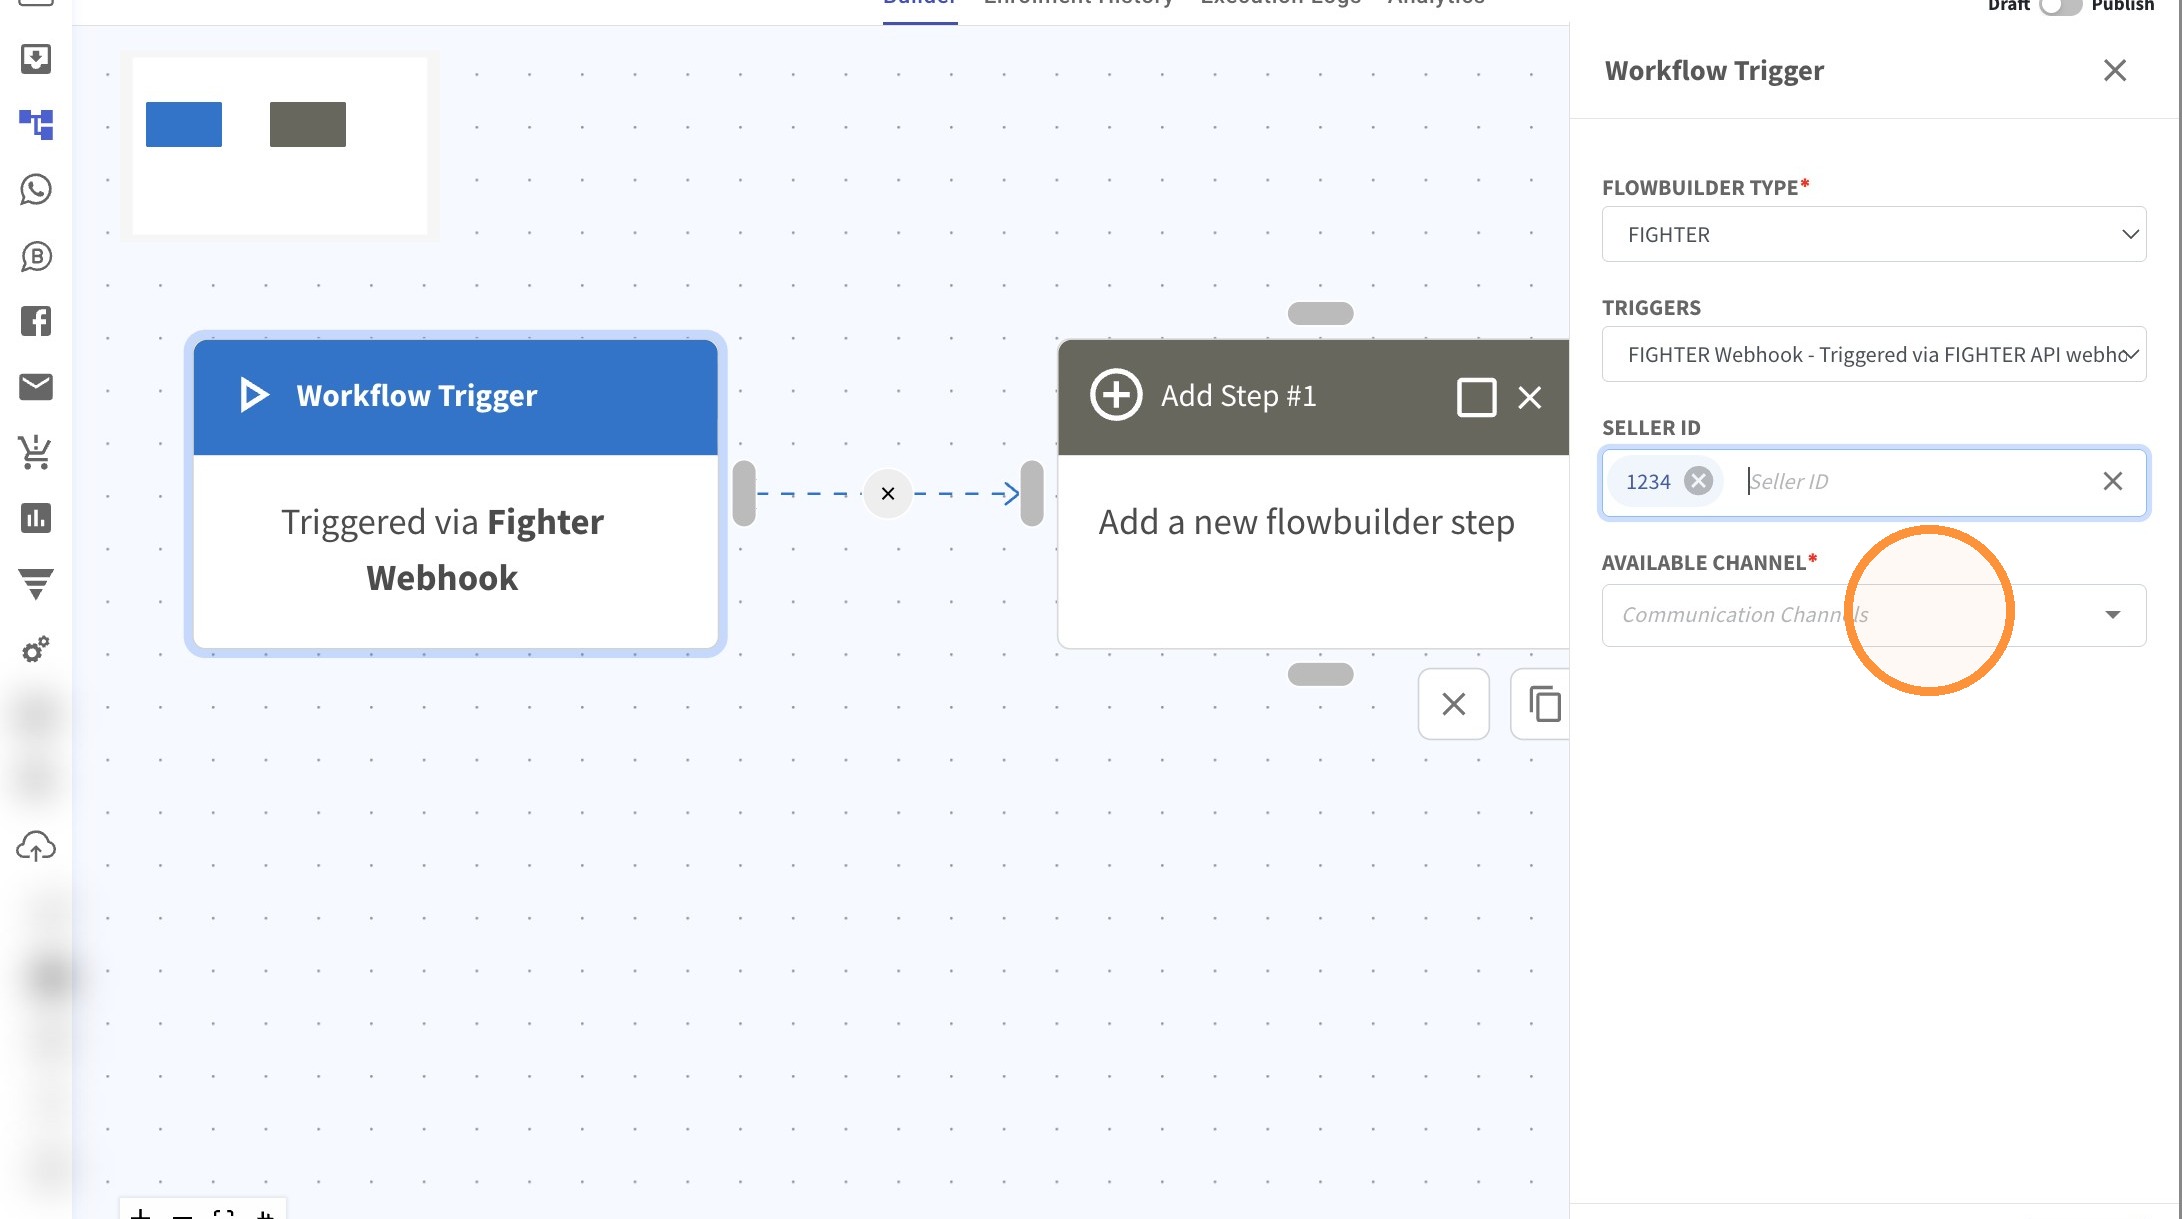
6. Input the Seller ID
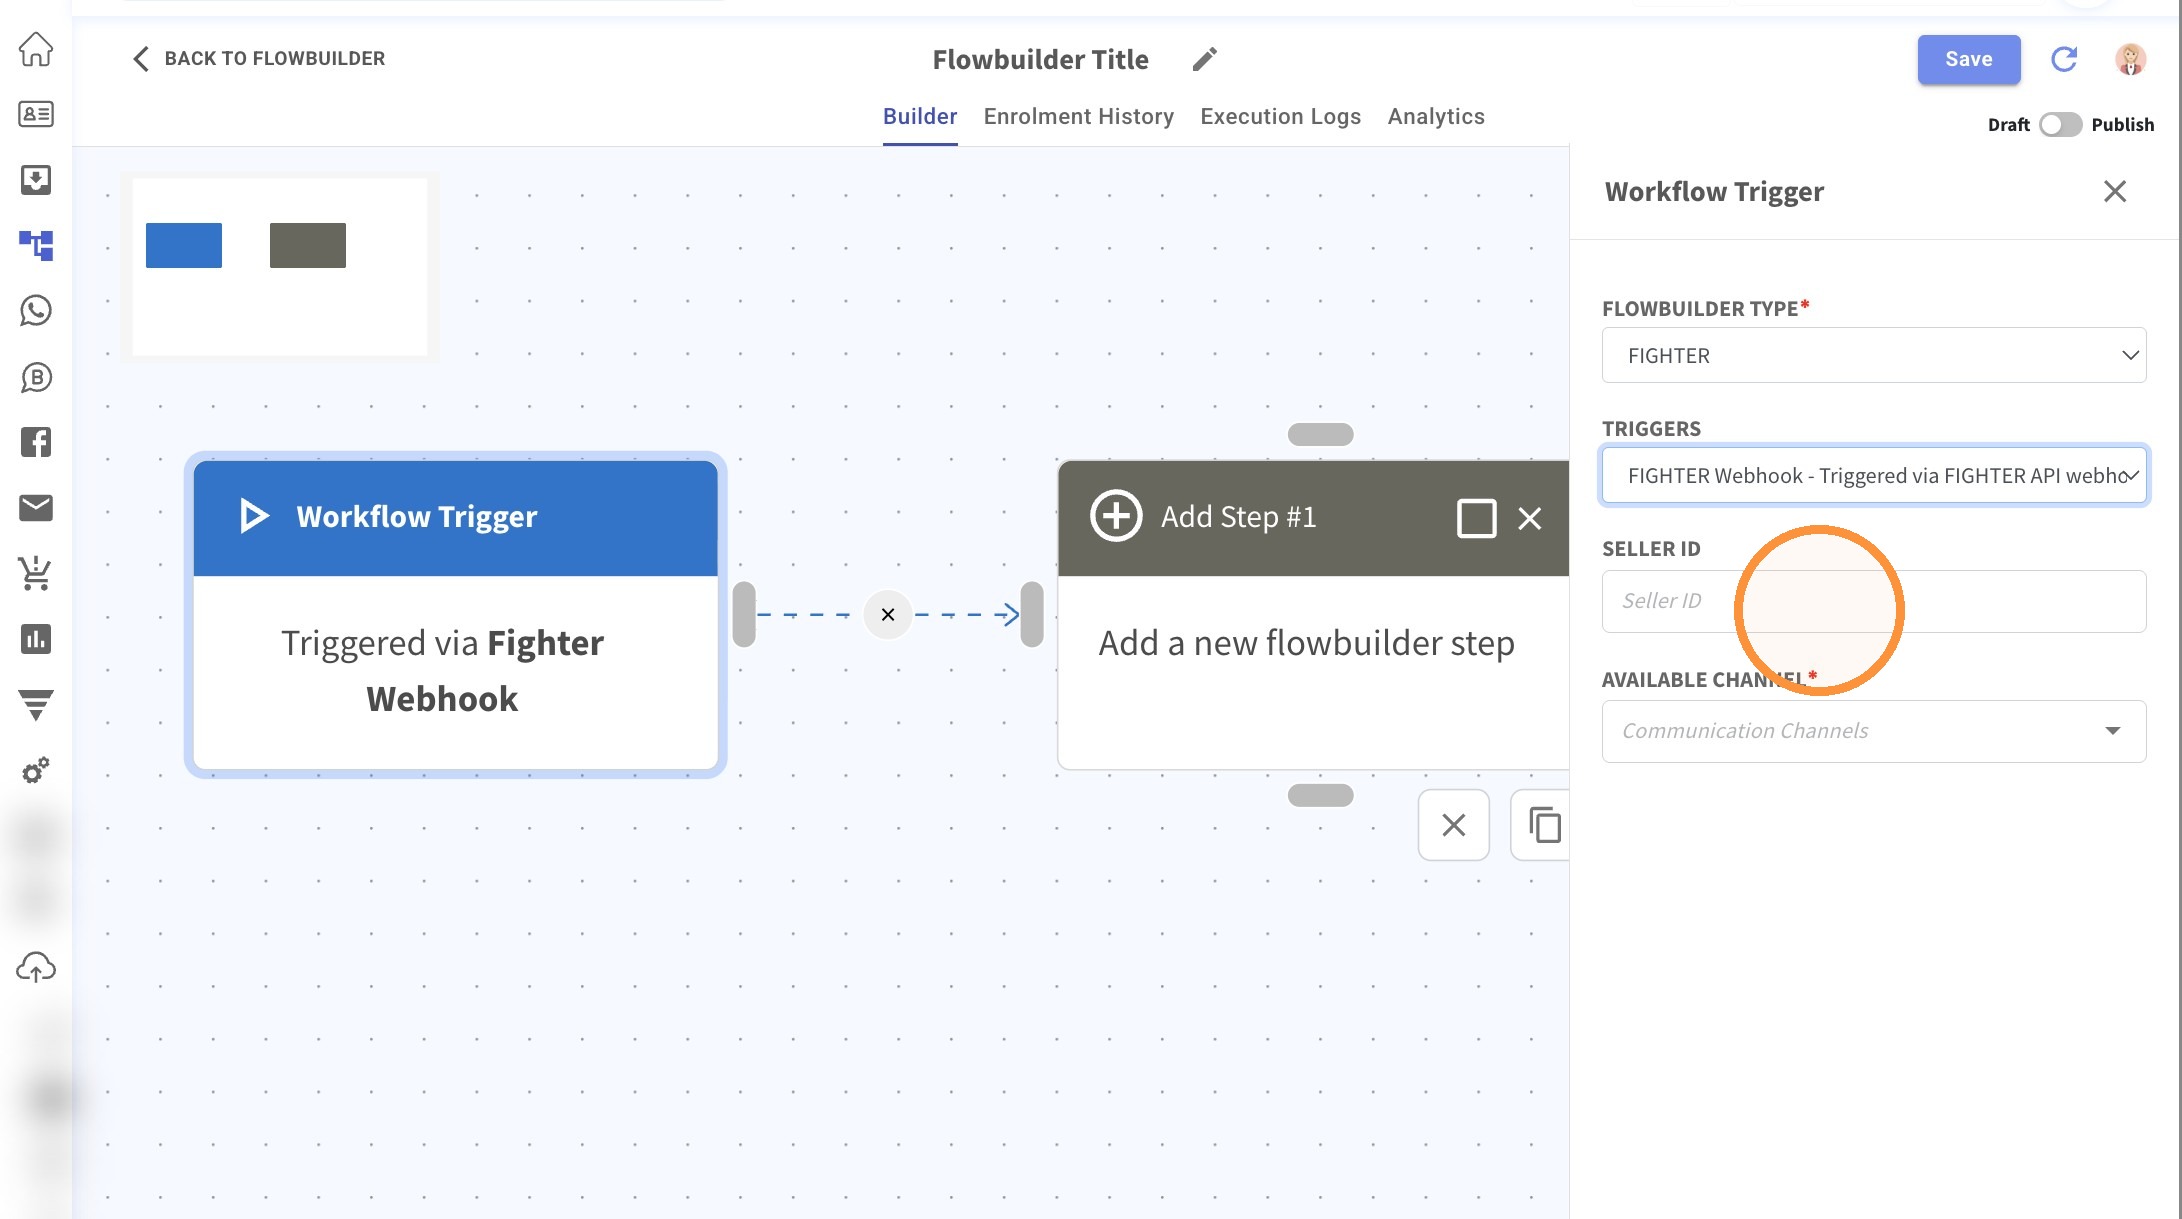
7. Select Add to add the Seller ID
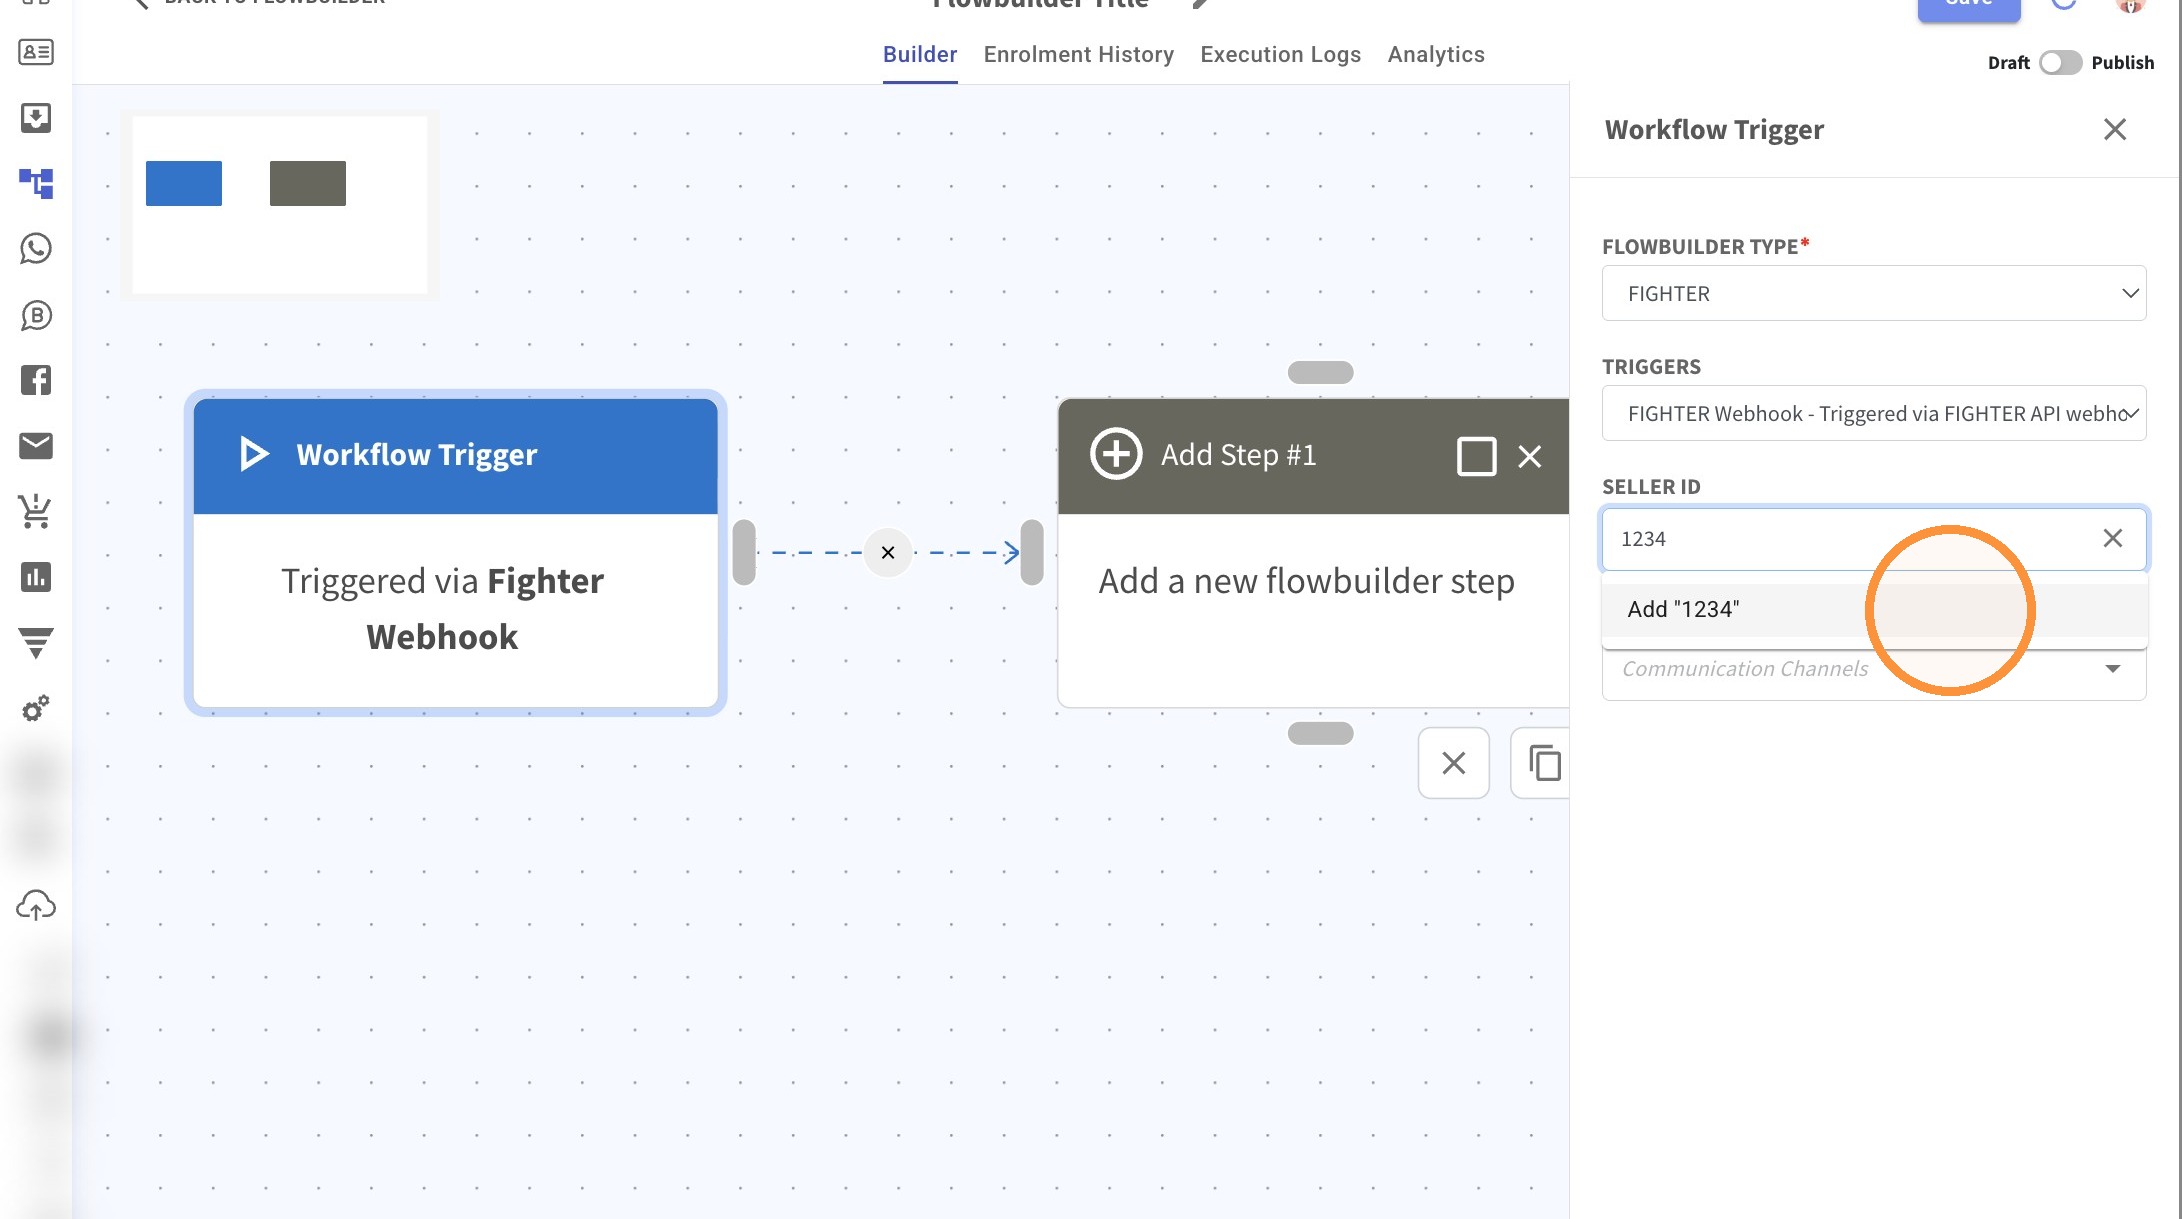
8. Select the channel.
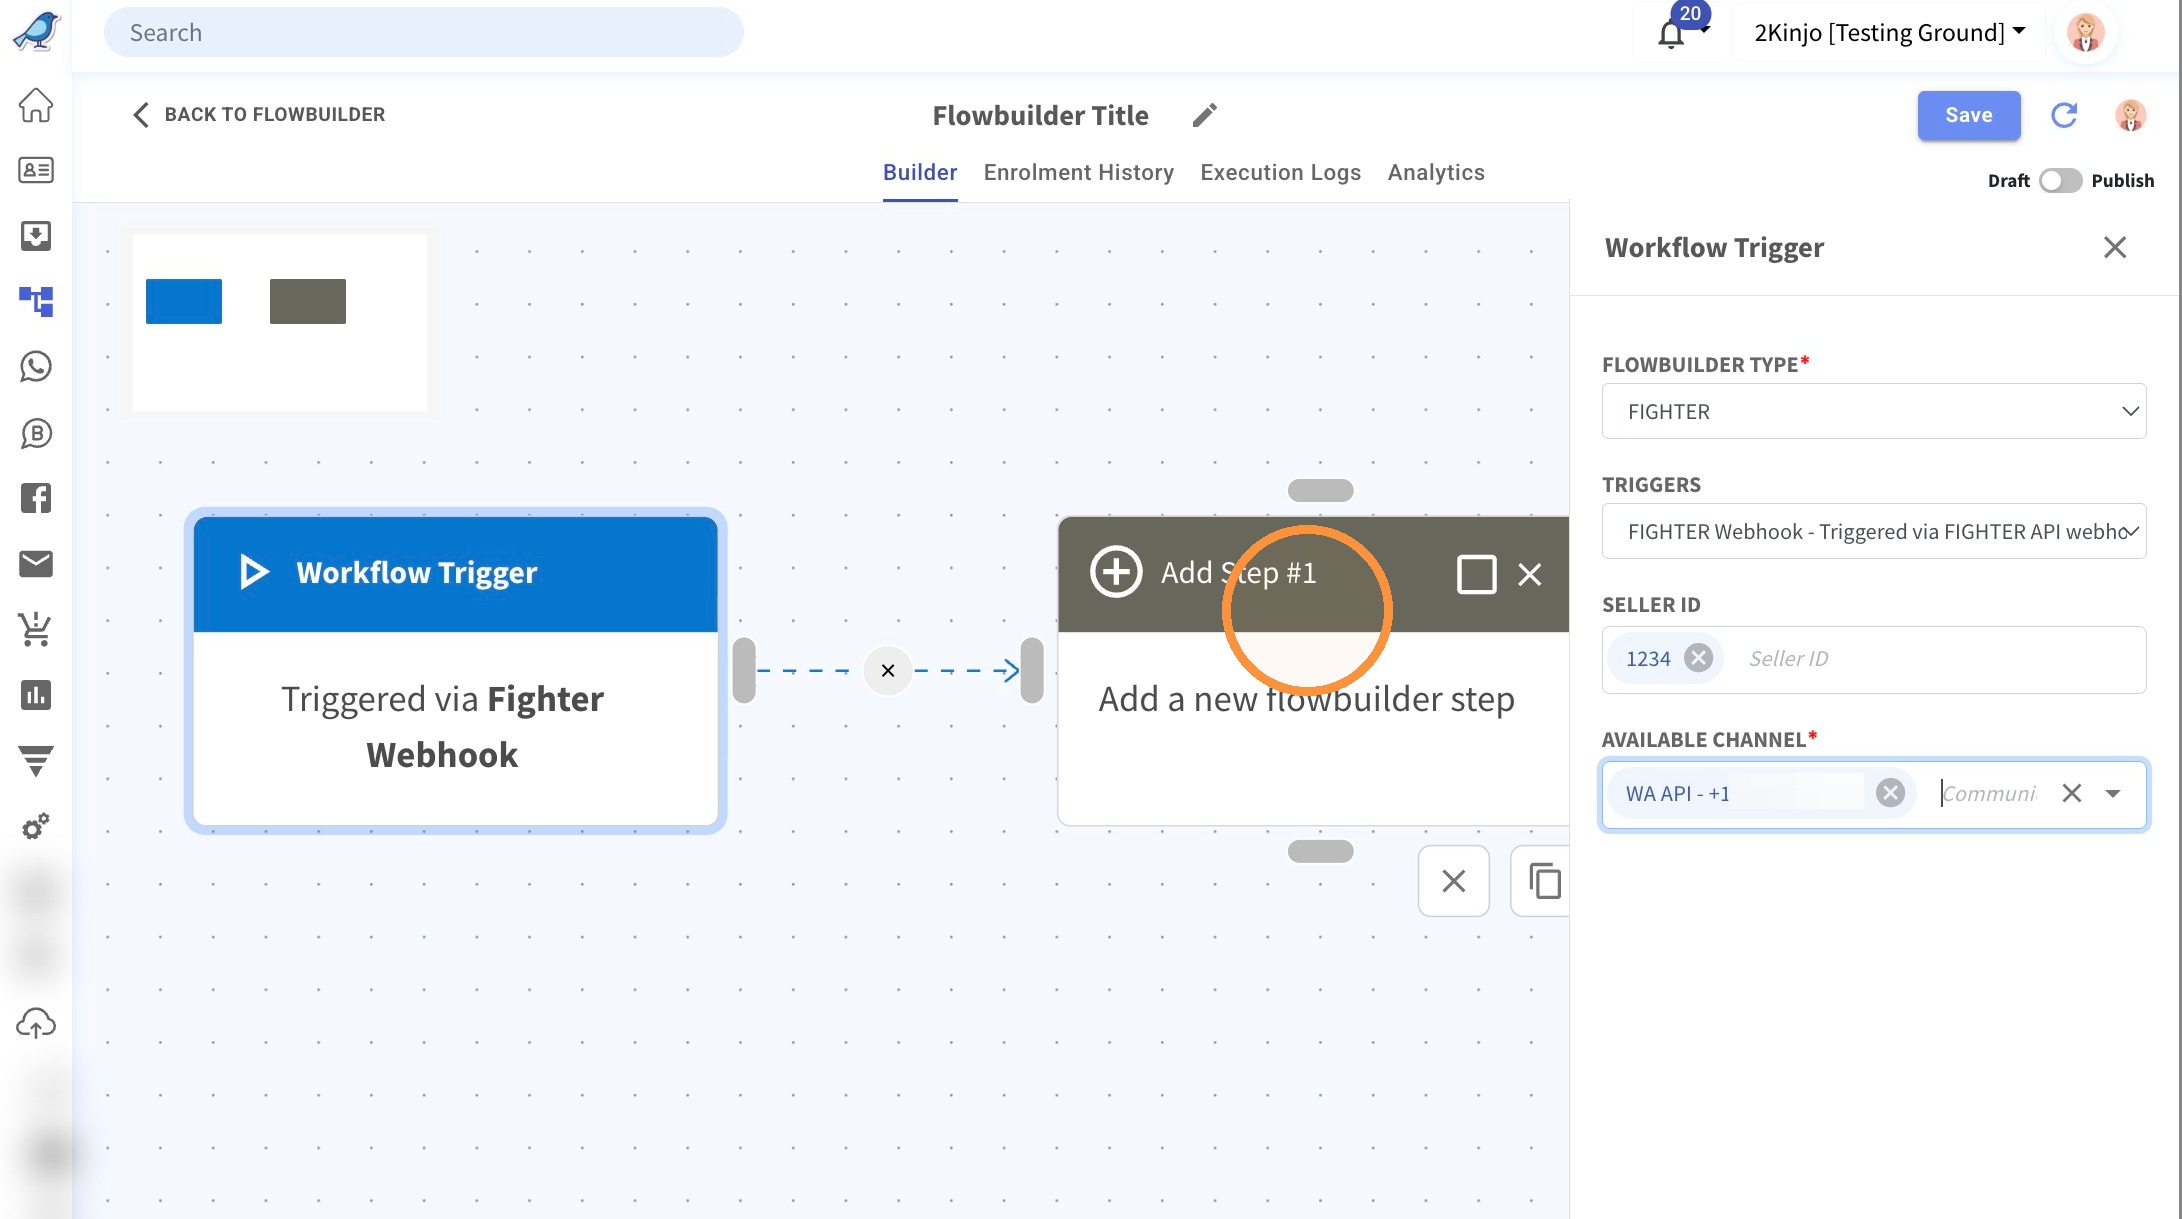
9. Click "Add Step #1"
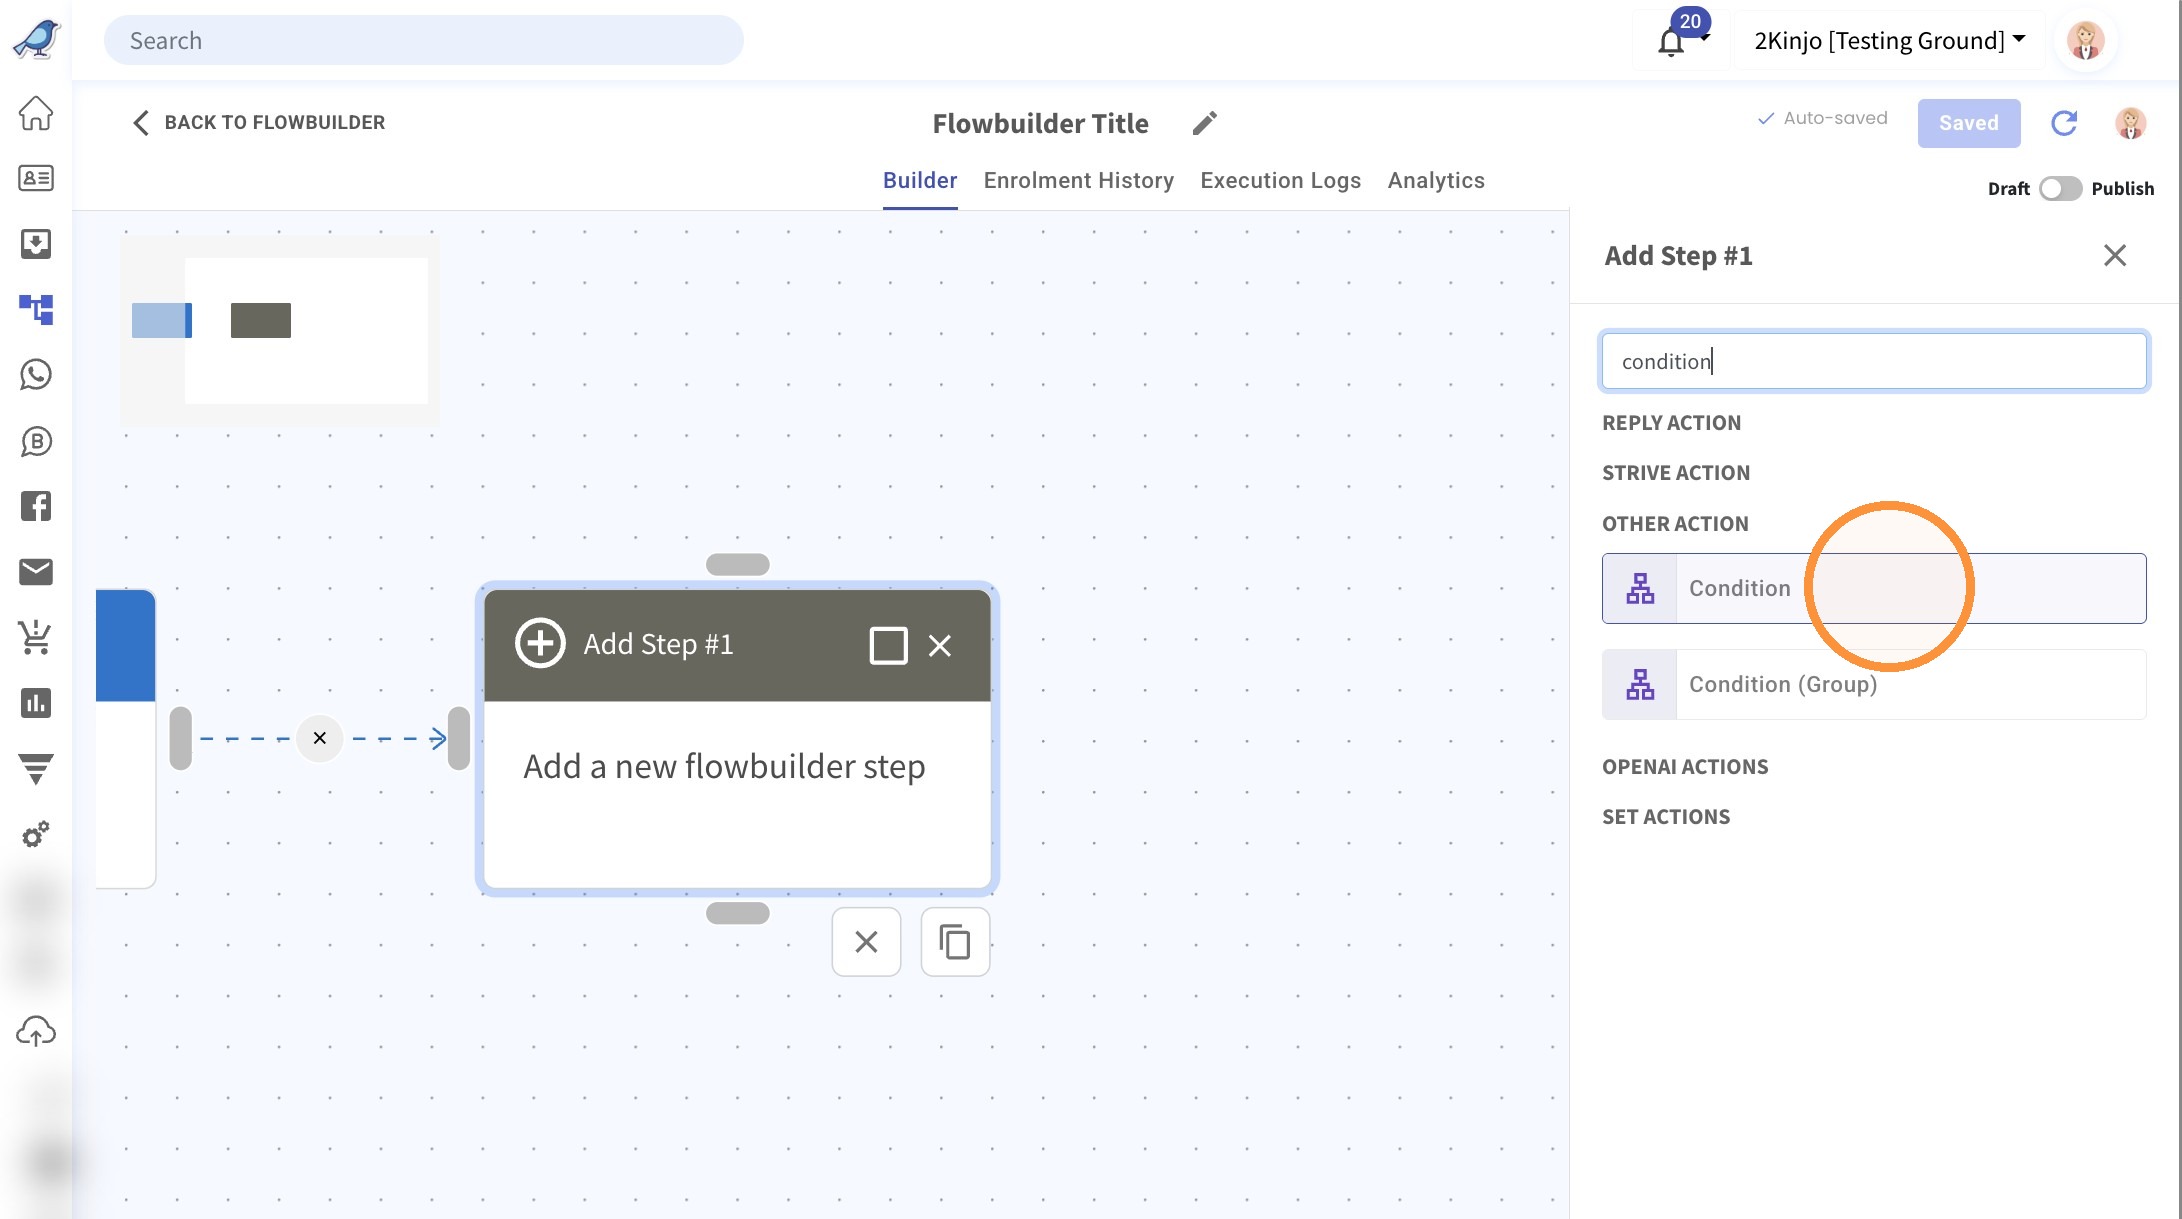
10. Scroll then or search then click "Condition"
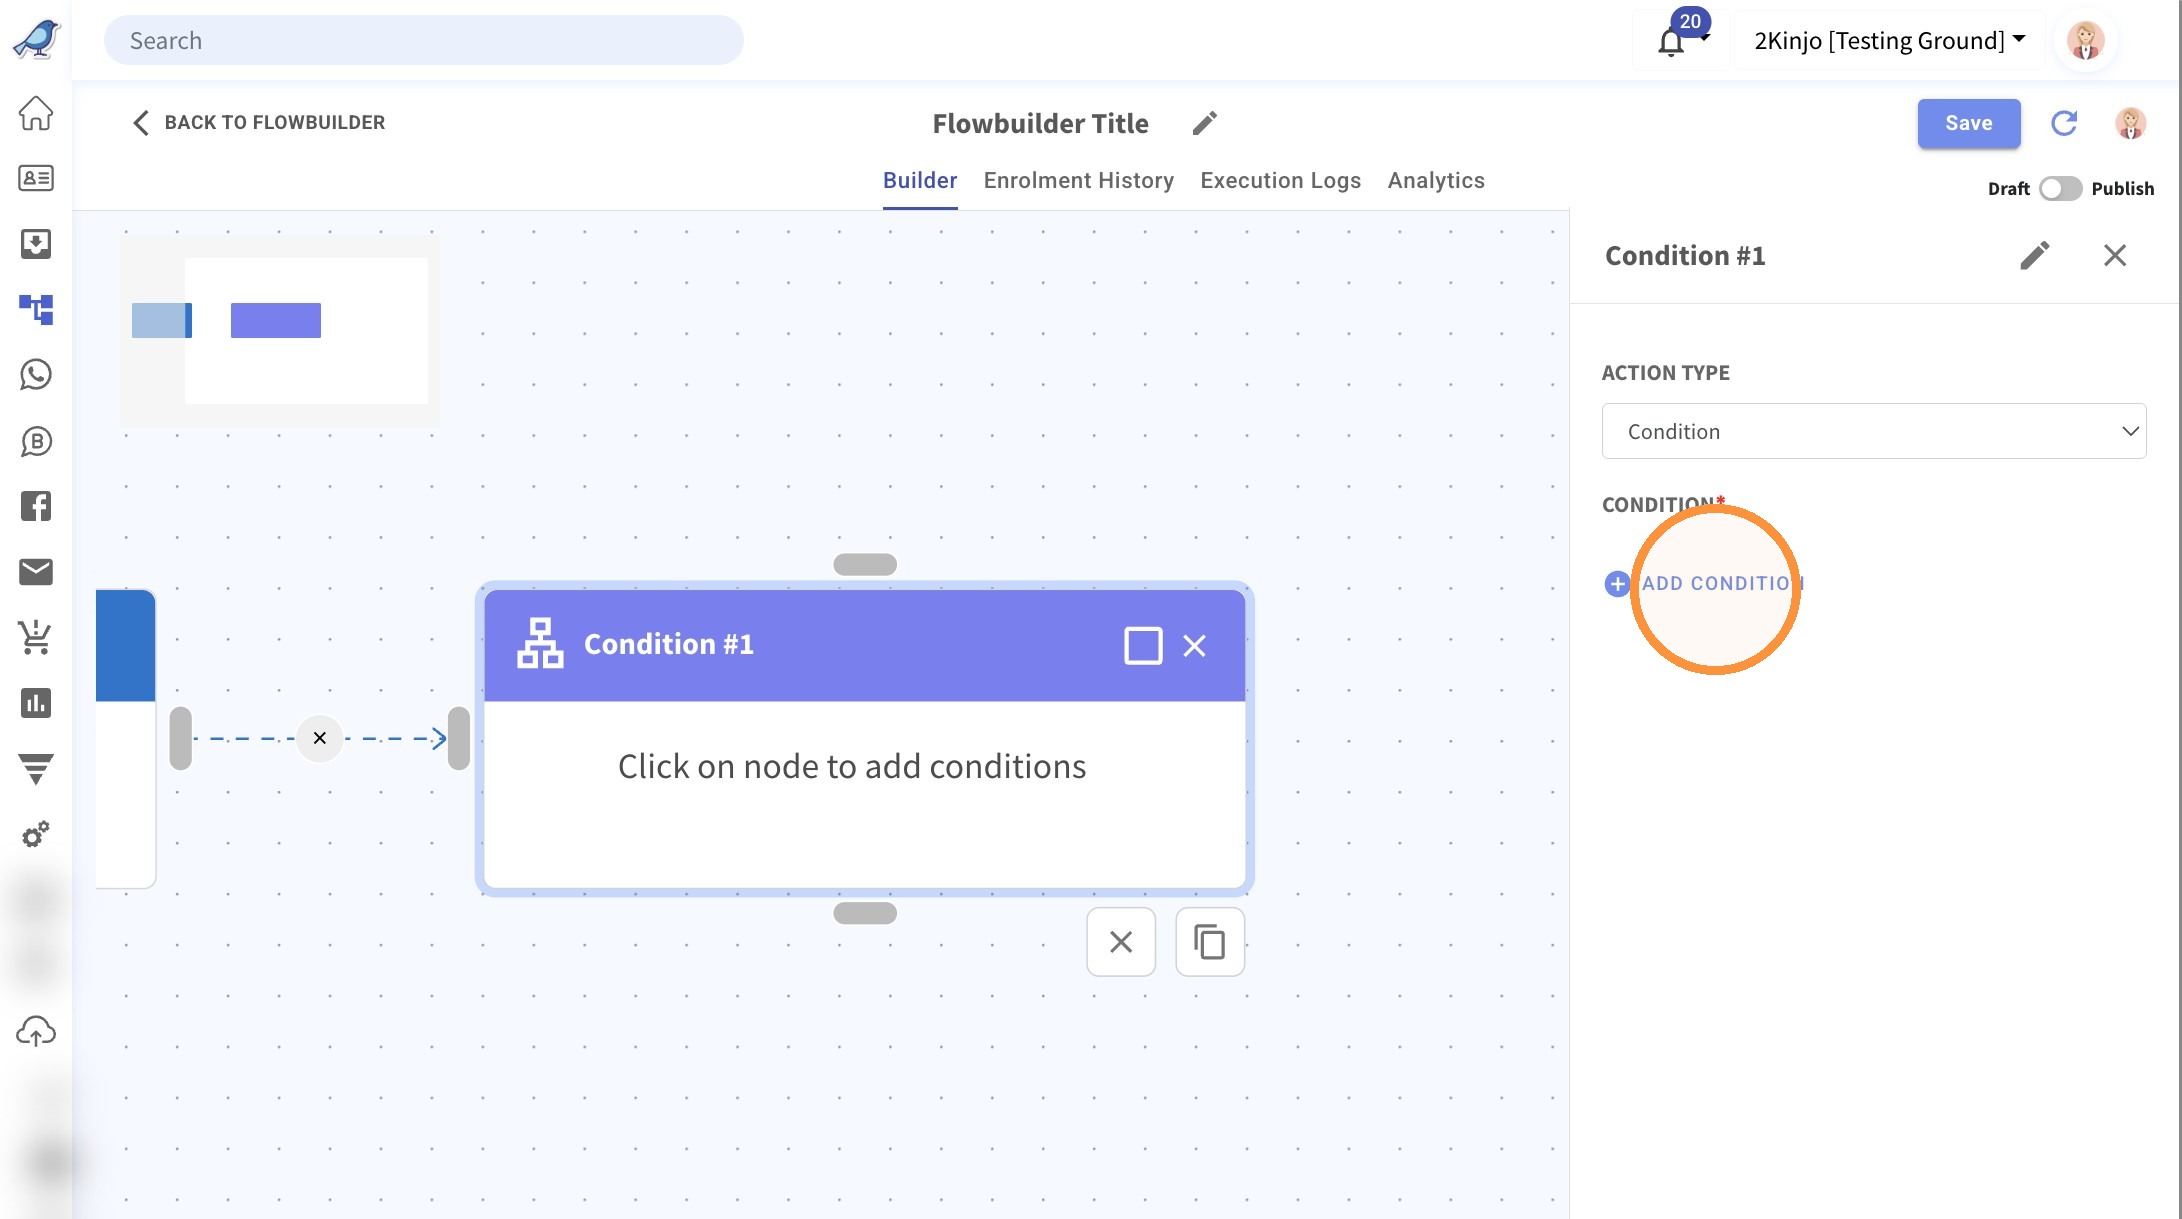
11. Click "Add Condition"
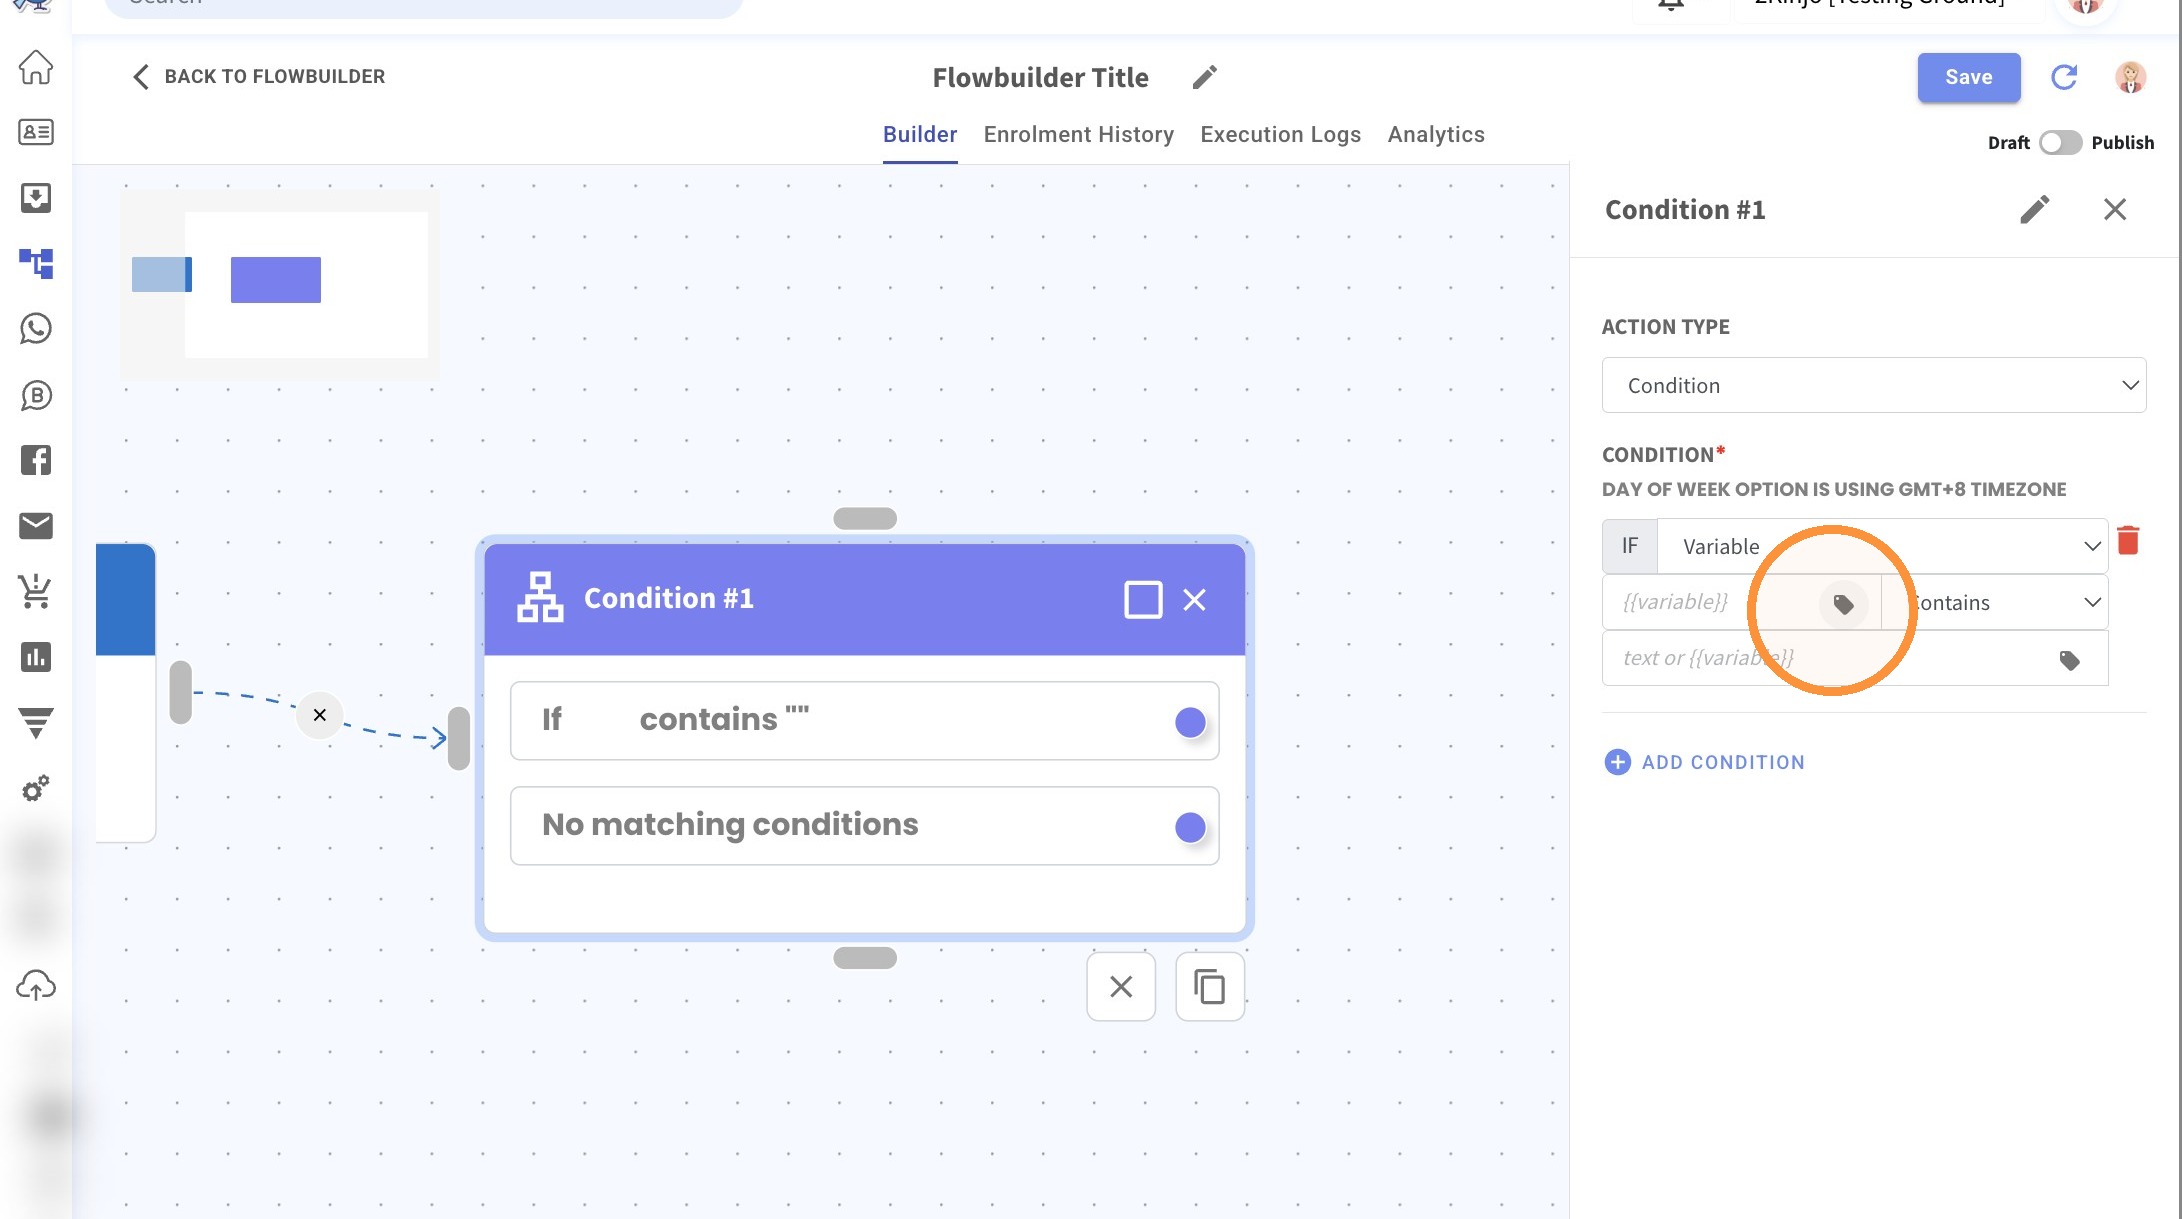
12. Click this icon to select the variable of figher_order_status
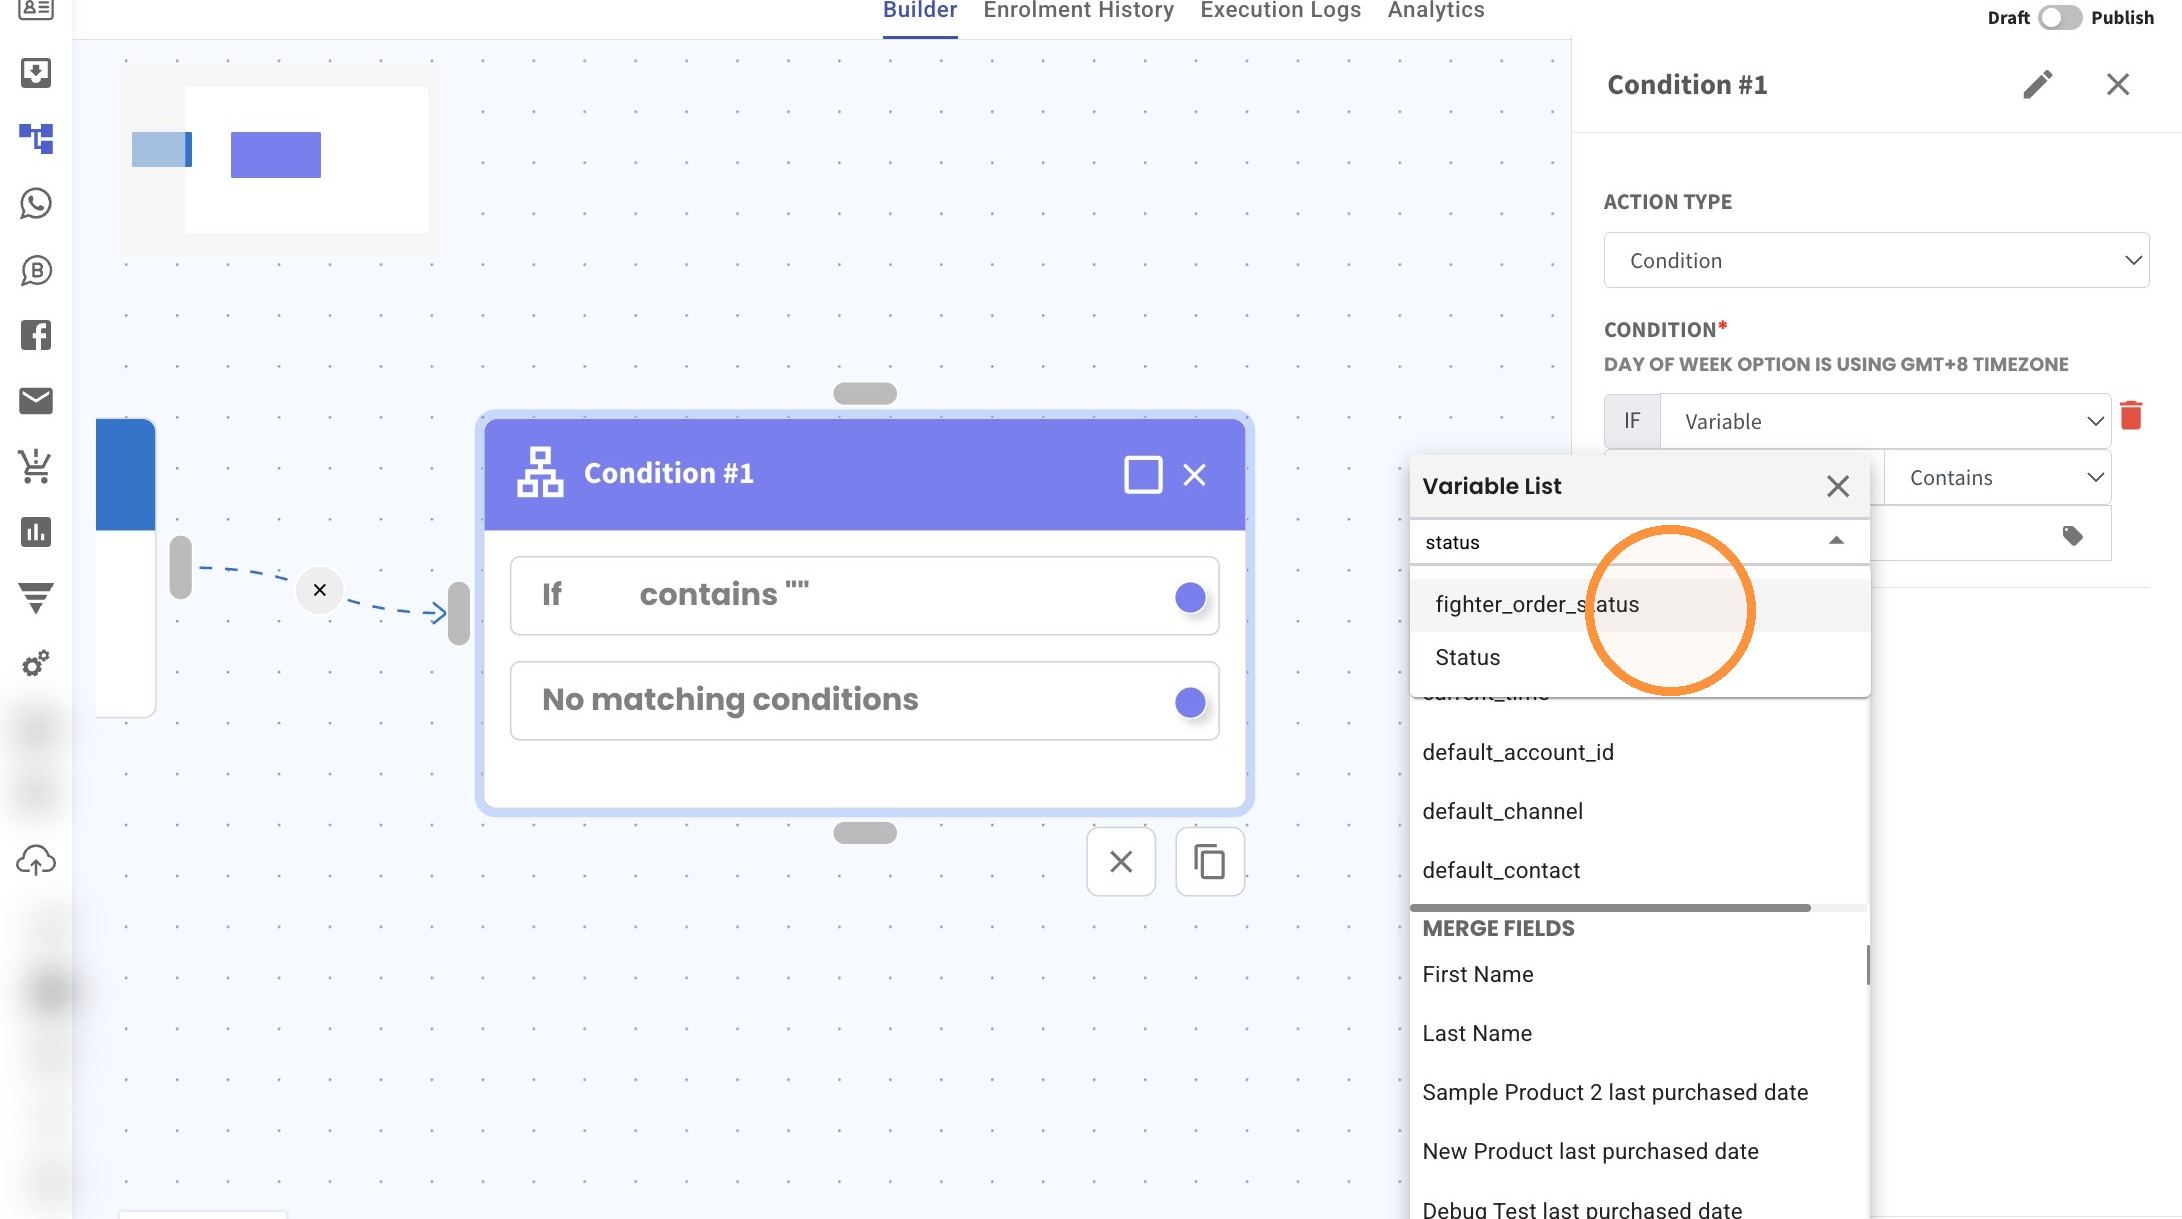
13. Scroll down or search for "fighter_order_status" then click on it.
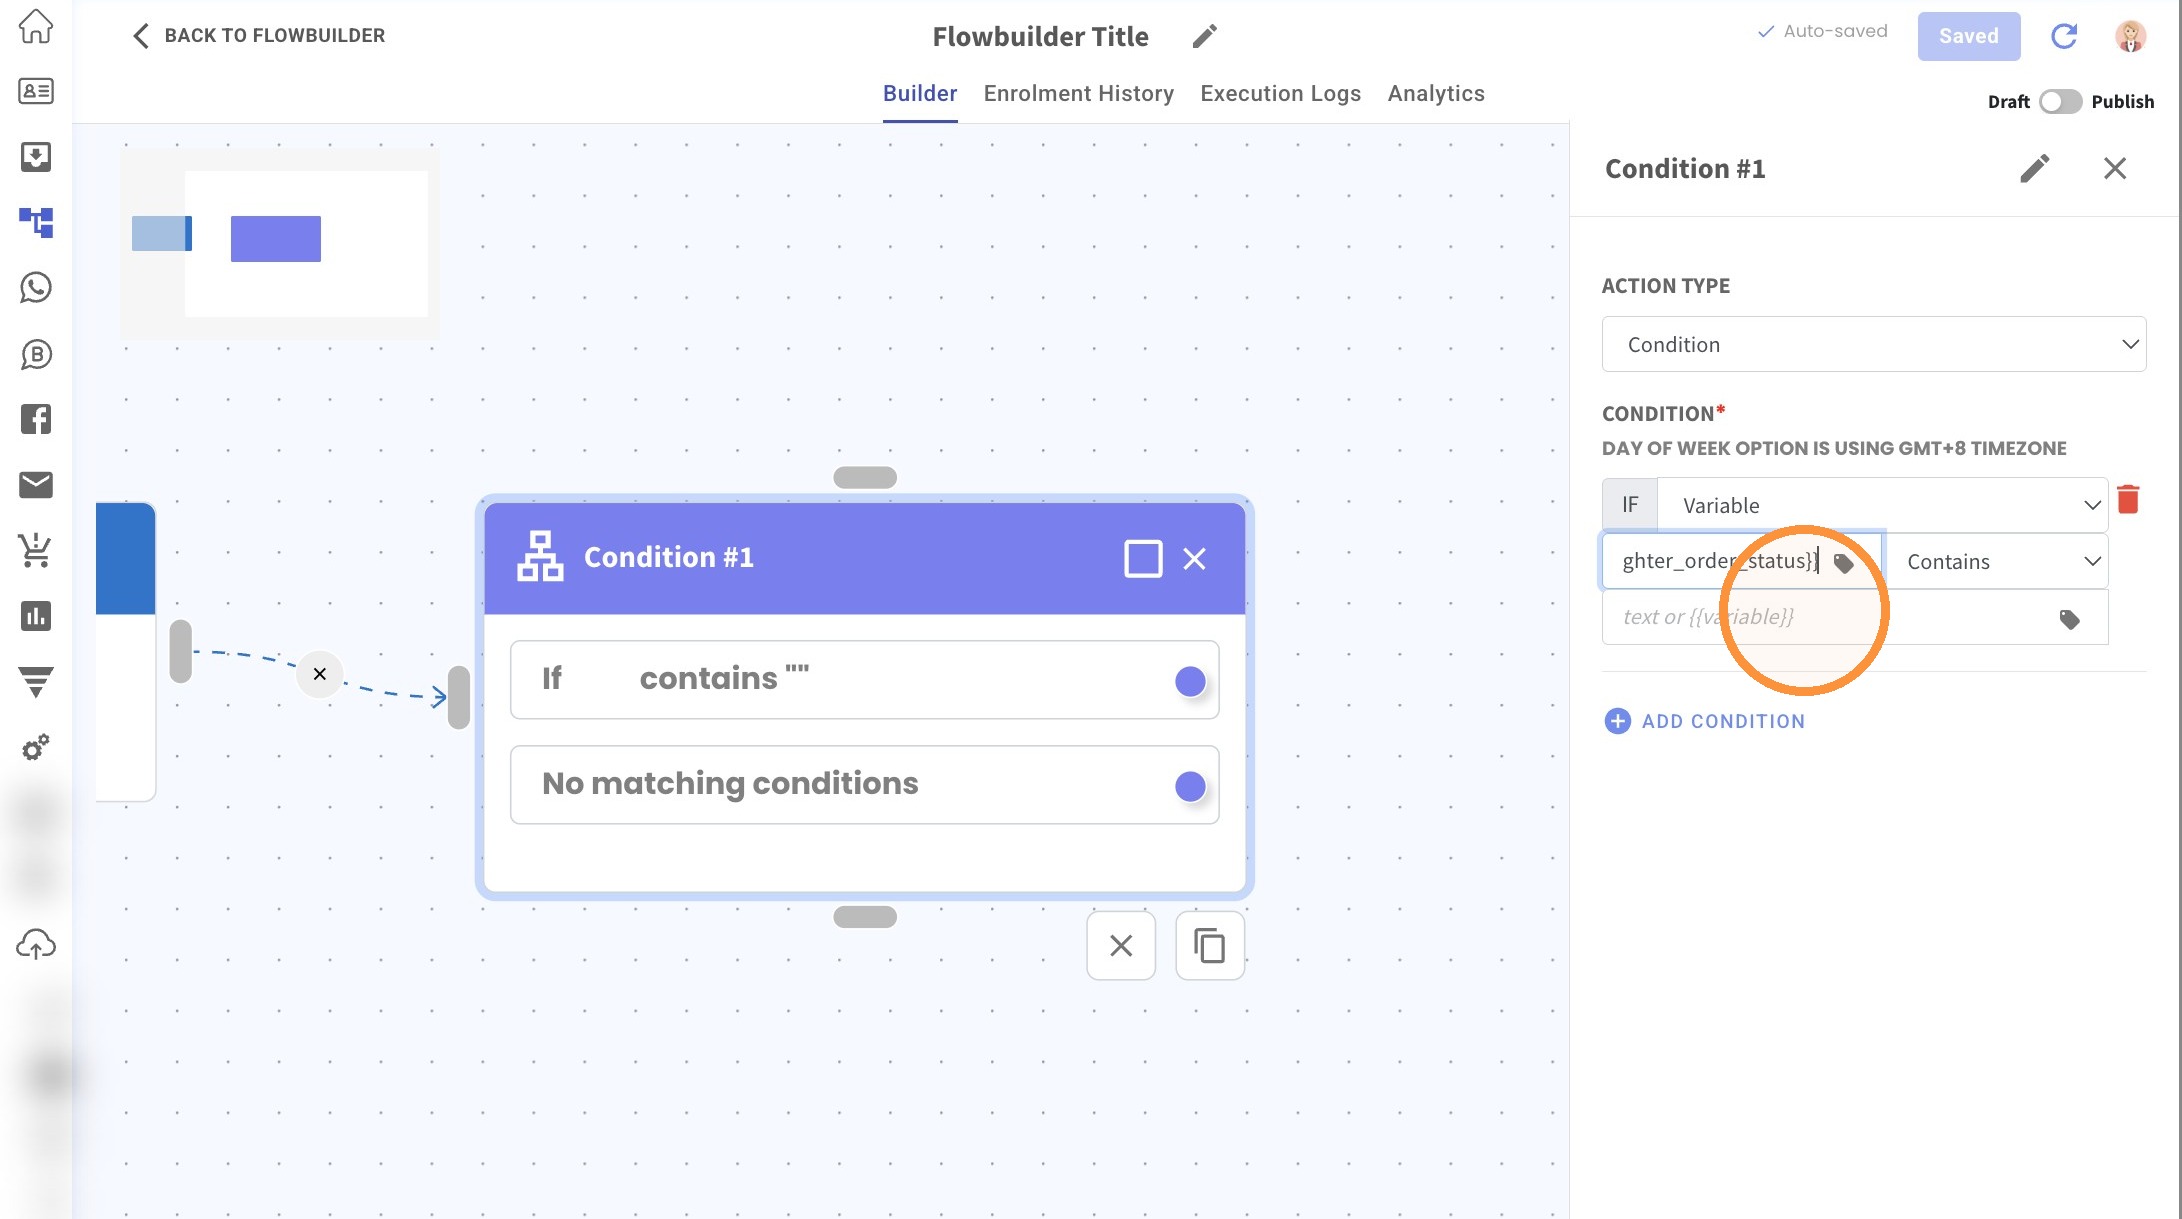
14. Input the value "New"
New refers to new order.
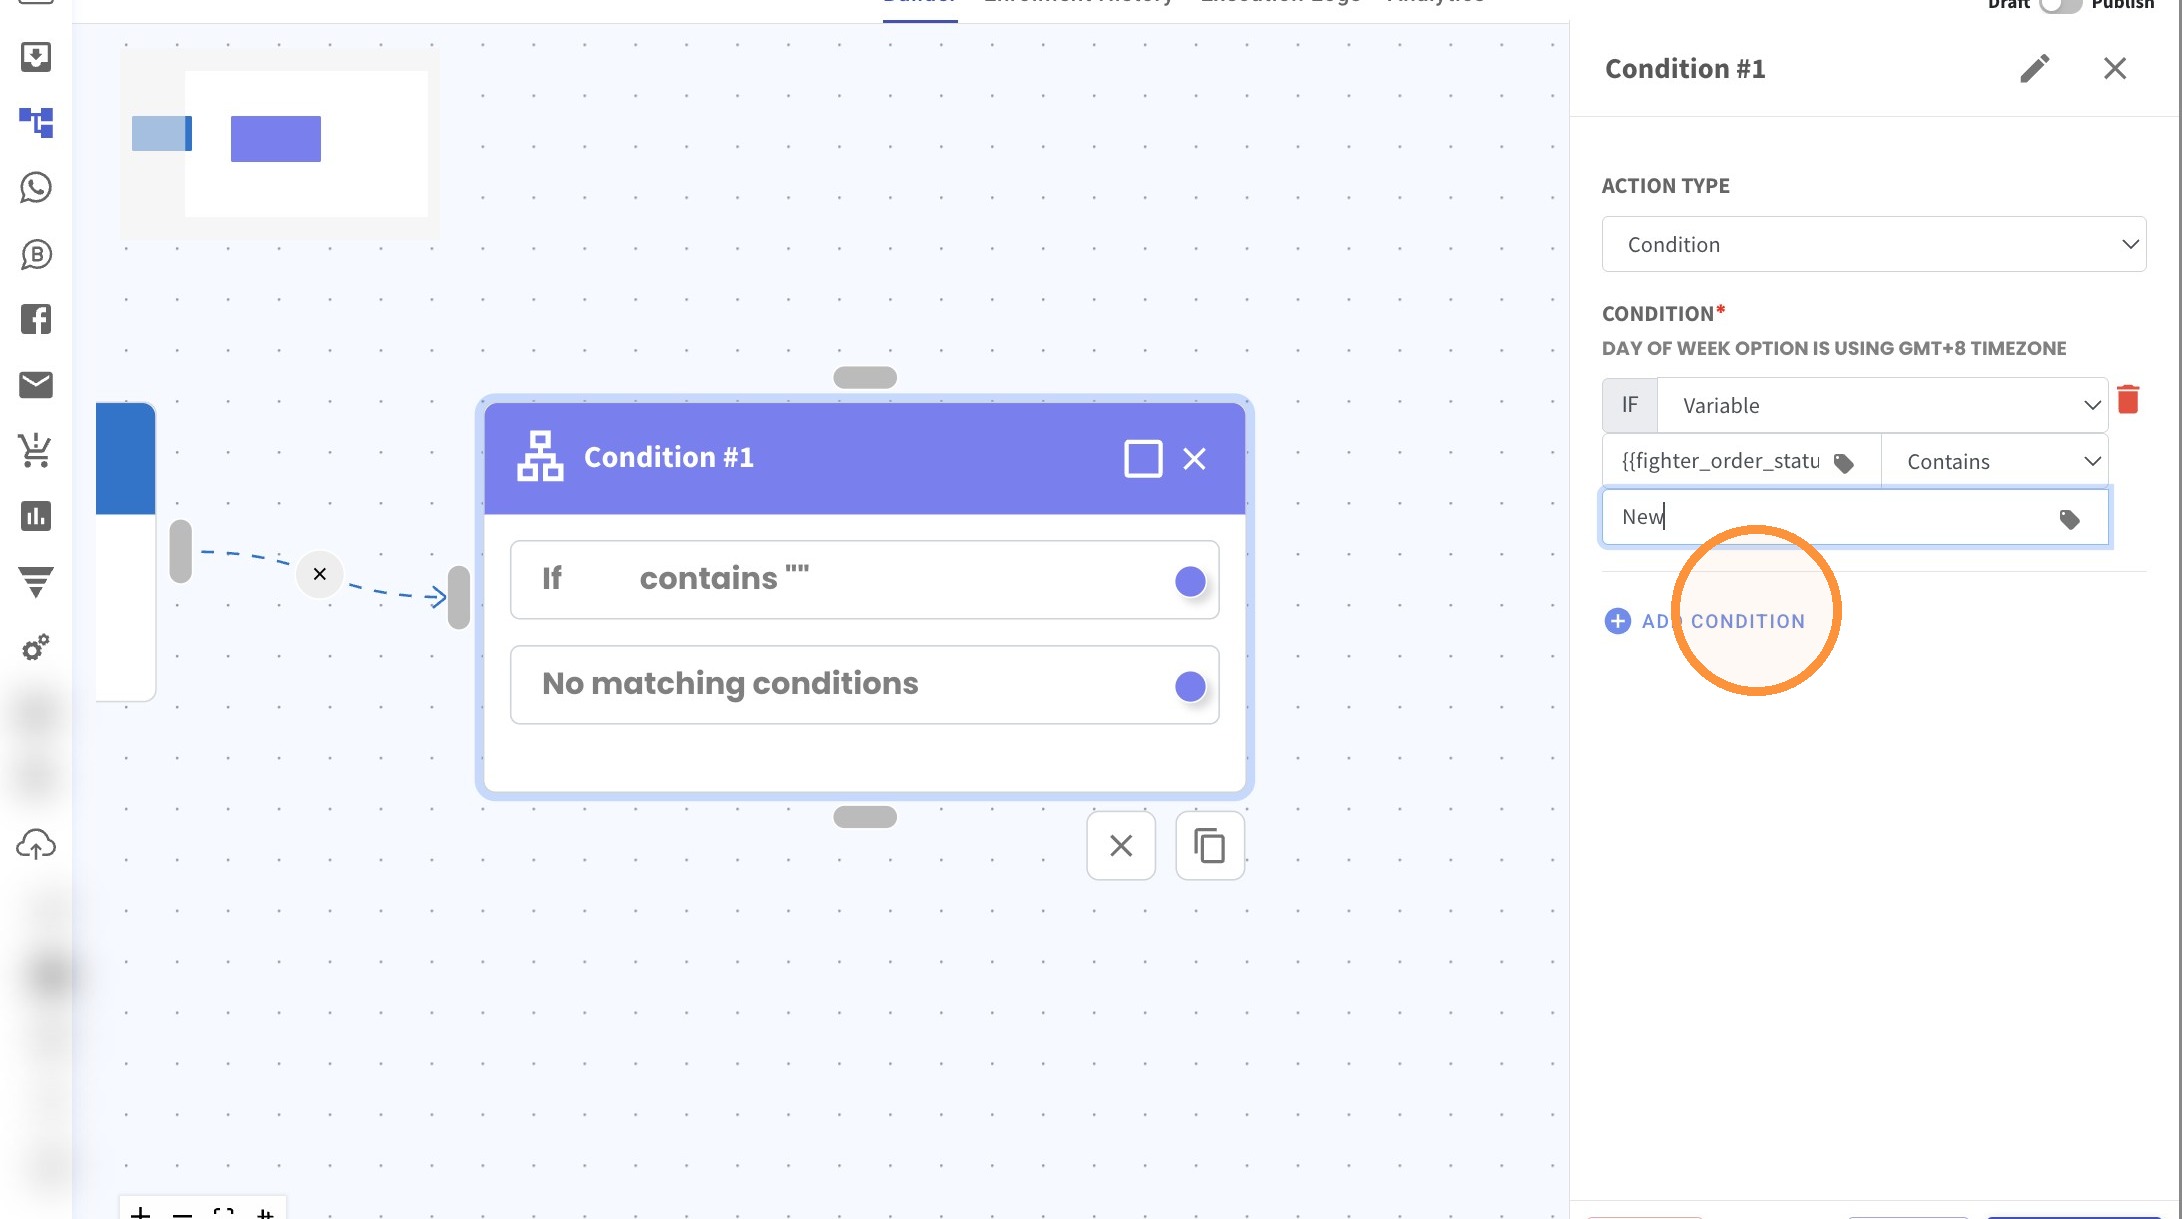
15. Click "Add Condition" and repeat step 12-13.
The value for those in transit is "In Transit".
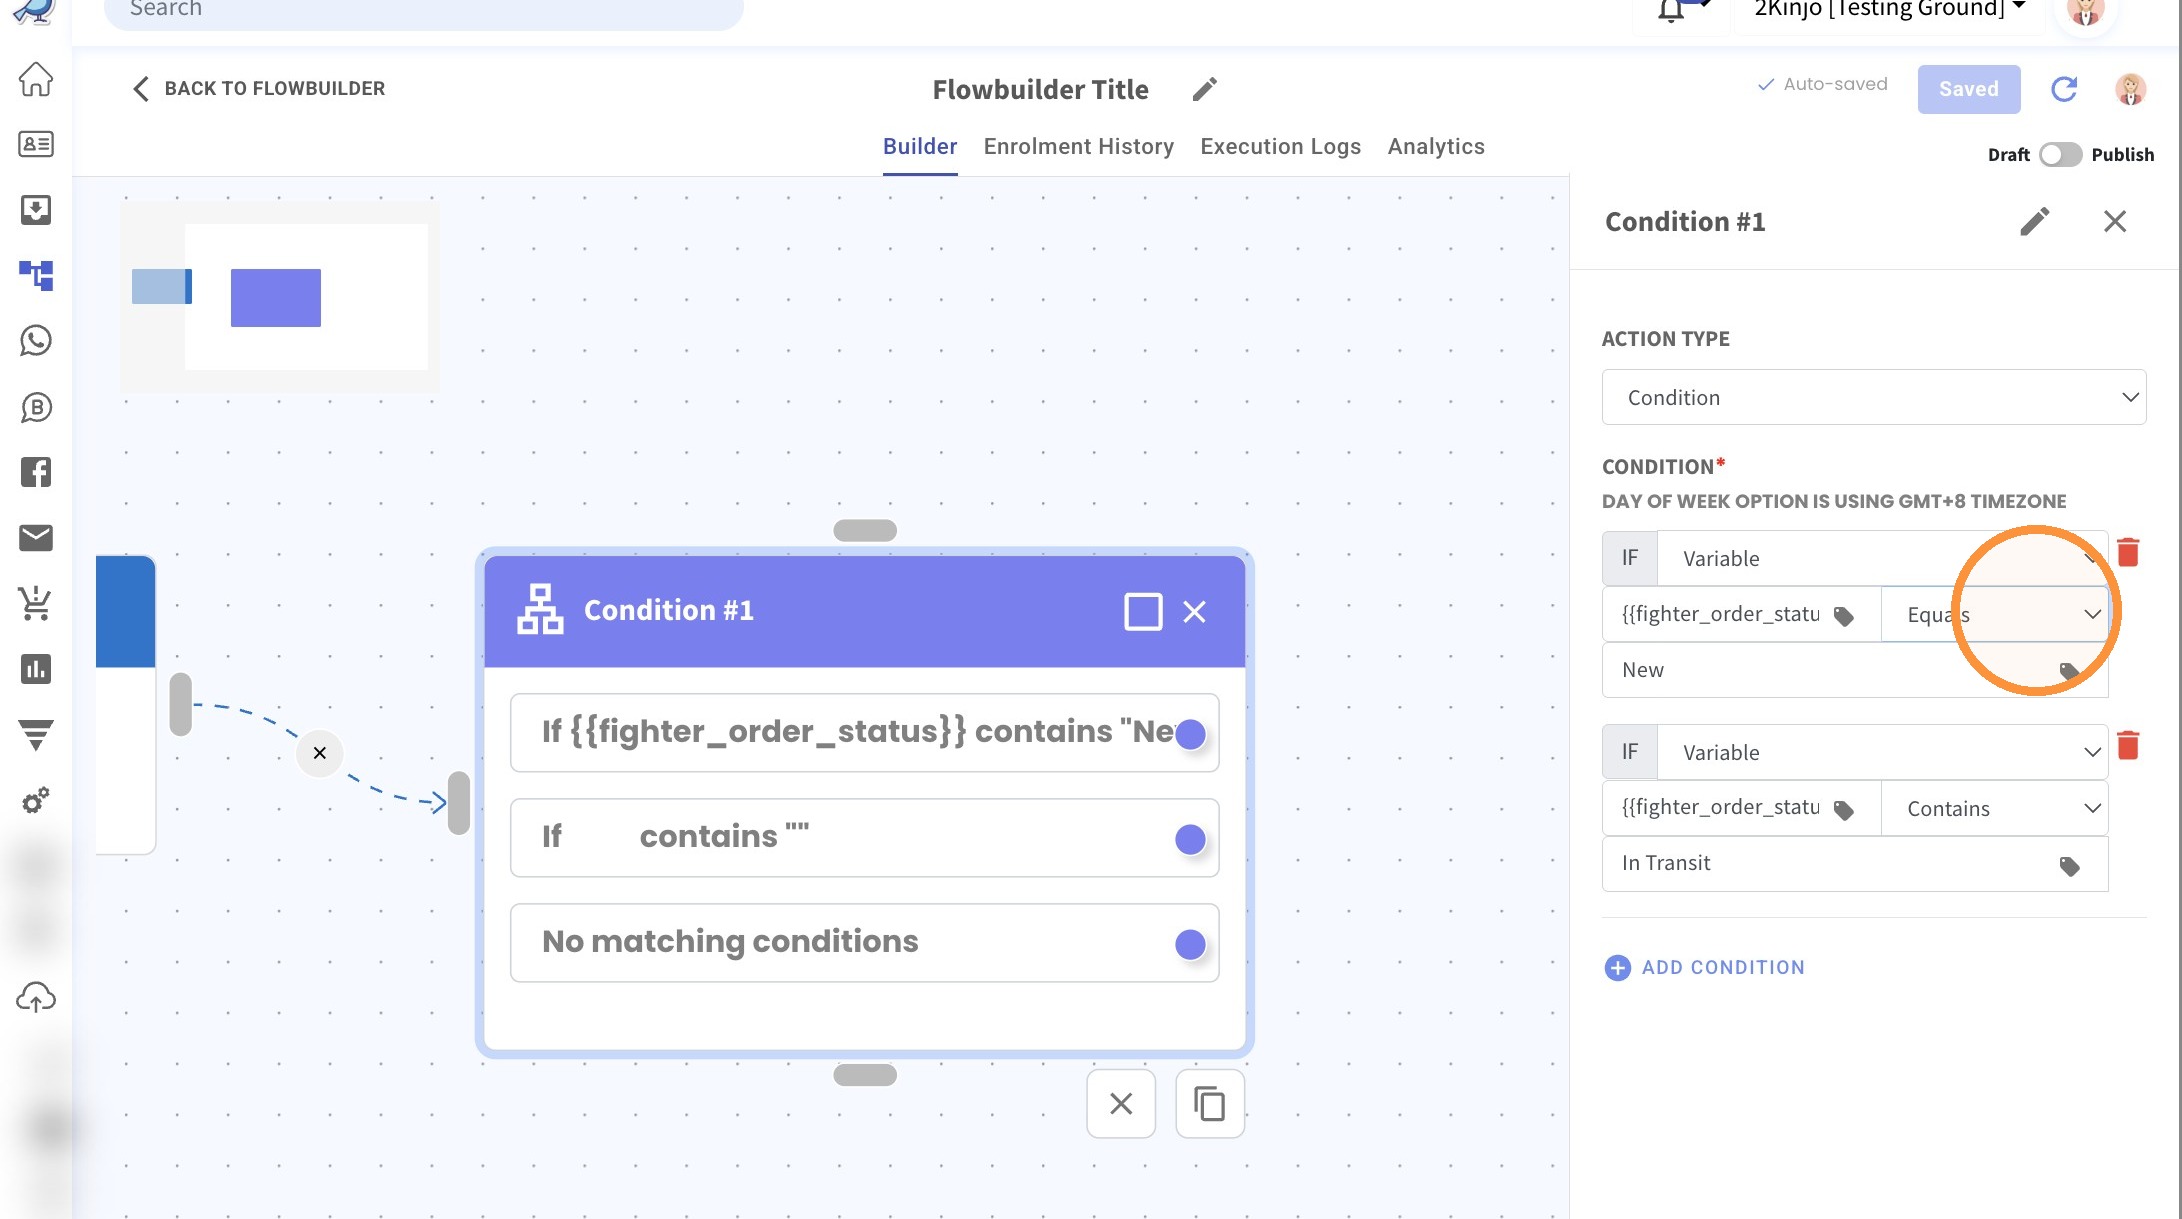
16. Select the "Equals" option for both condition.
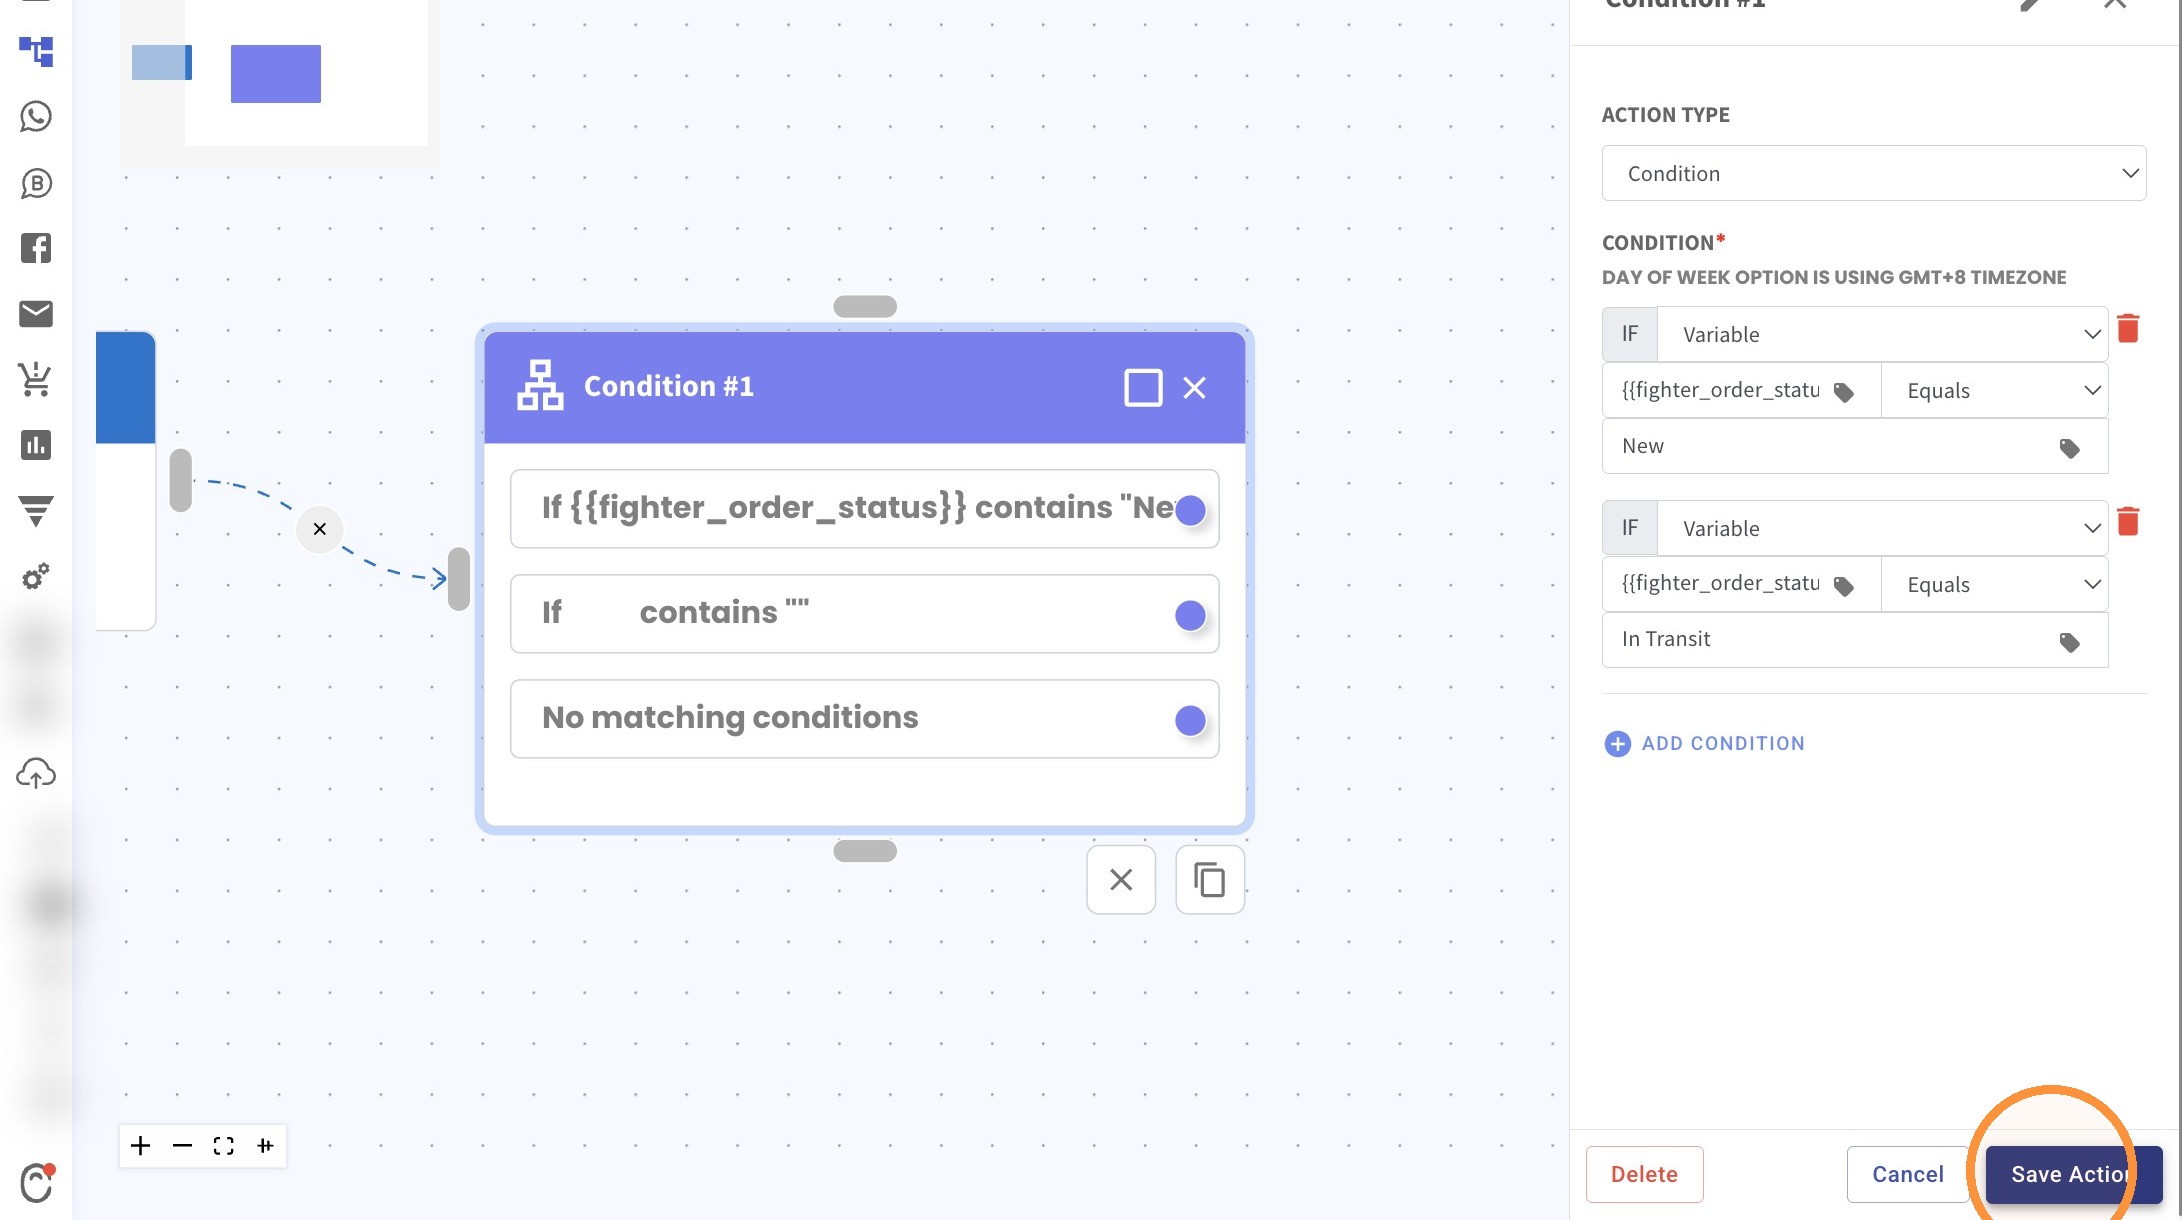
17. Click "Save Action"
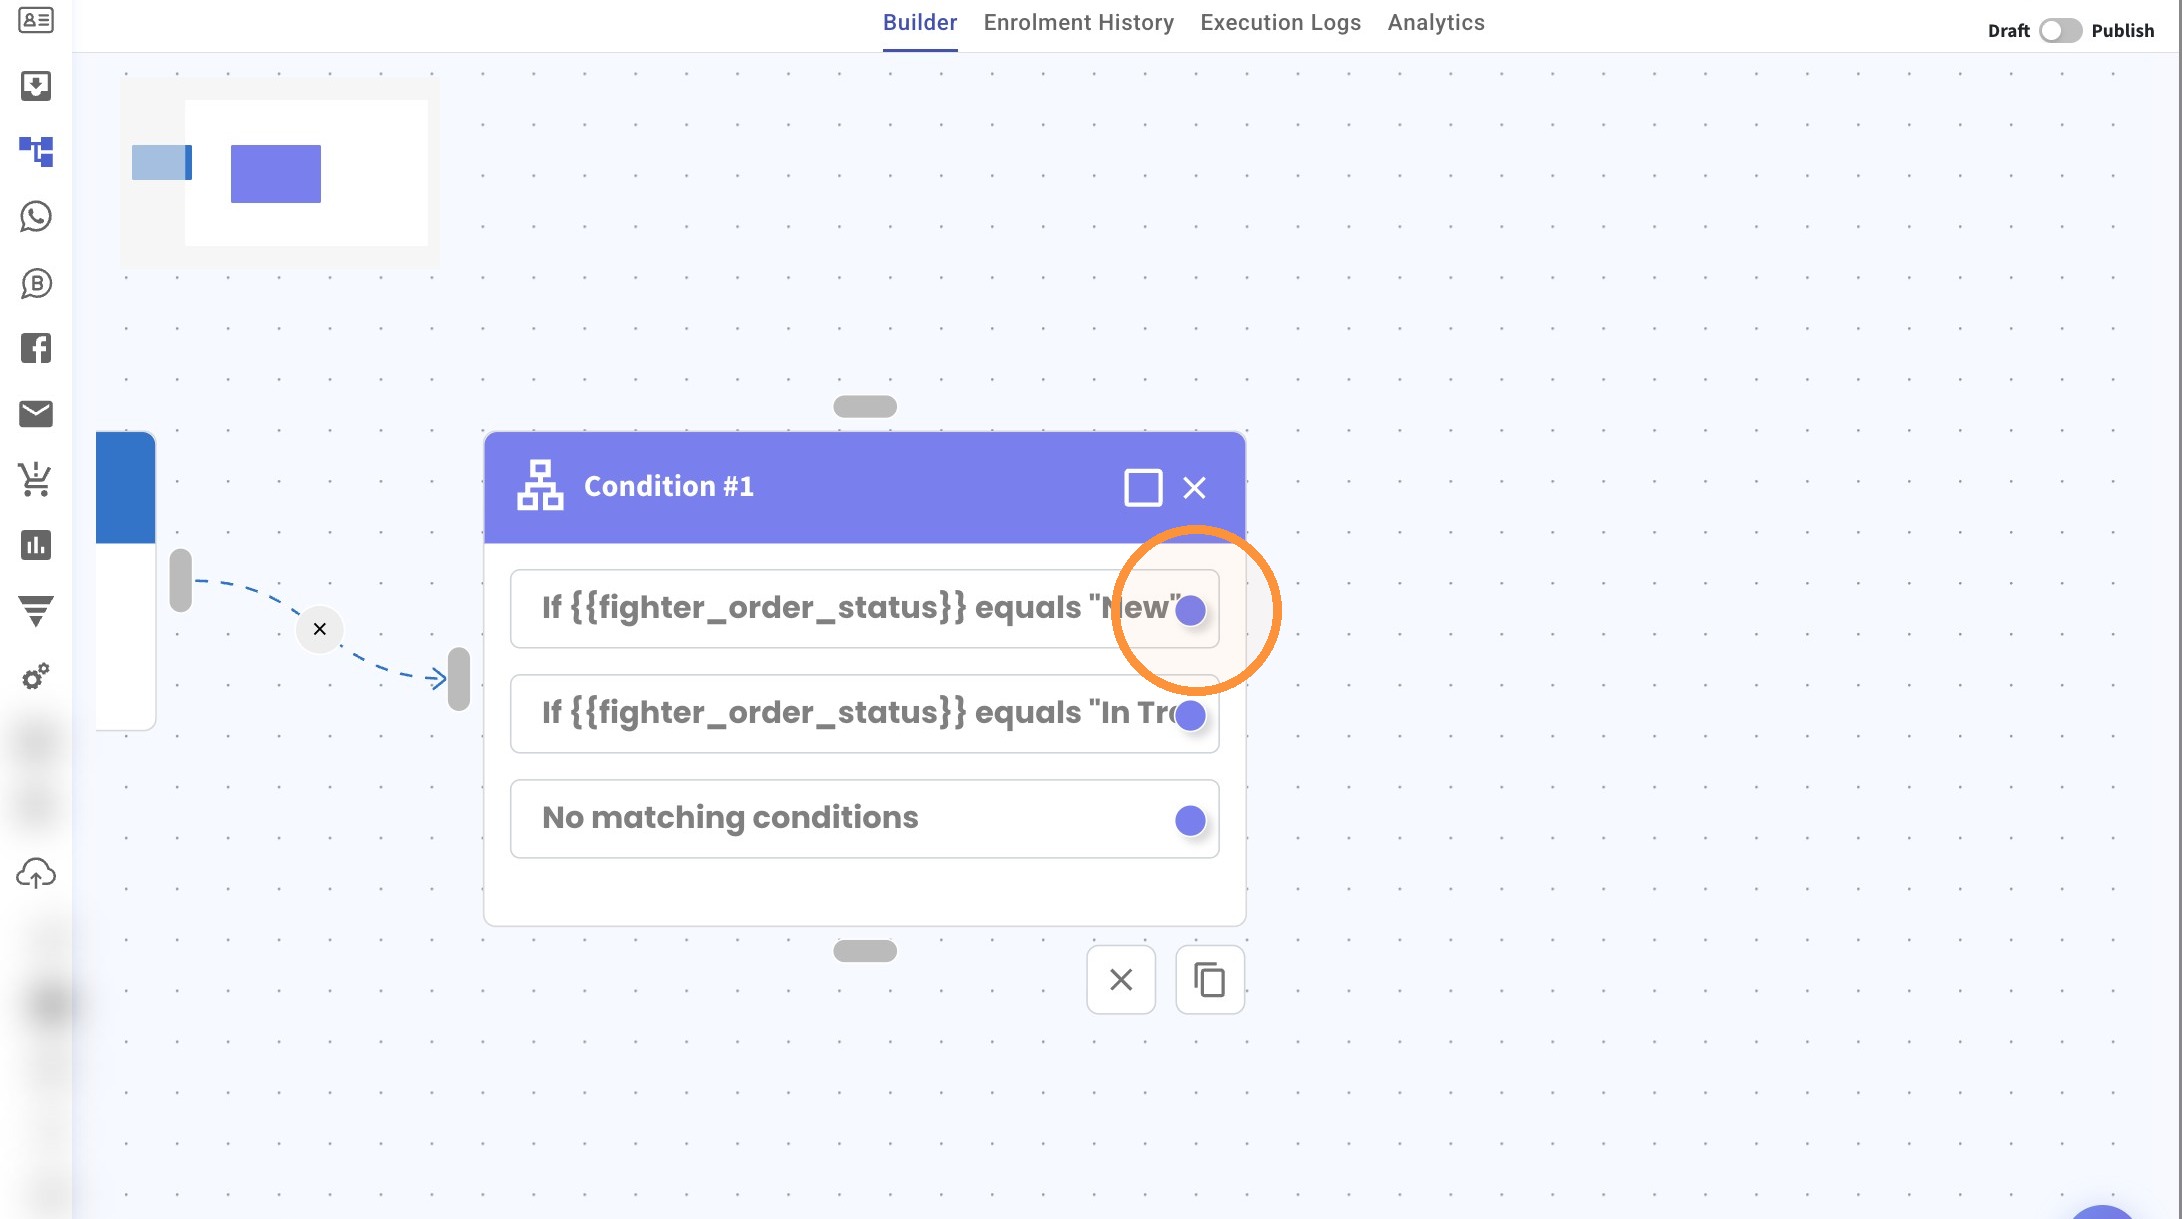
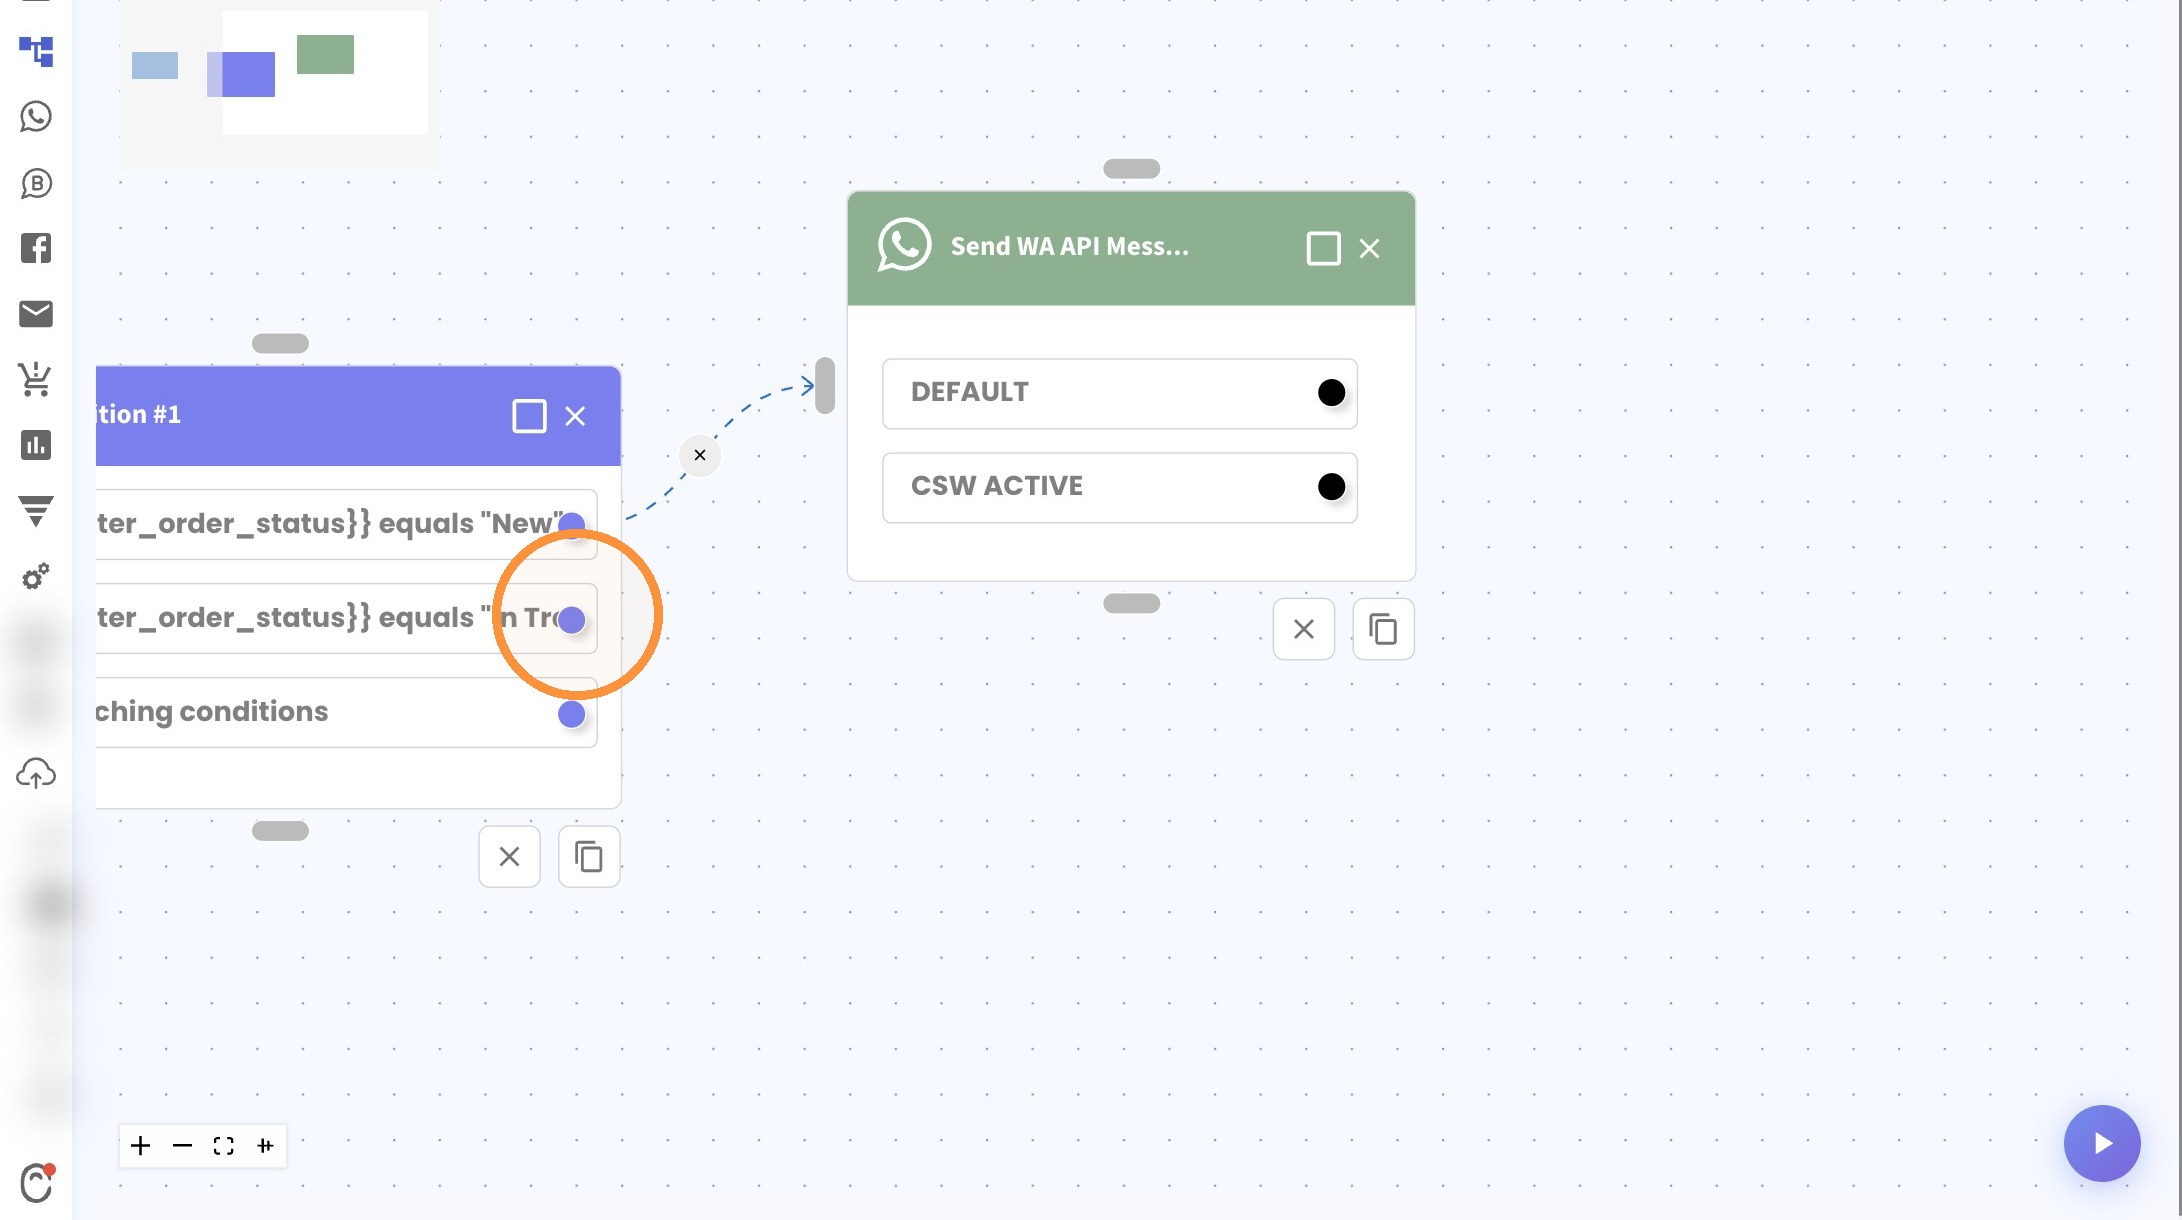
18. Click here, drag out then let go to create a new step.
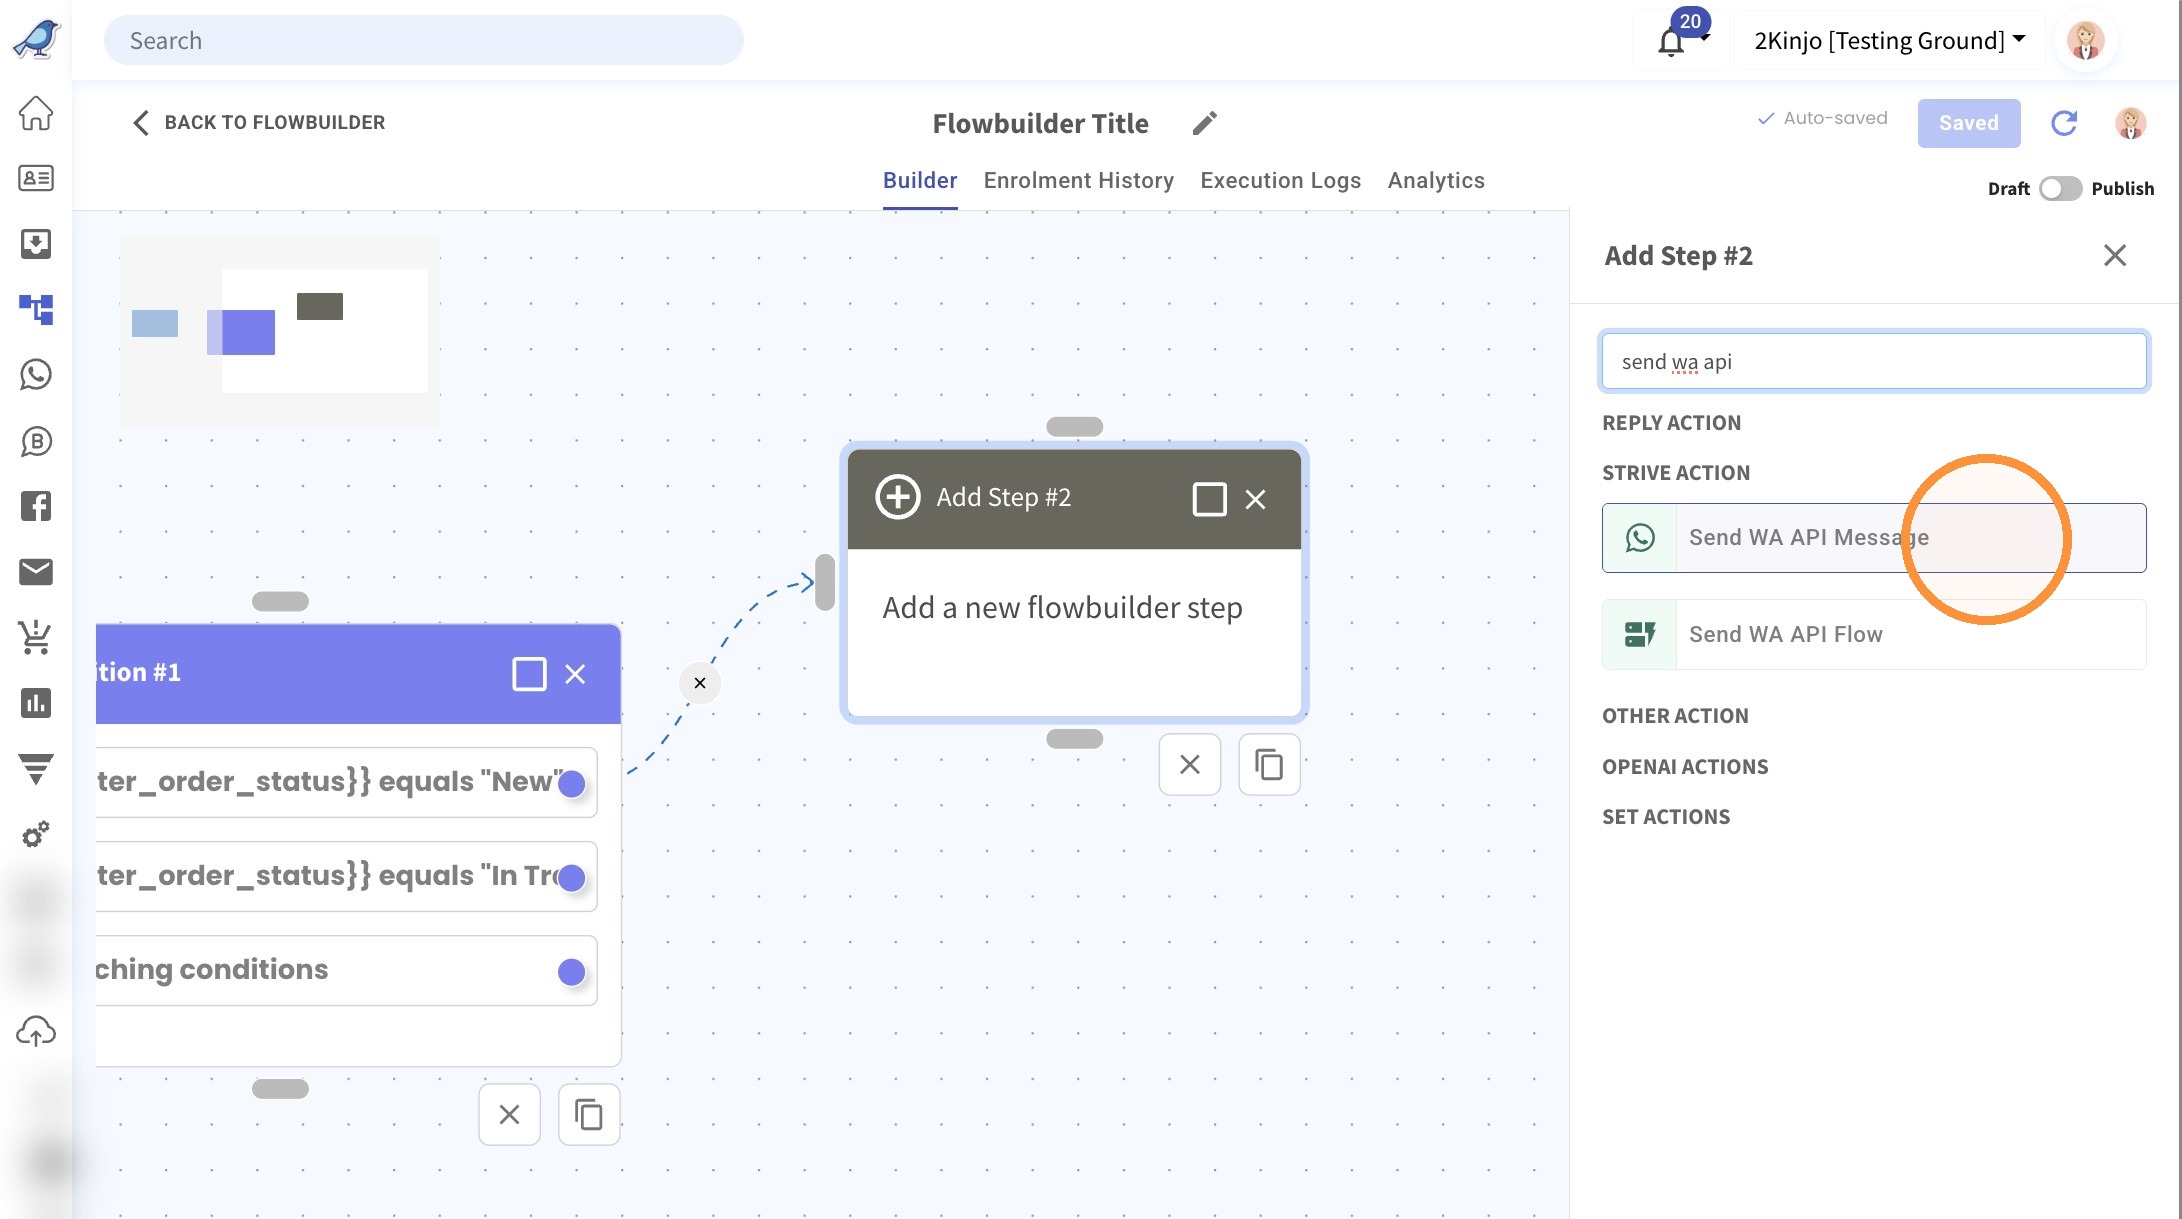
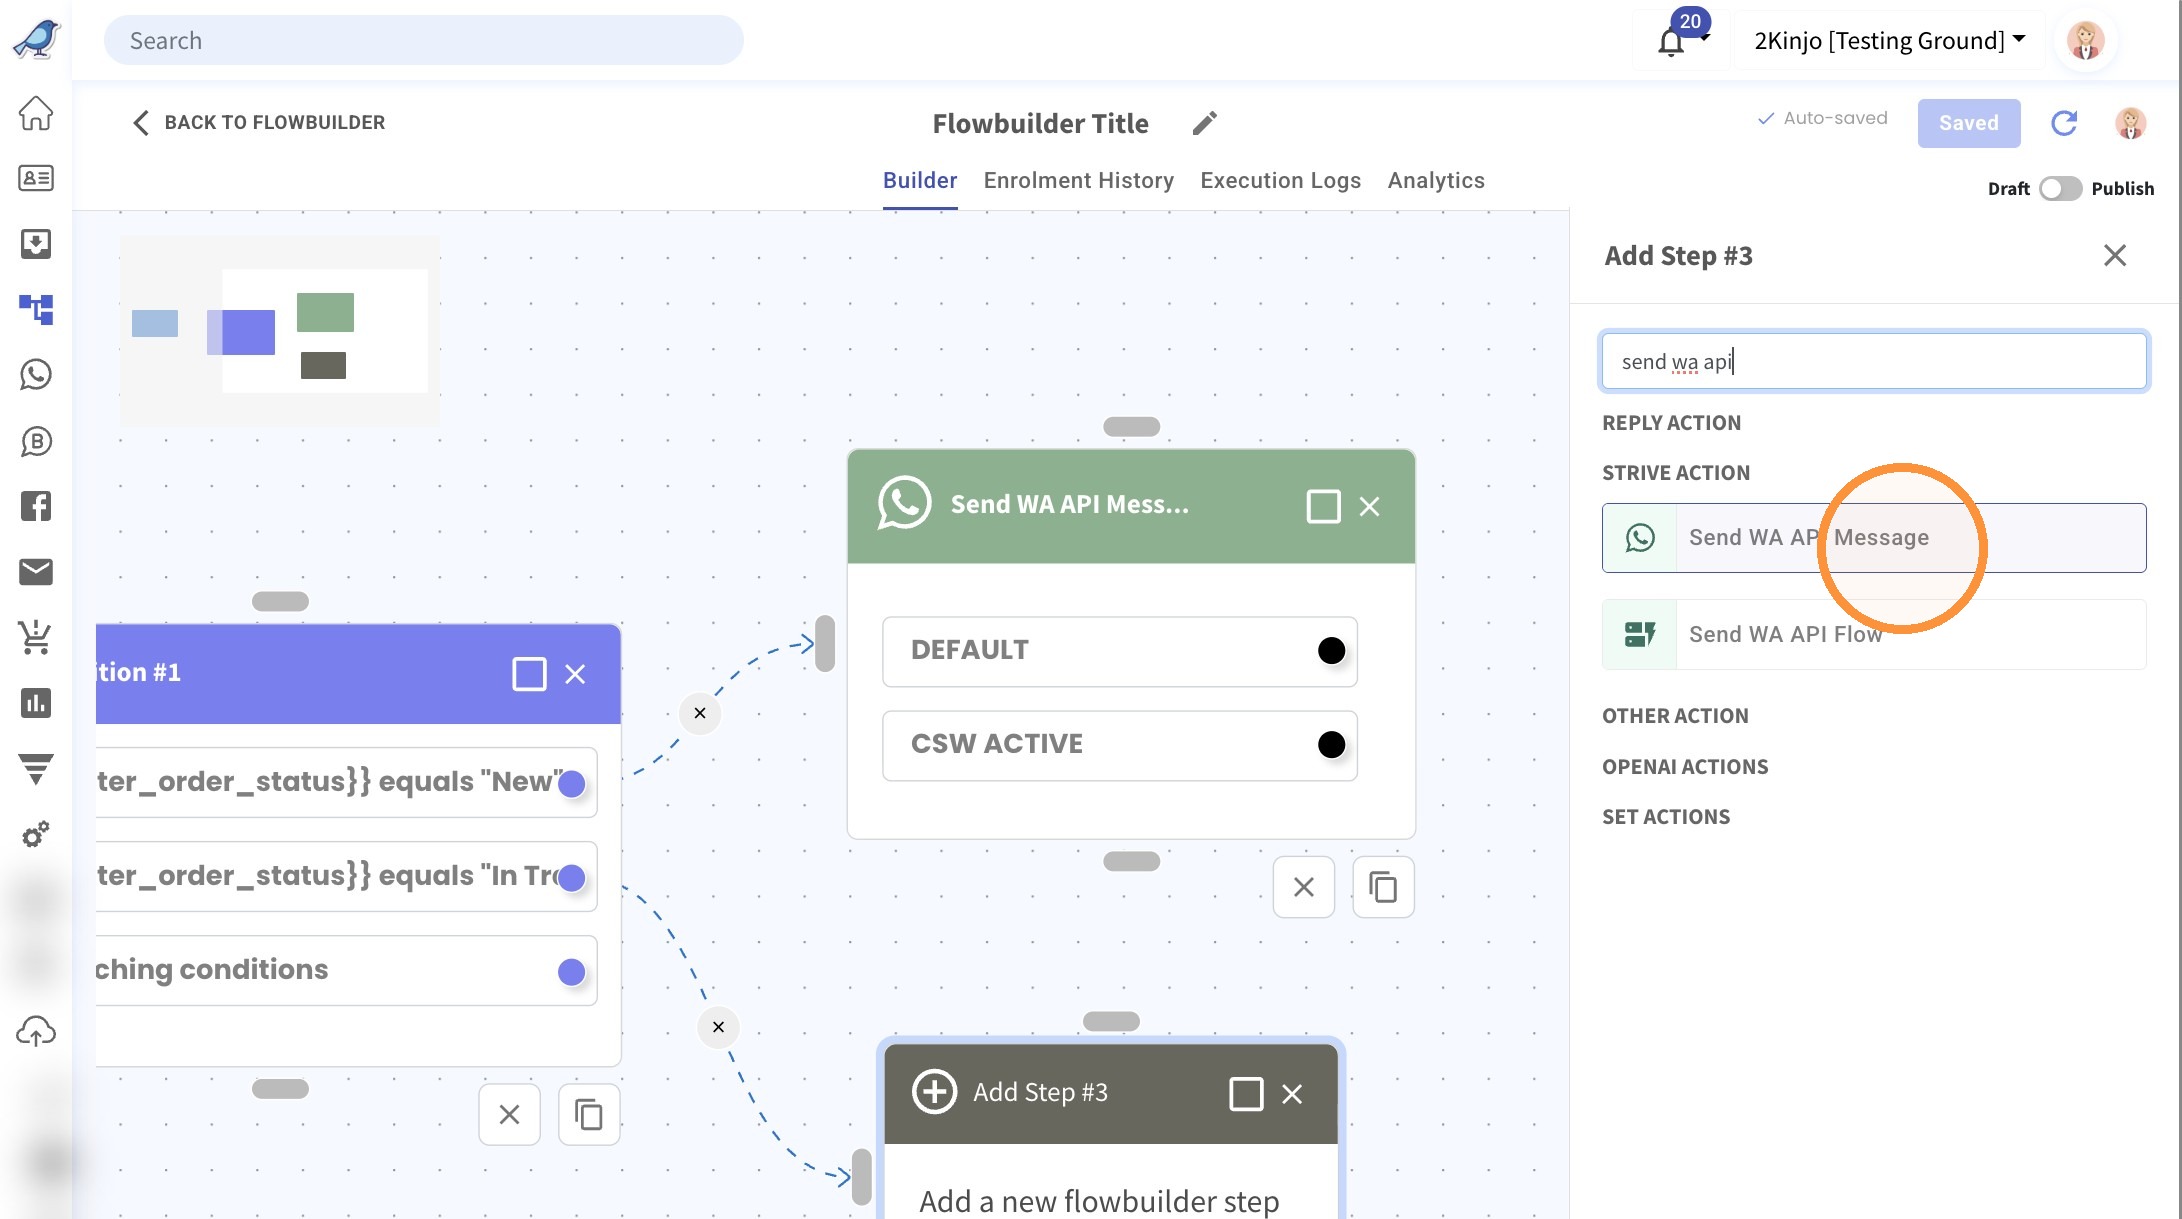
19. Scroll down or search then click "Send WA API Message"
20. Select the Sending From number.
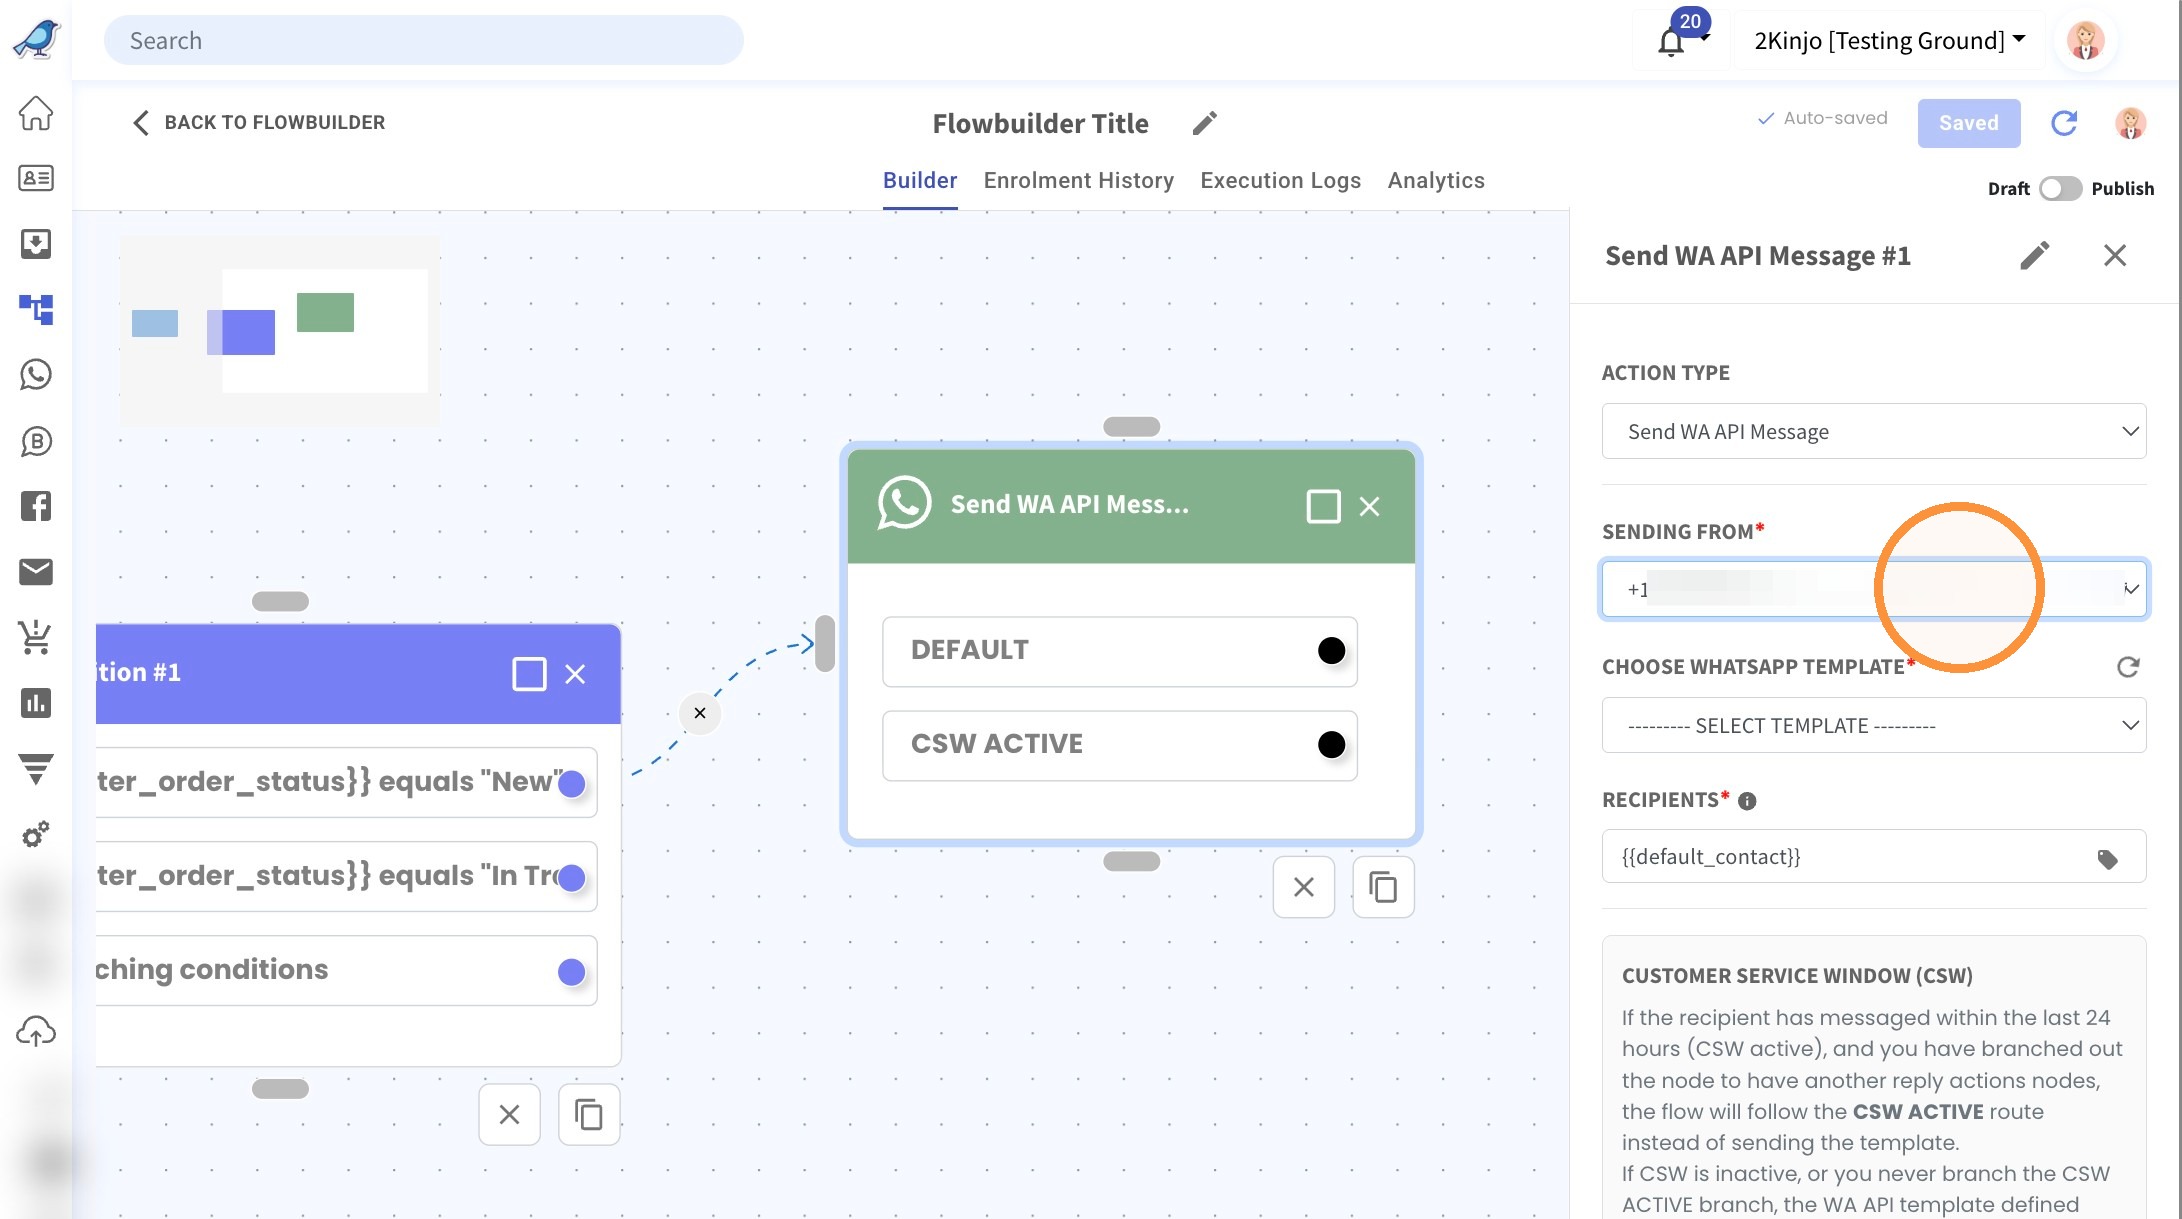
21. Select the intended template.
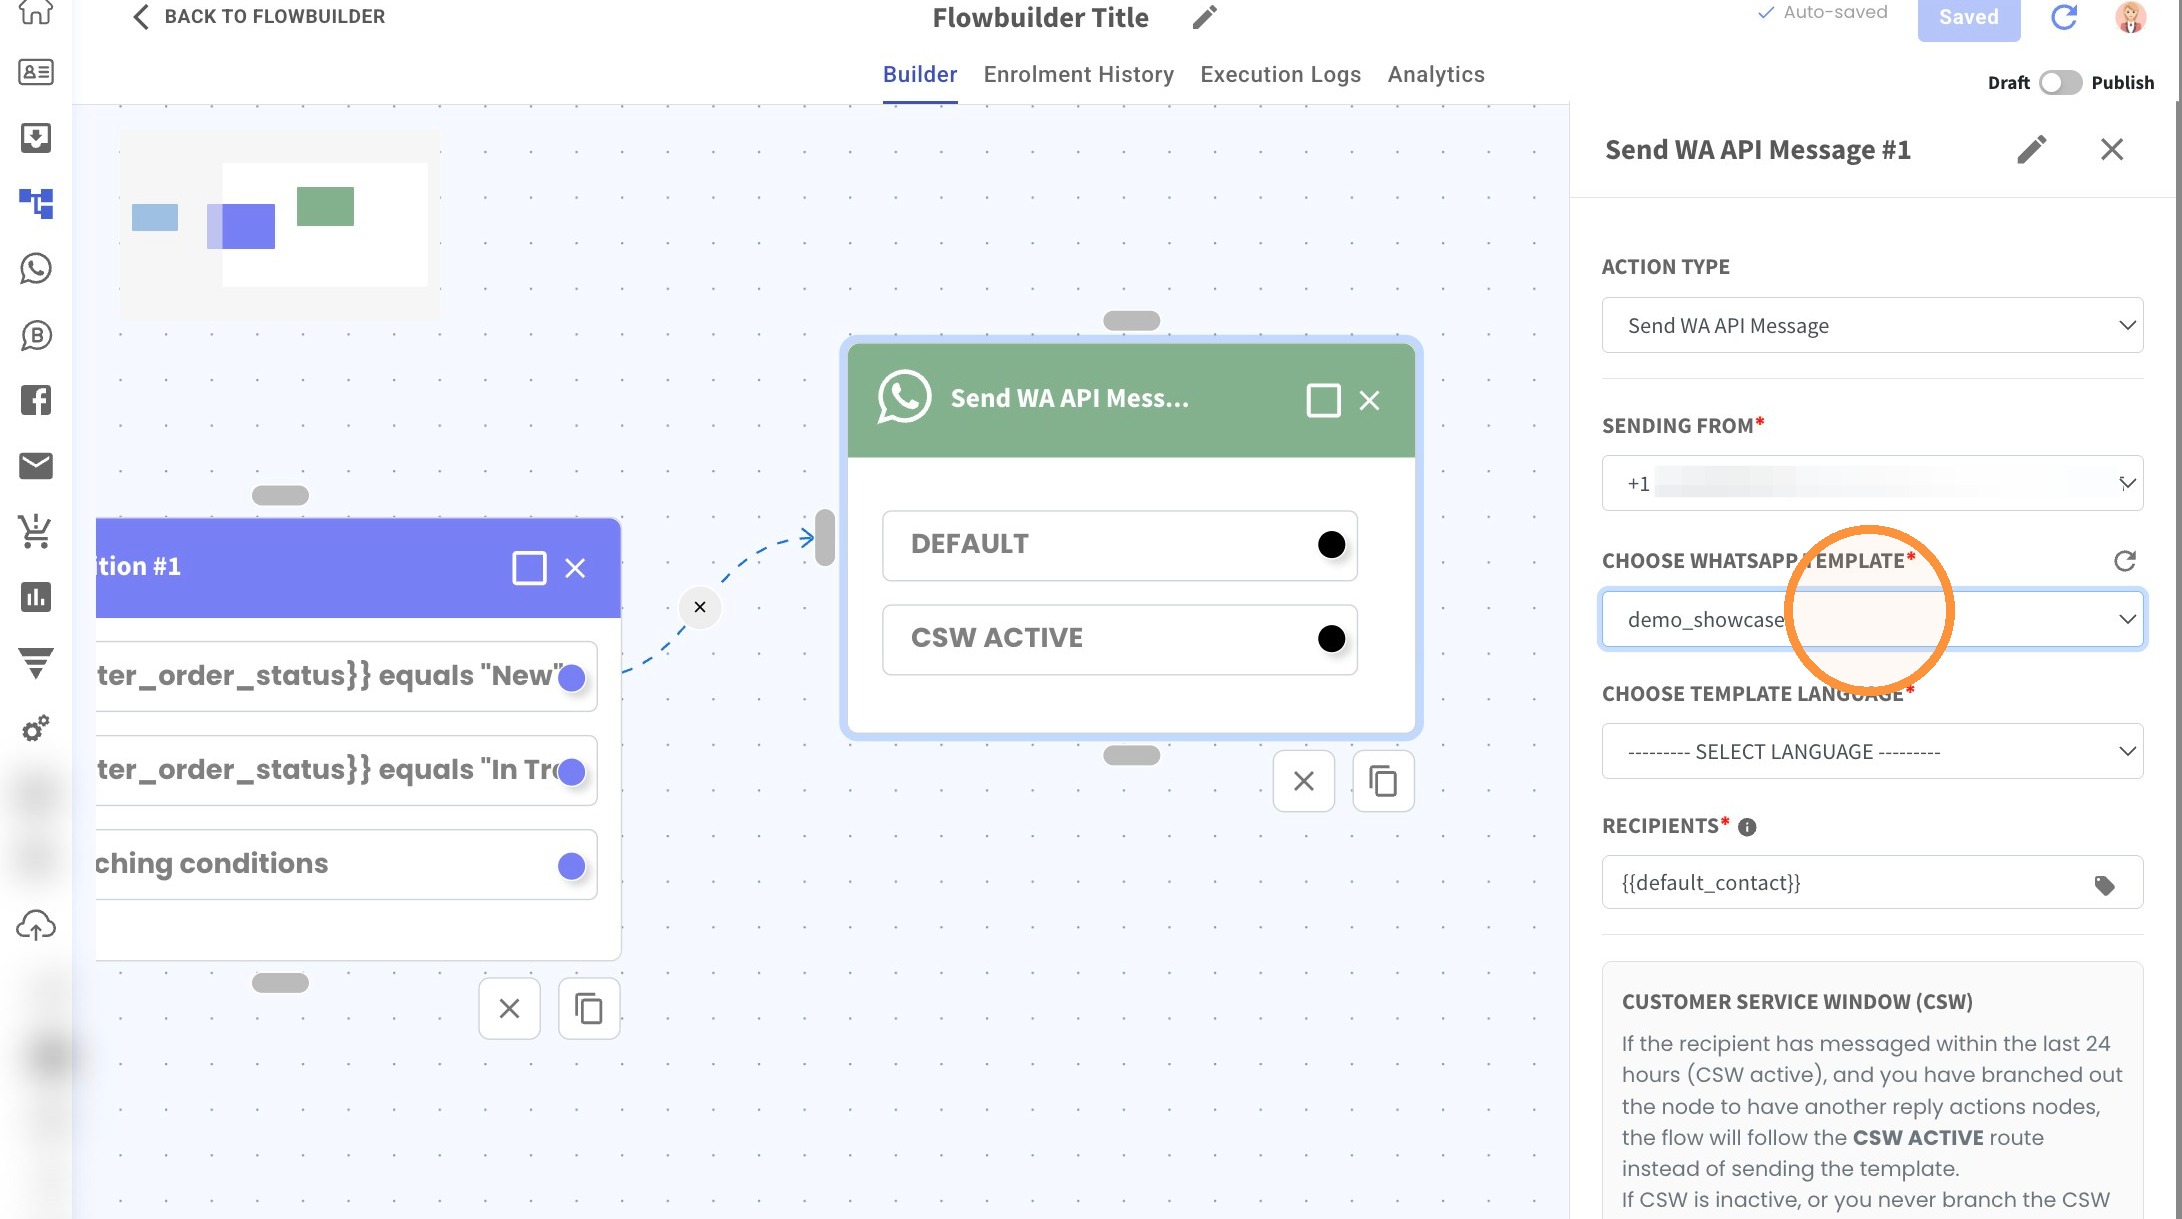
22. Select the template language
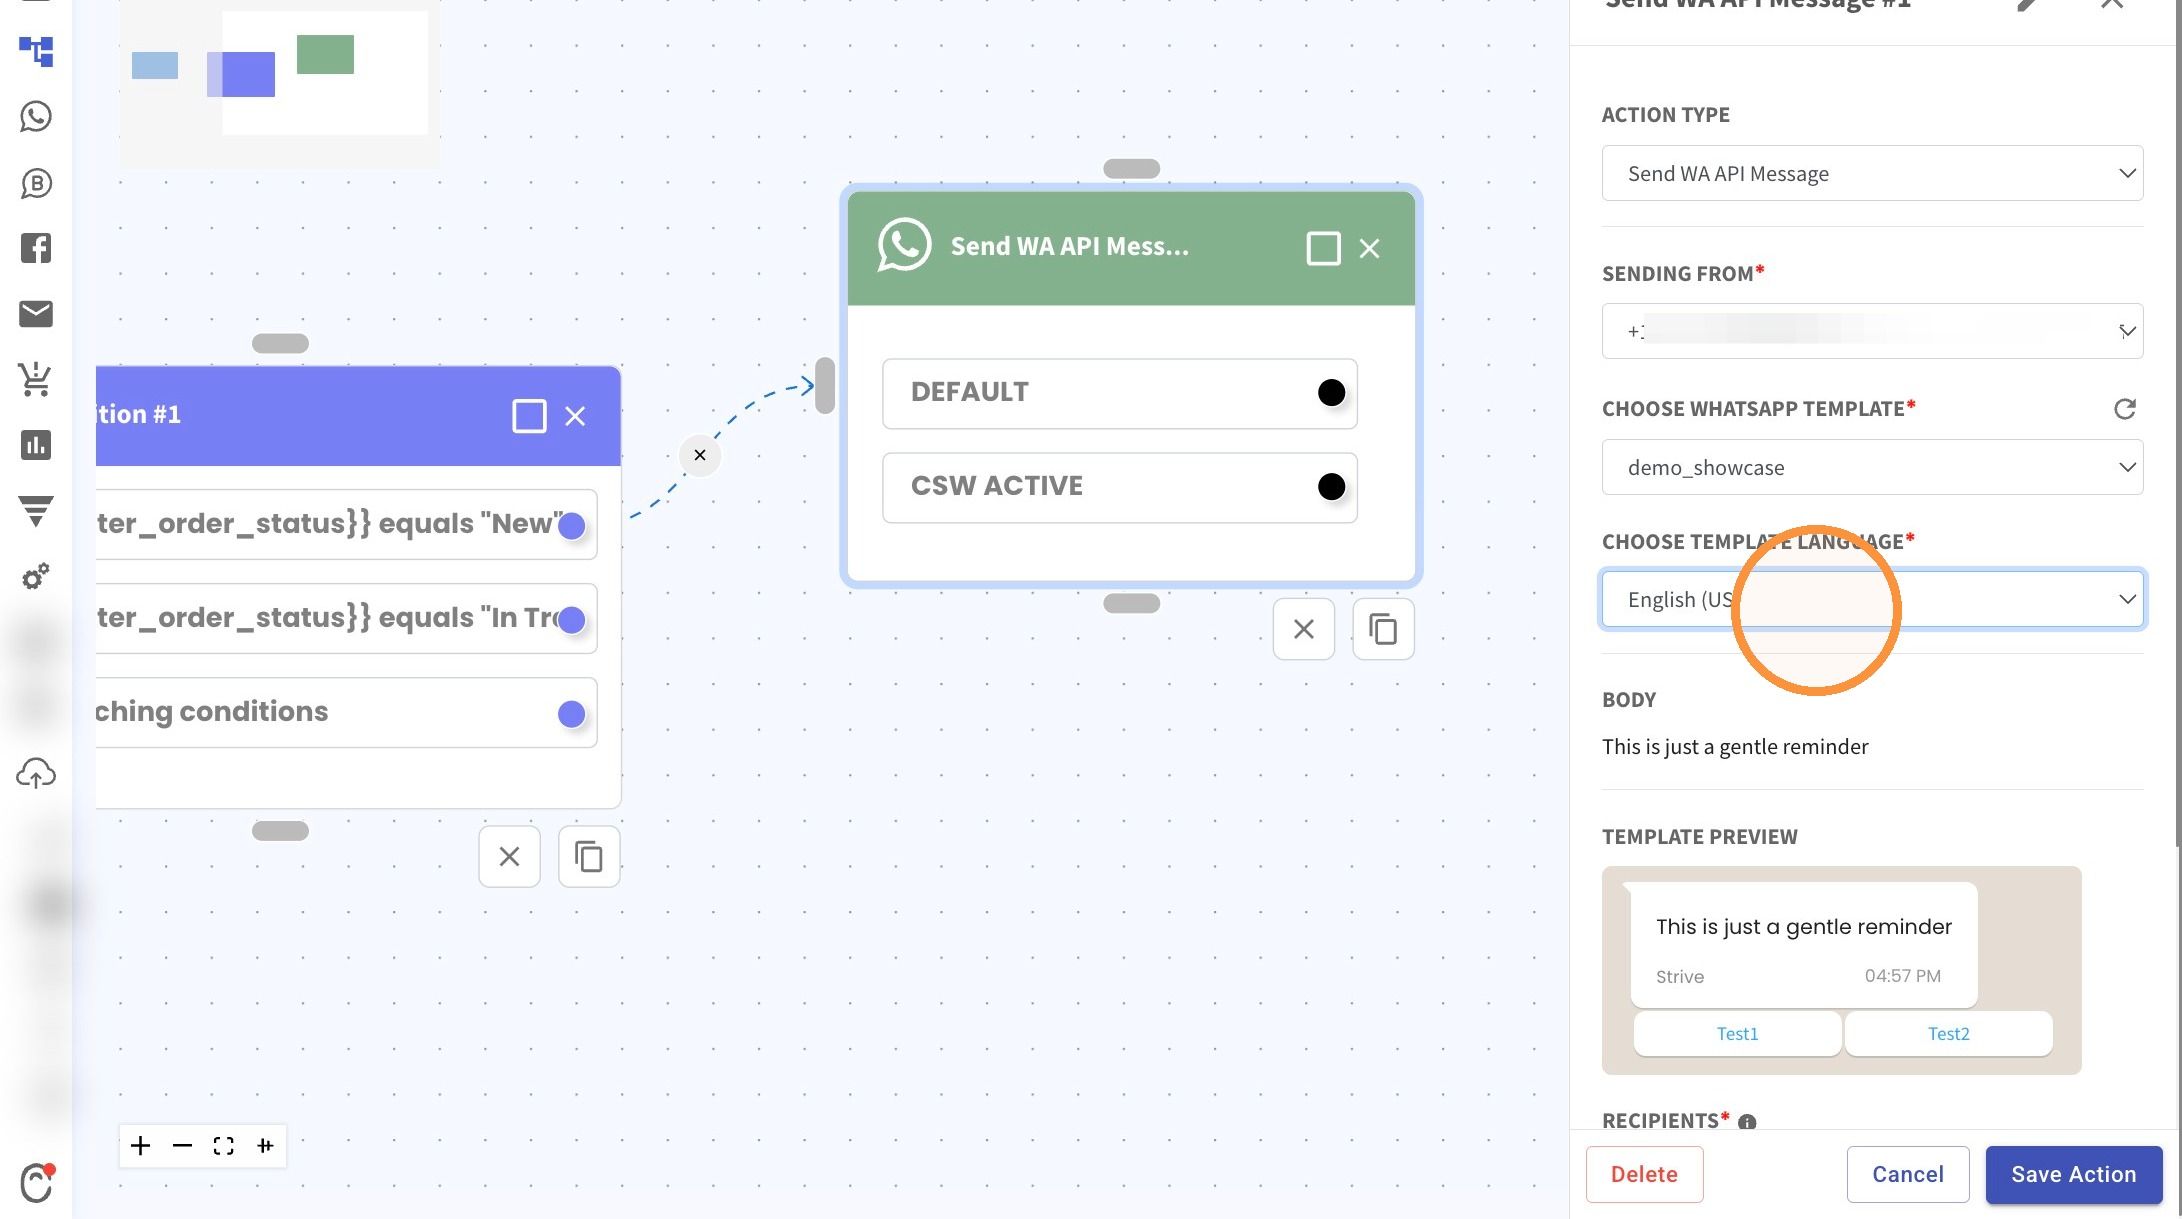
23. No changes need for the recipient.
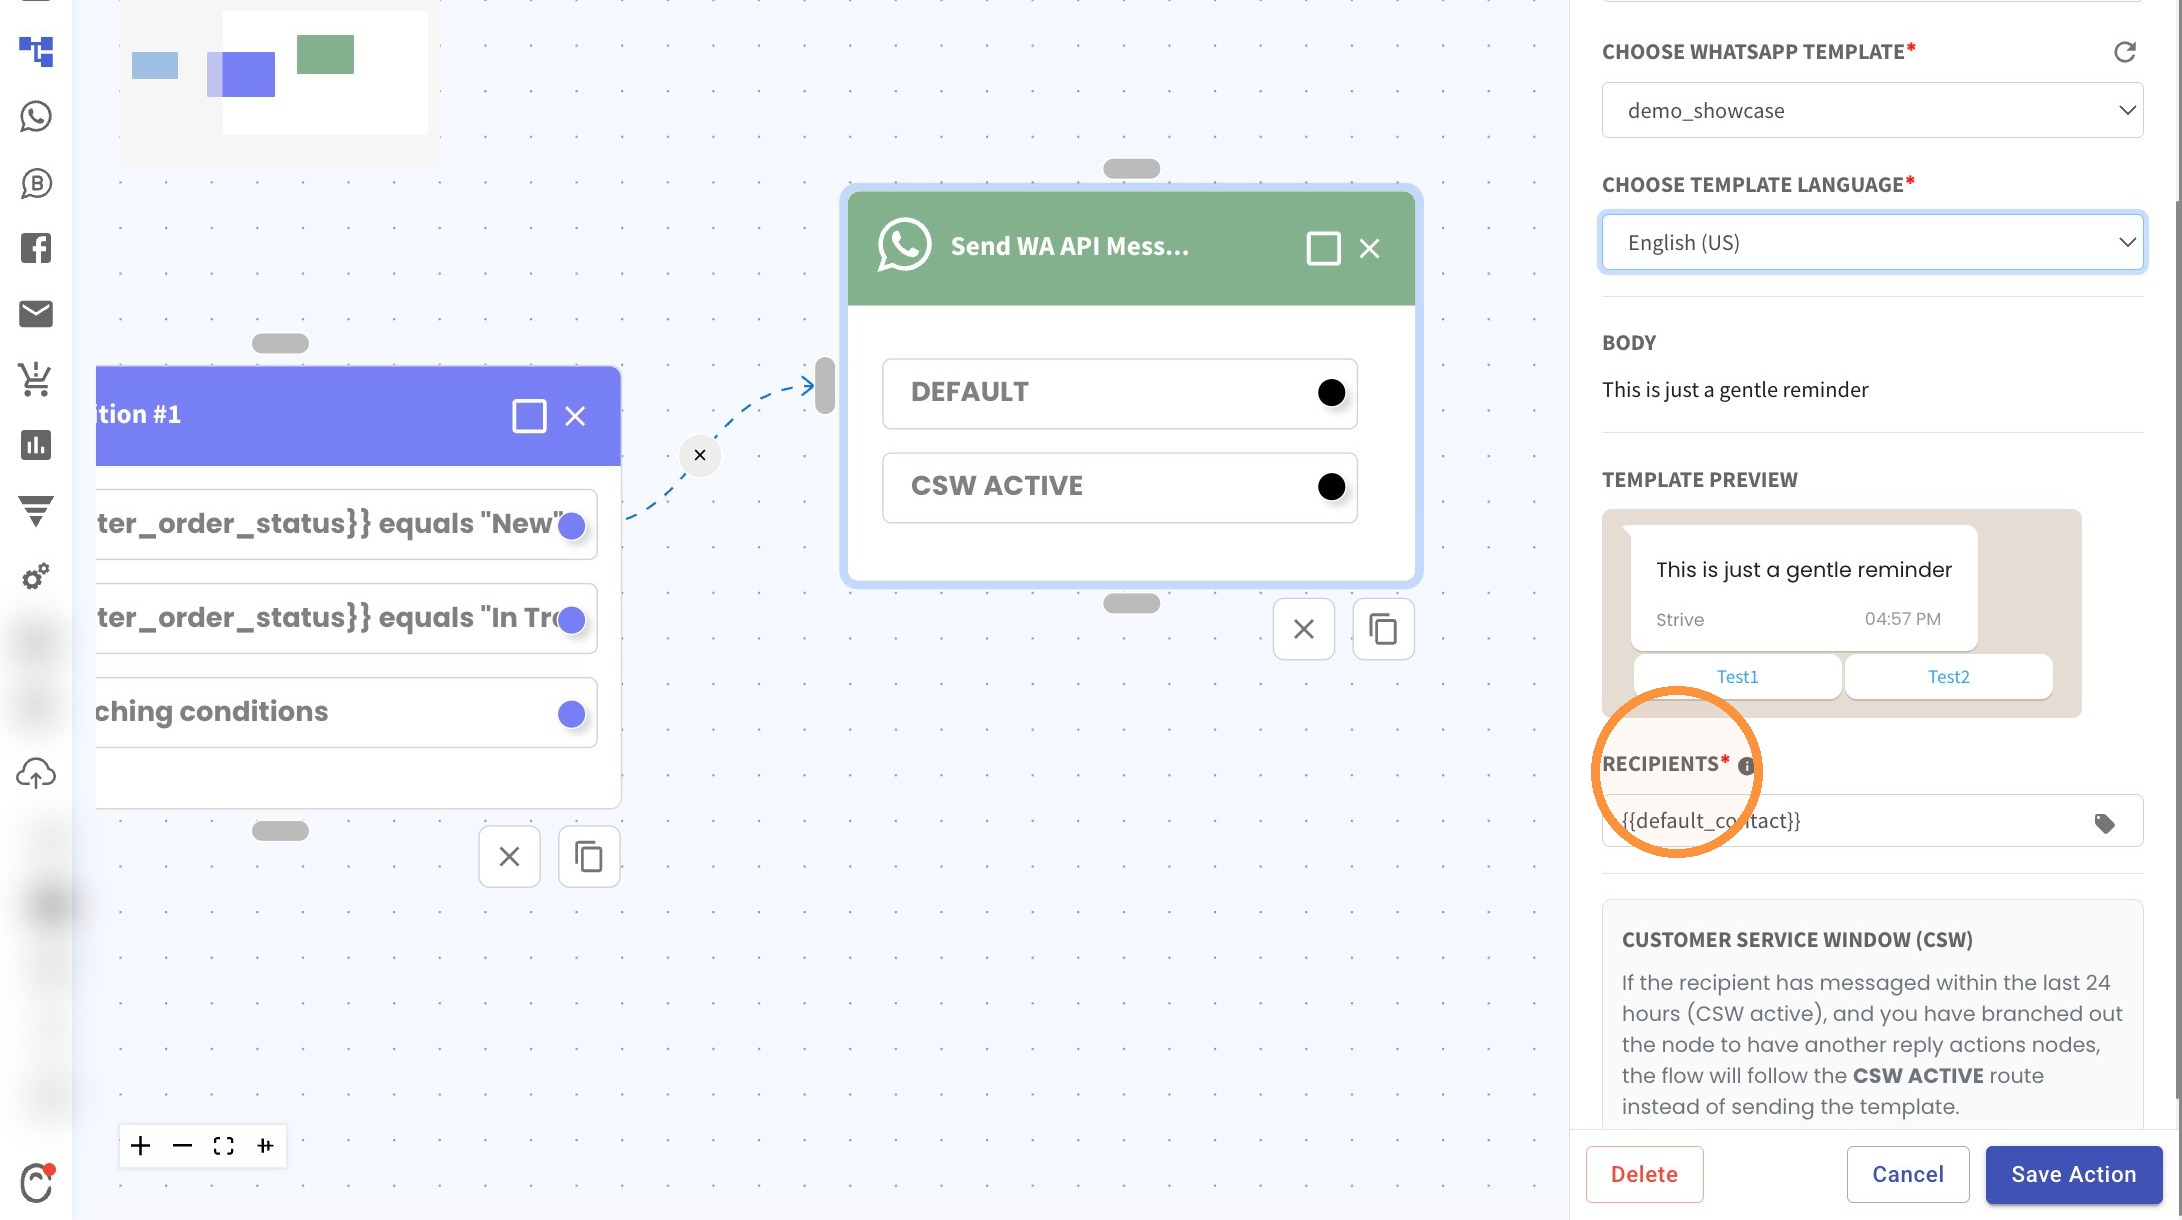
24. Click "Save Action"
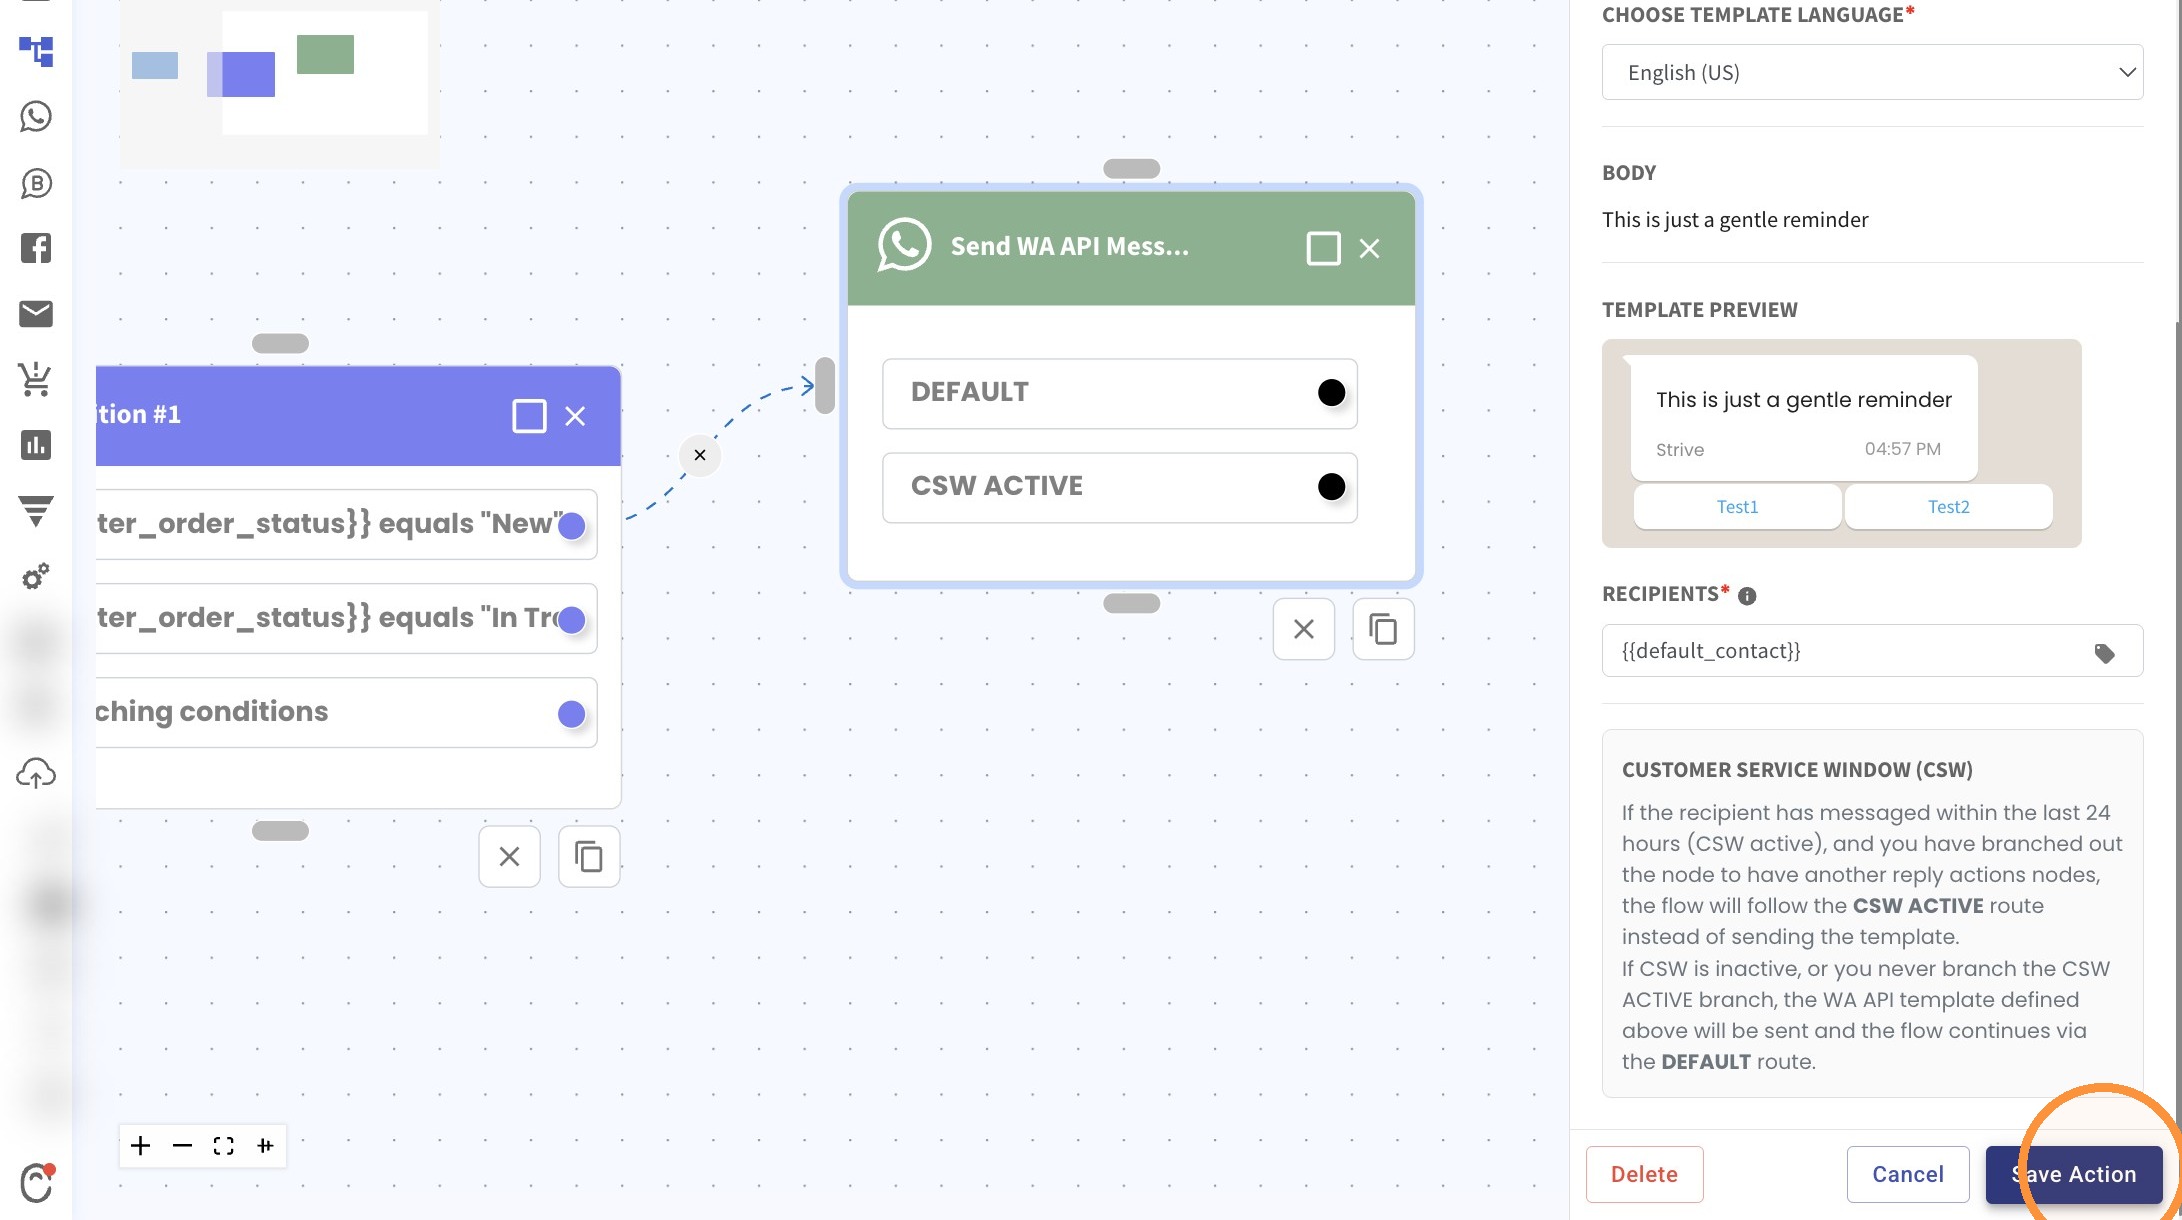
25. Click here, drag out then let go to create a new step.
26. Scroll down or search then click "Send WA API Message"
27. Select the Sending From channel.
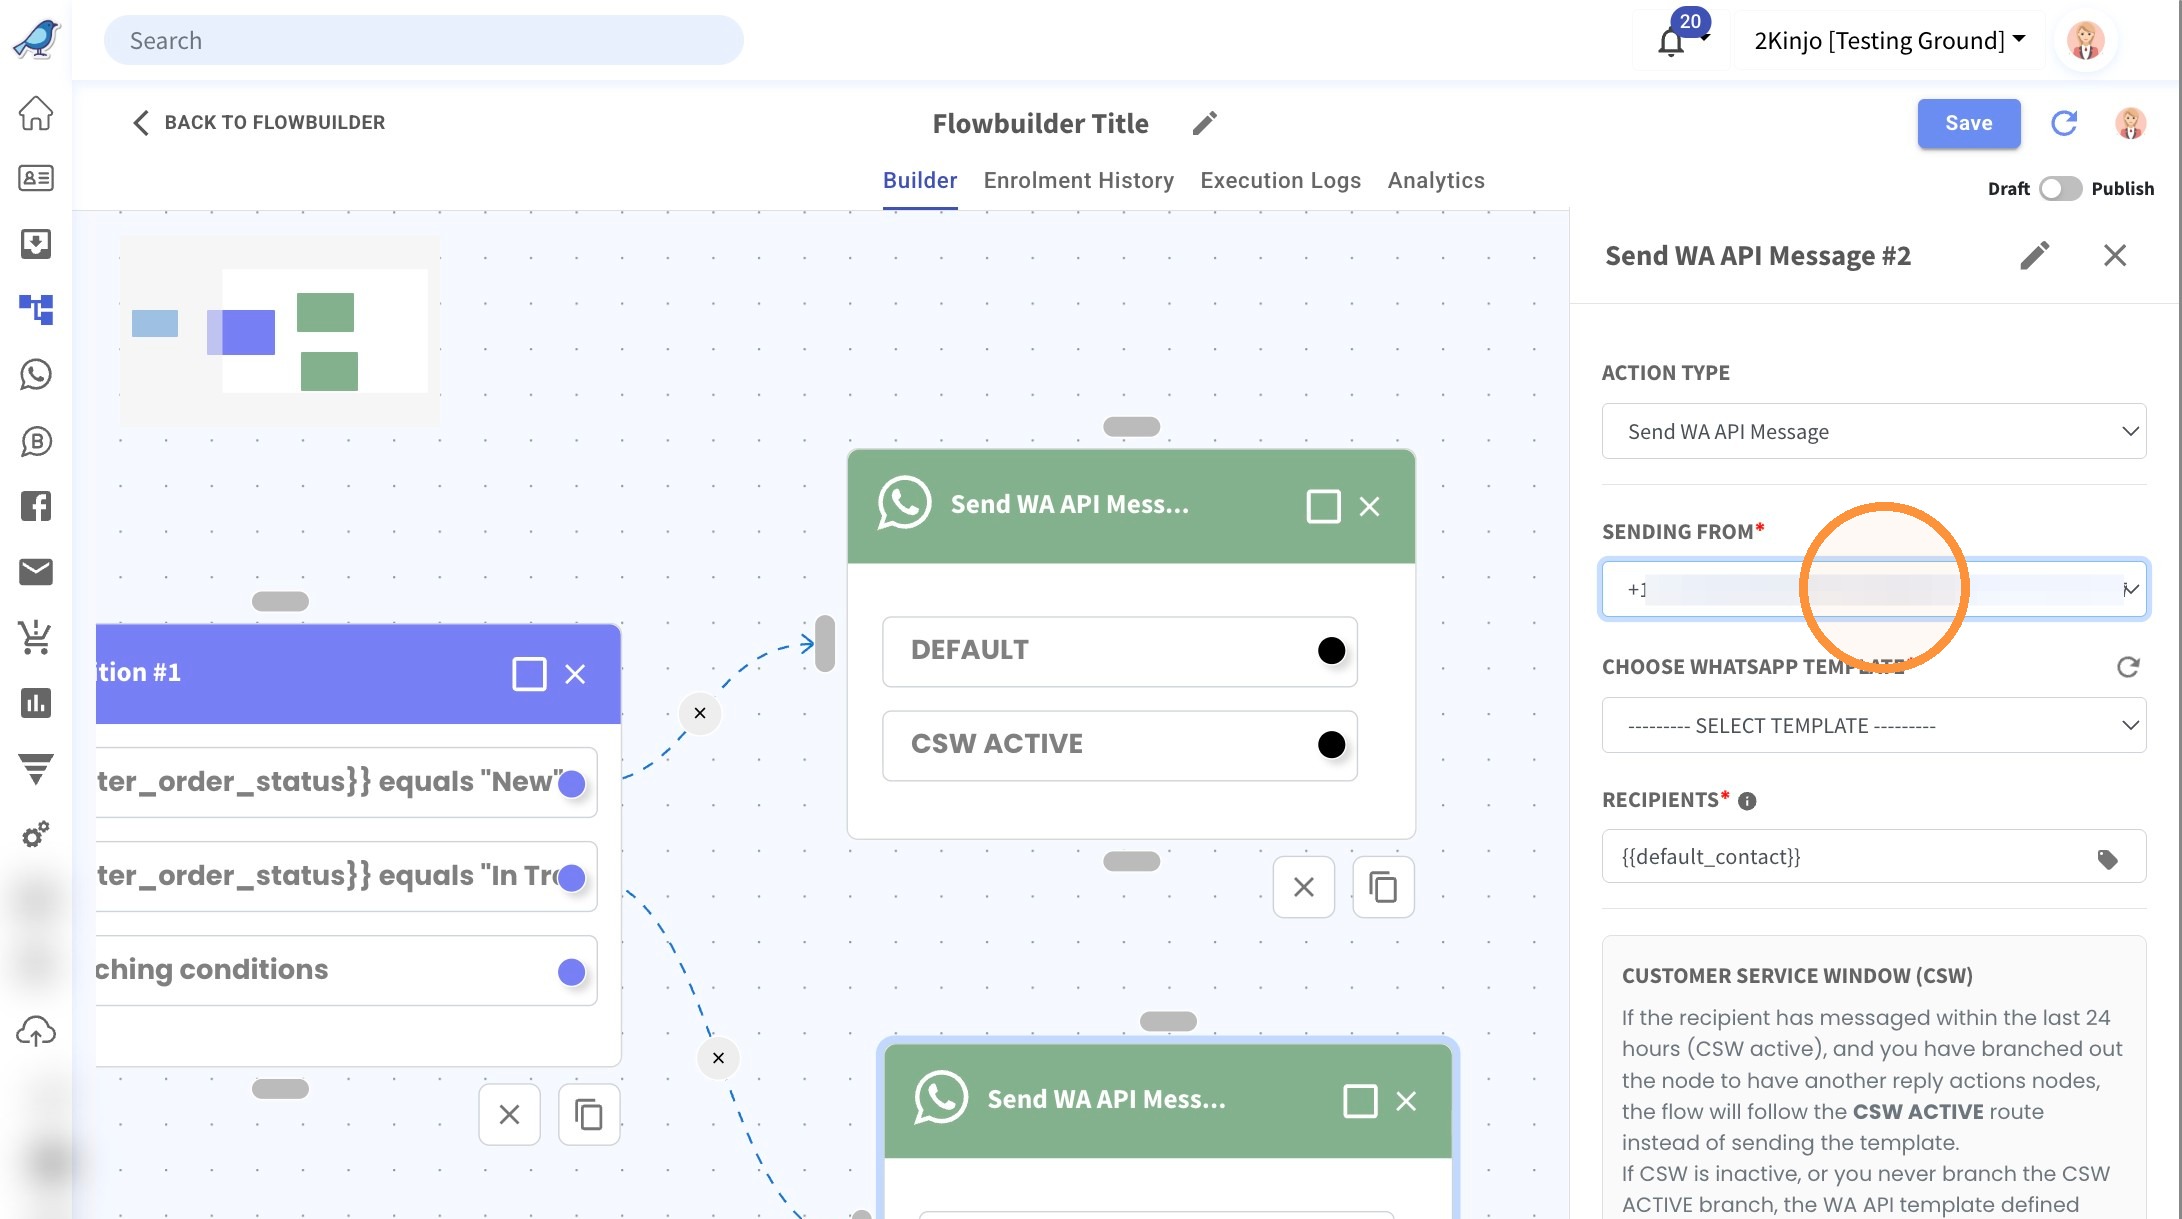
28. Select the intended template.
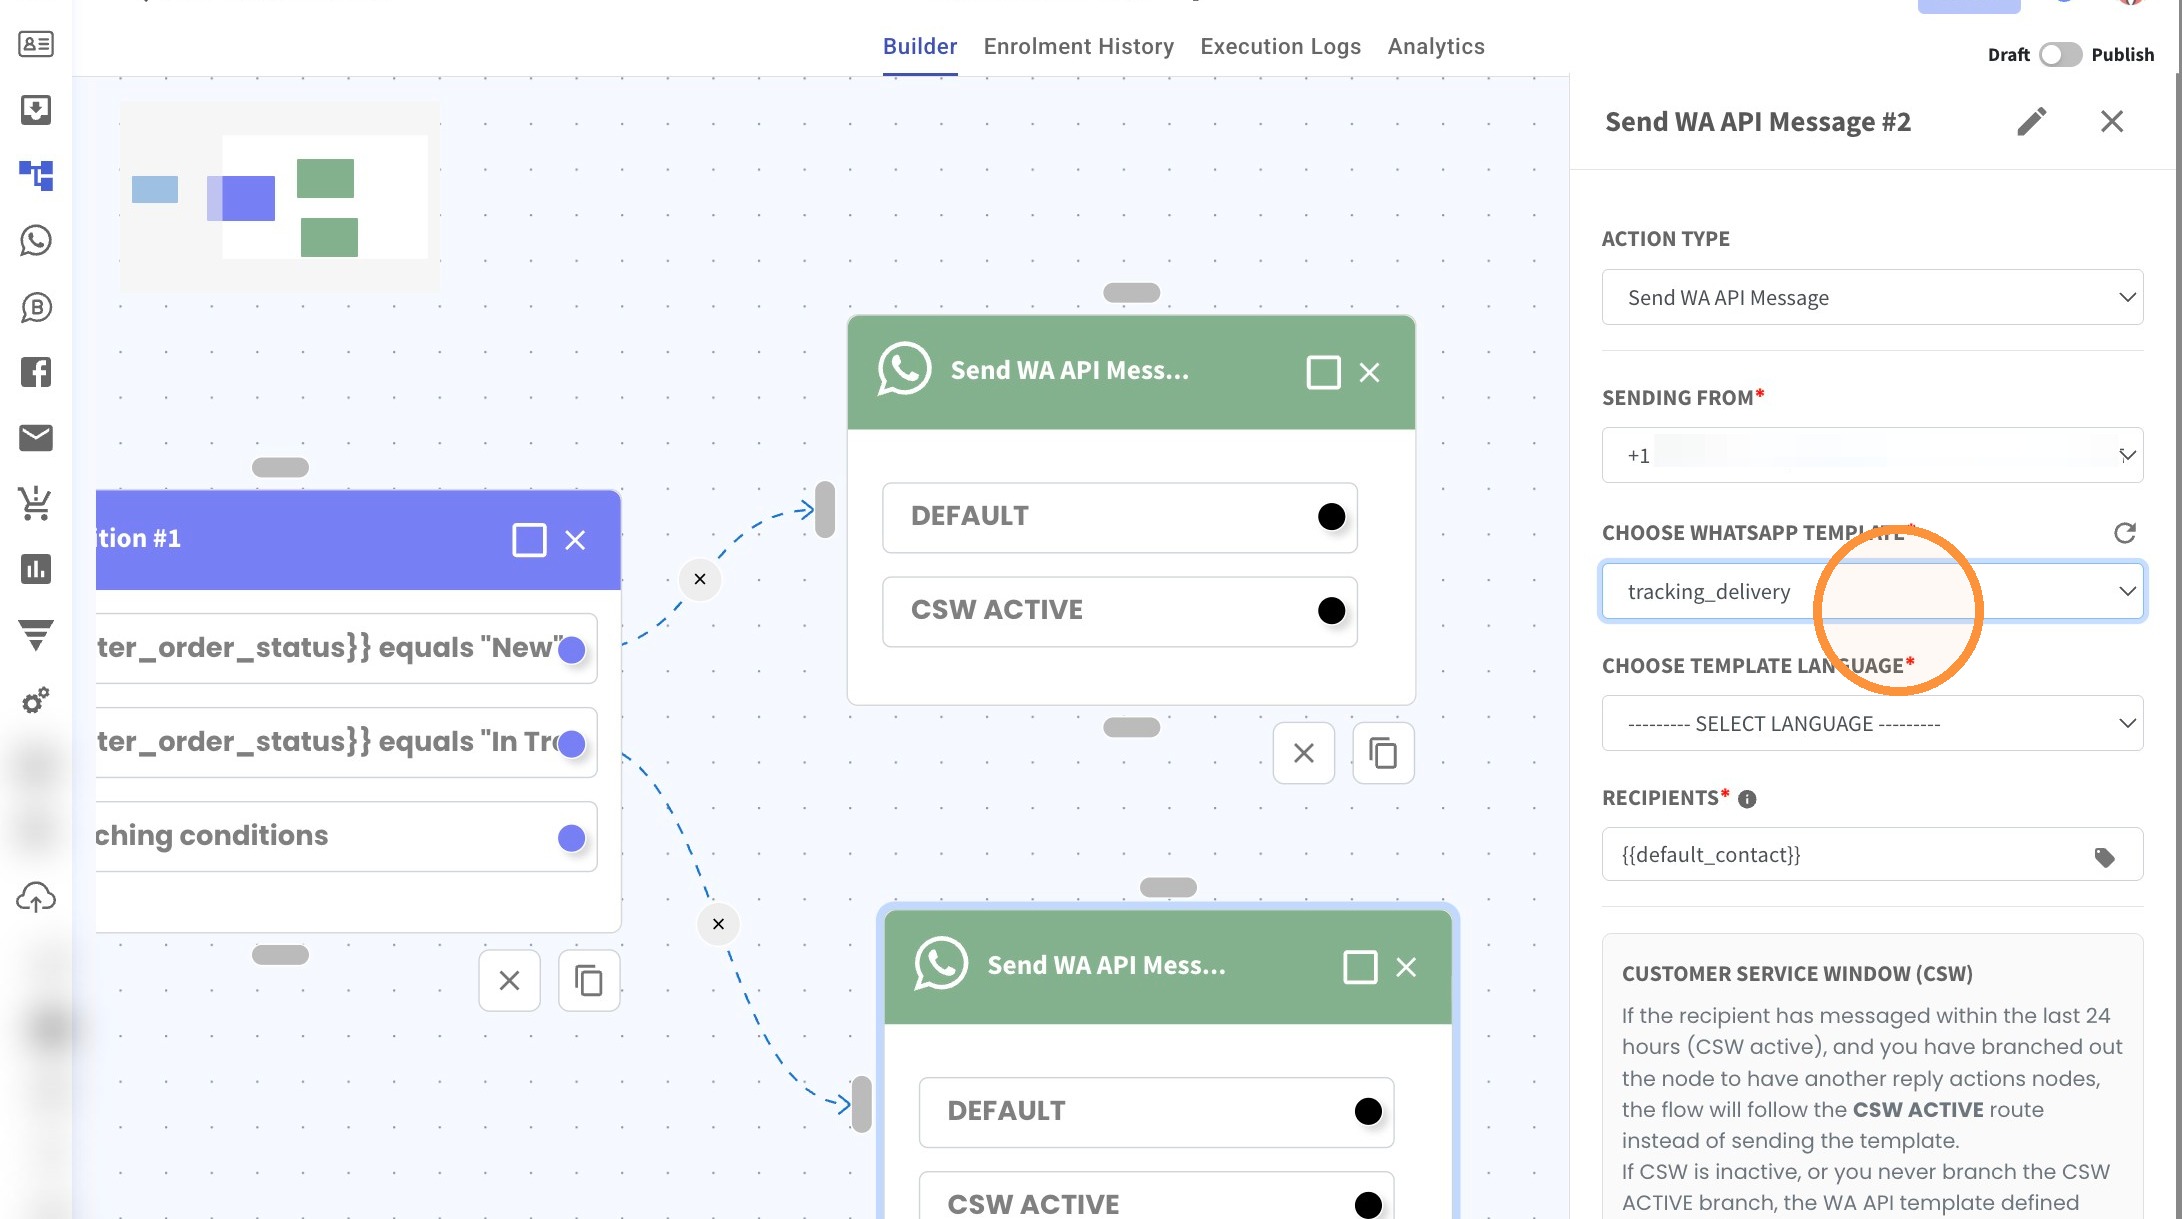
29. Select the template language
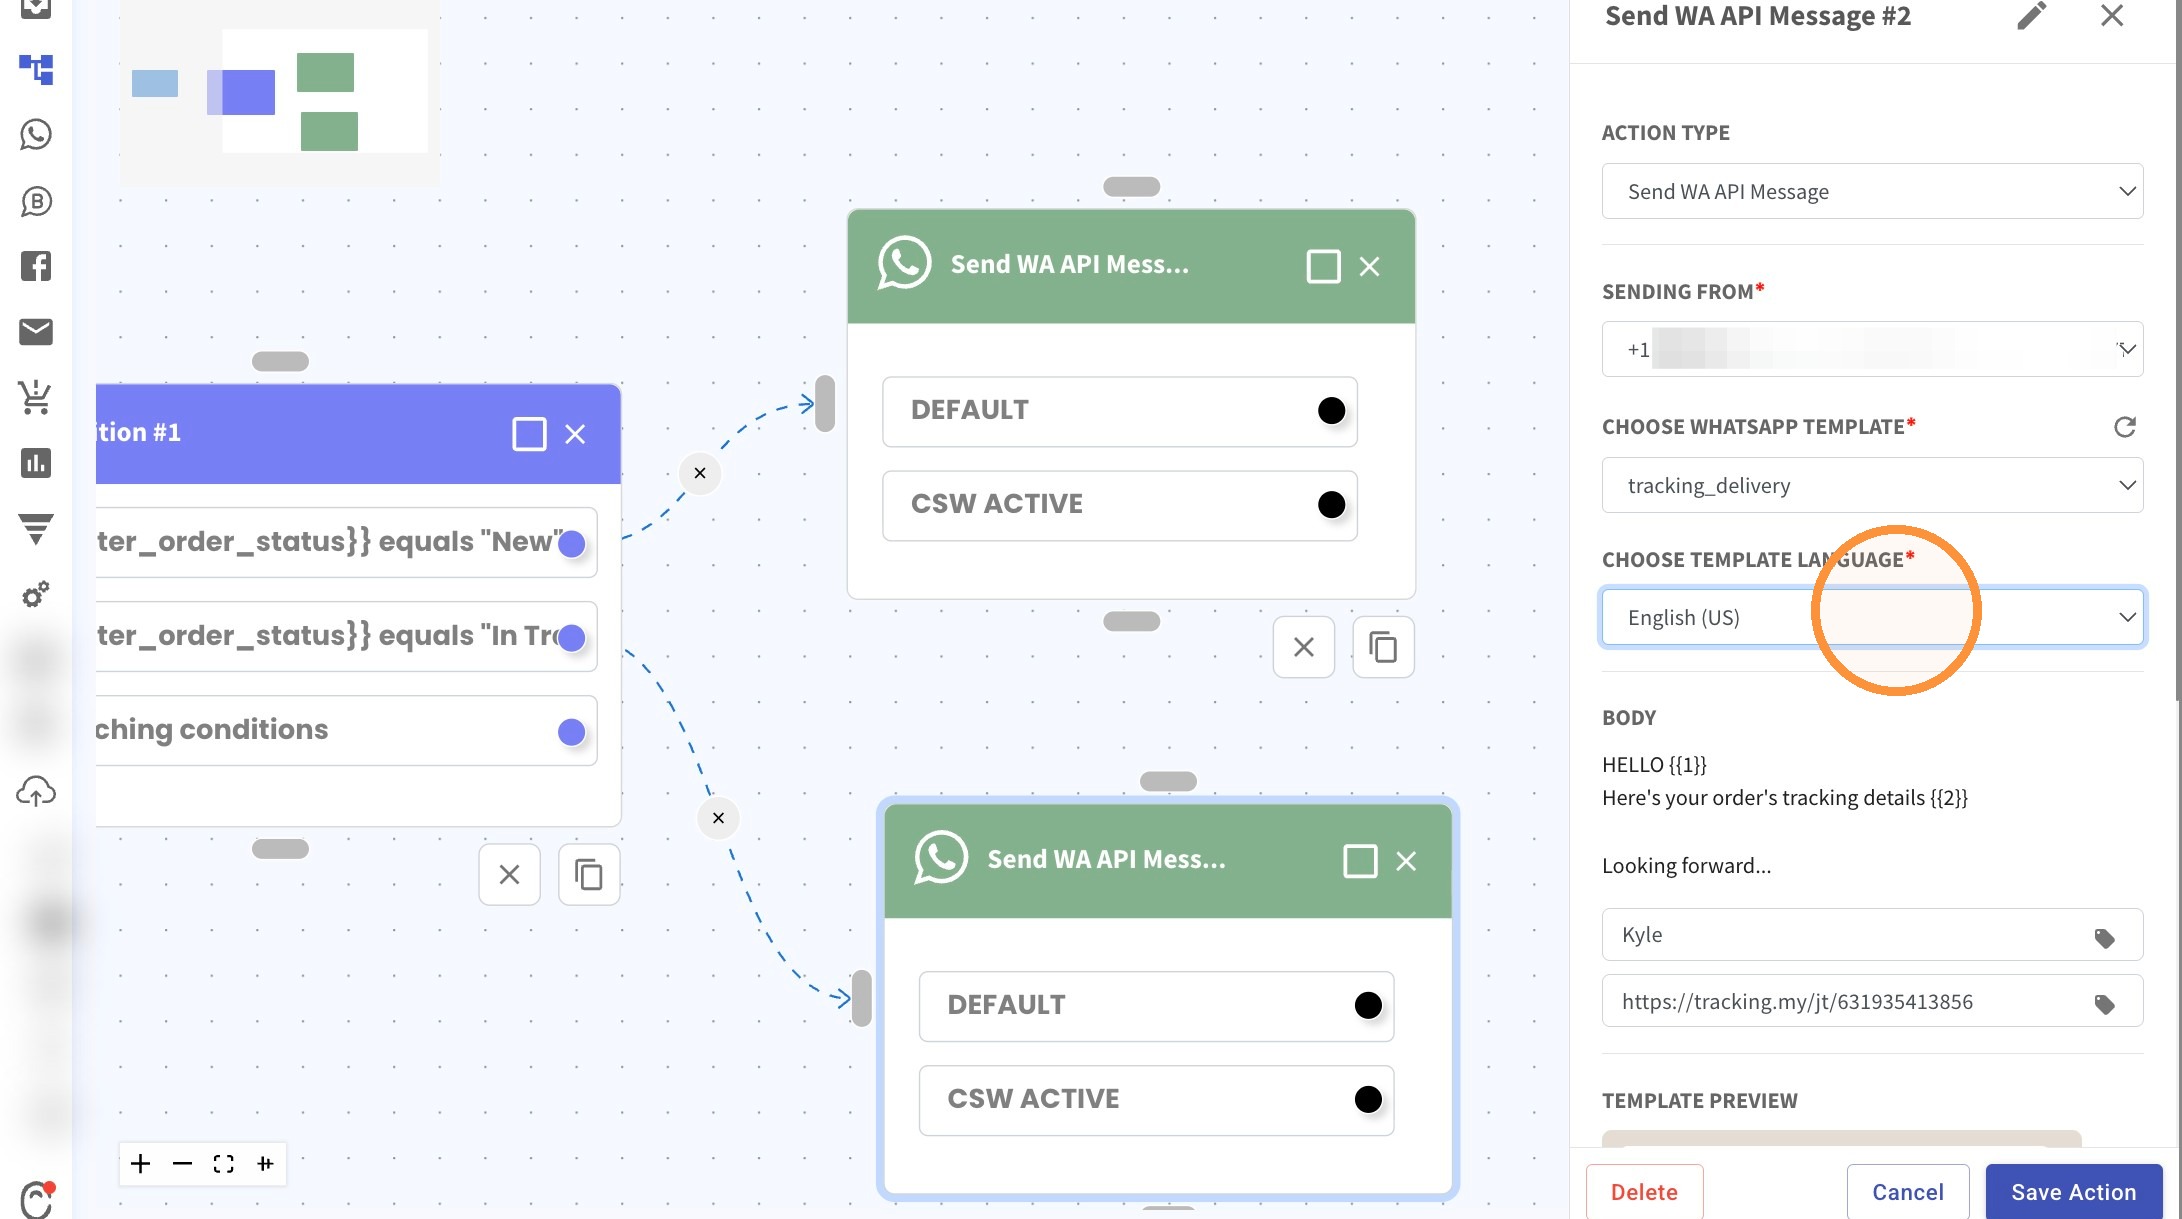
30. If there are variable that you want to replace, you can remove the values.
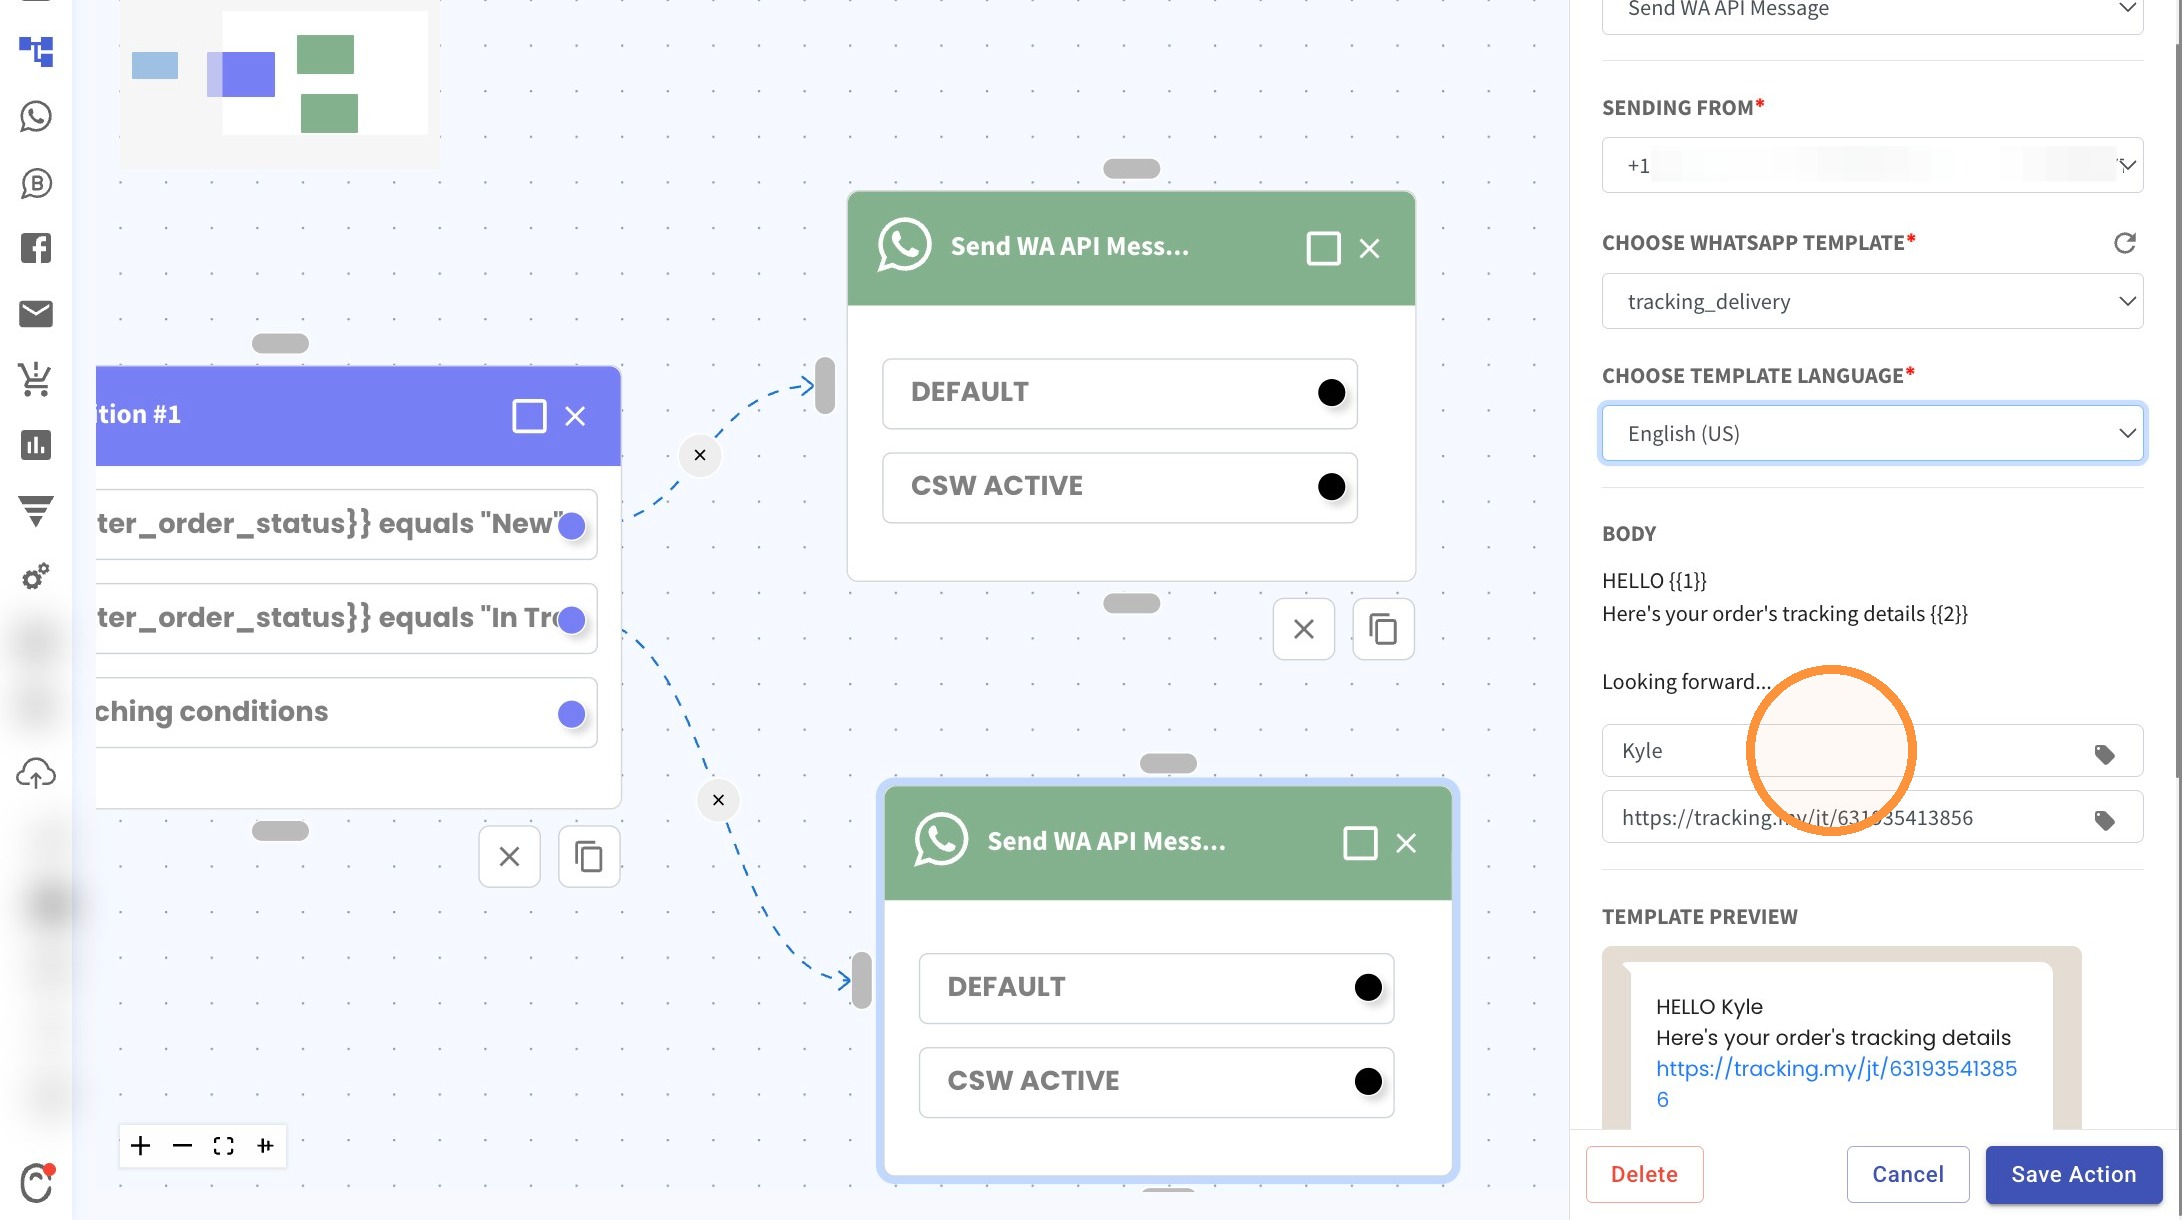
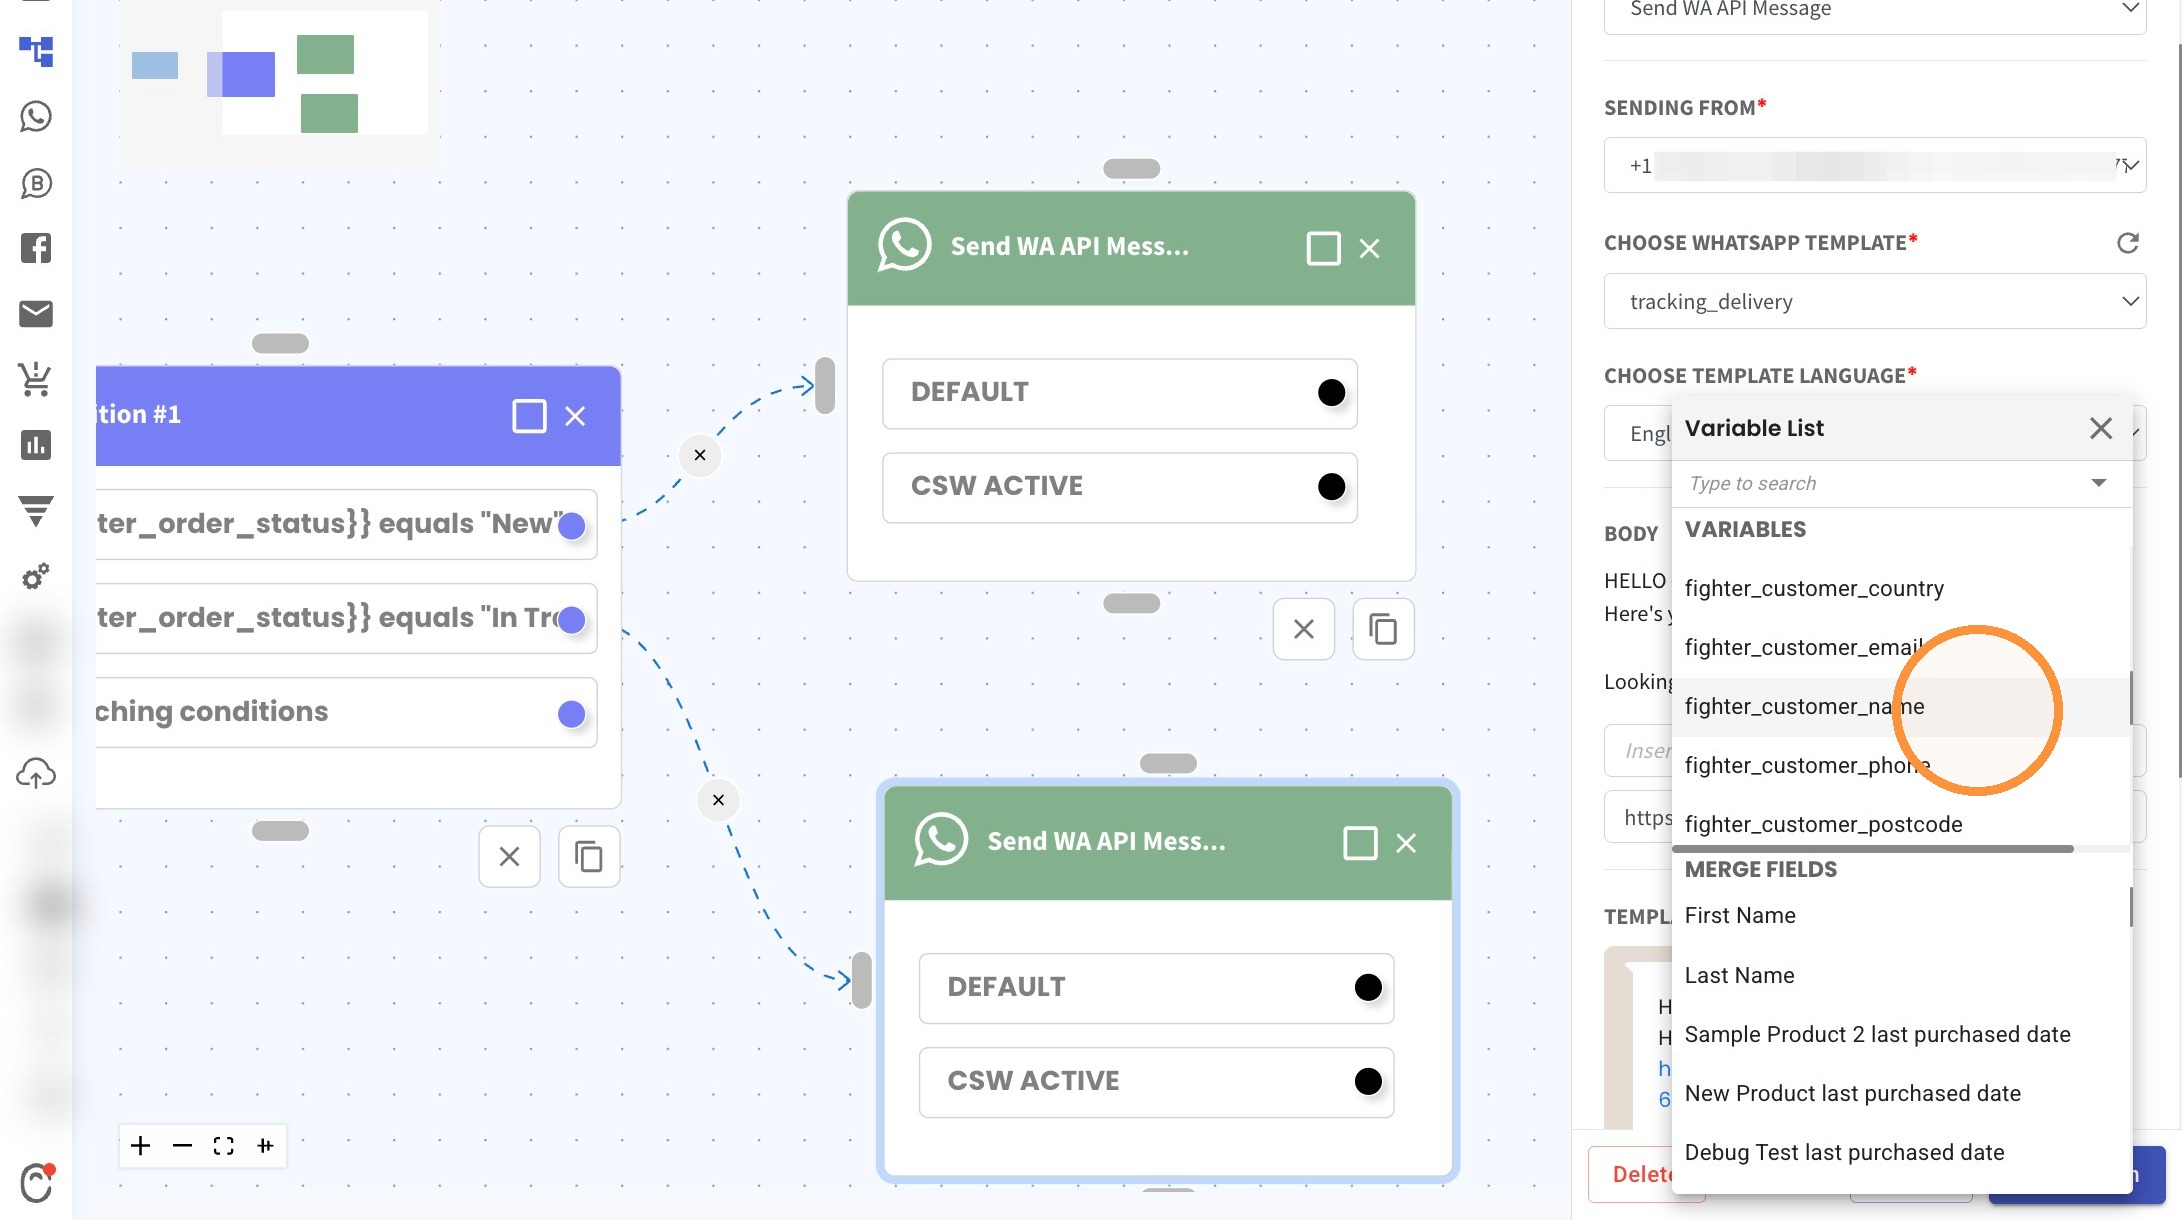
31. Click on the tag icon to view the options of variables and merge field.
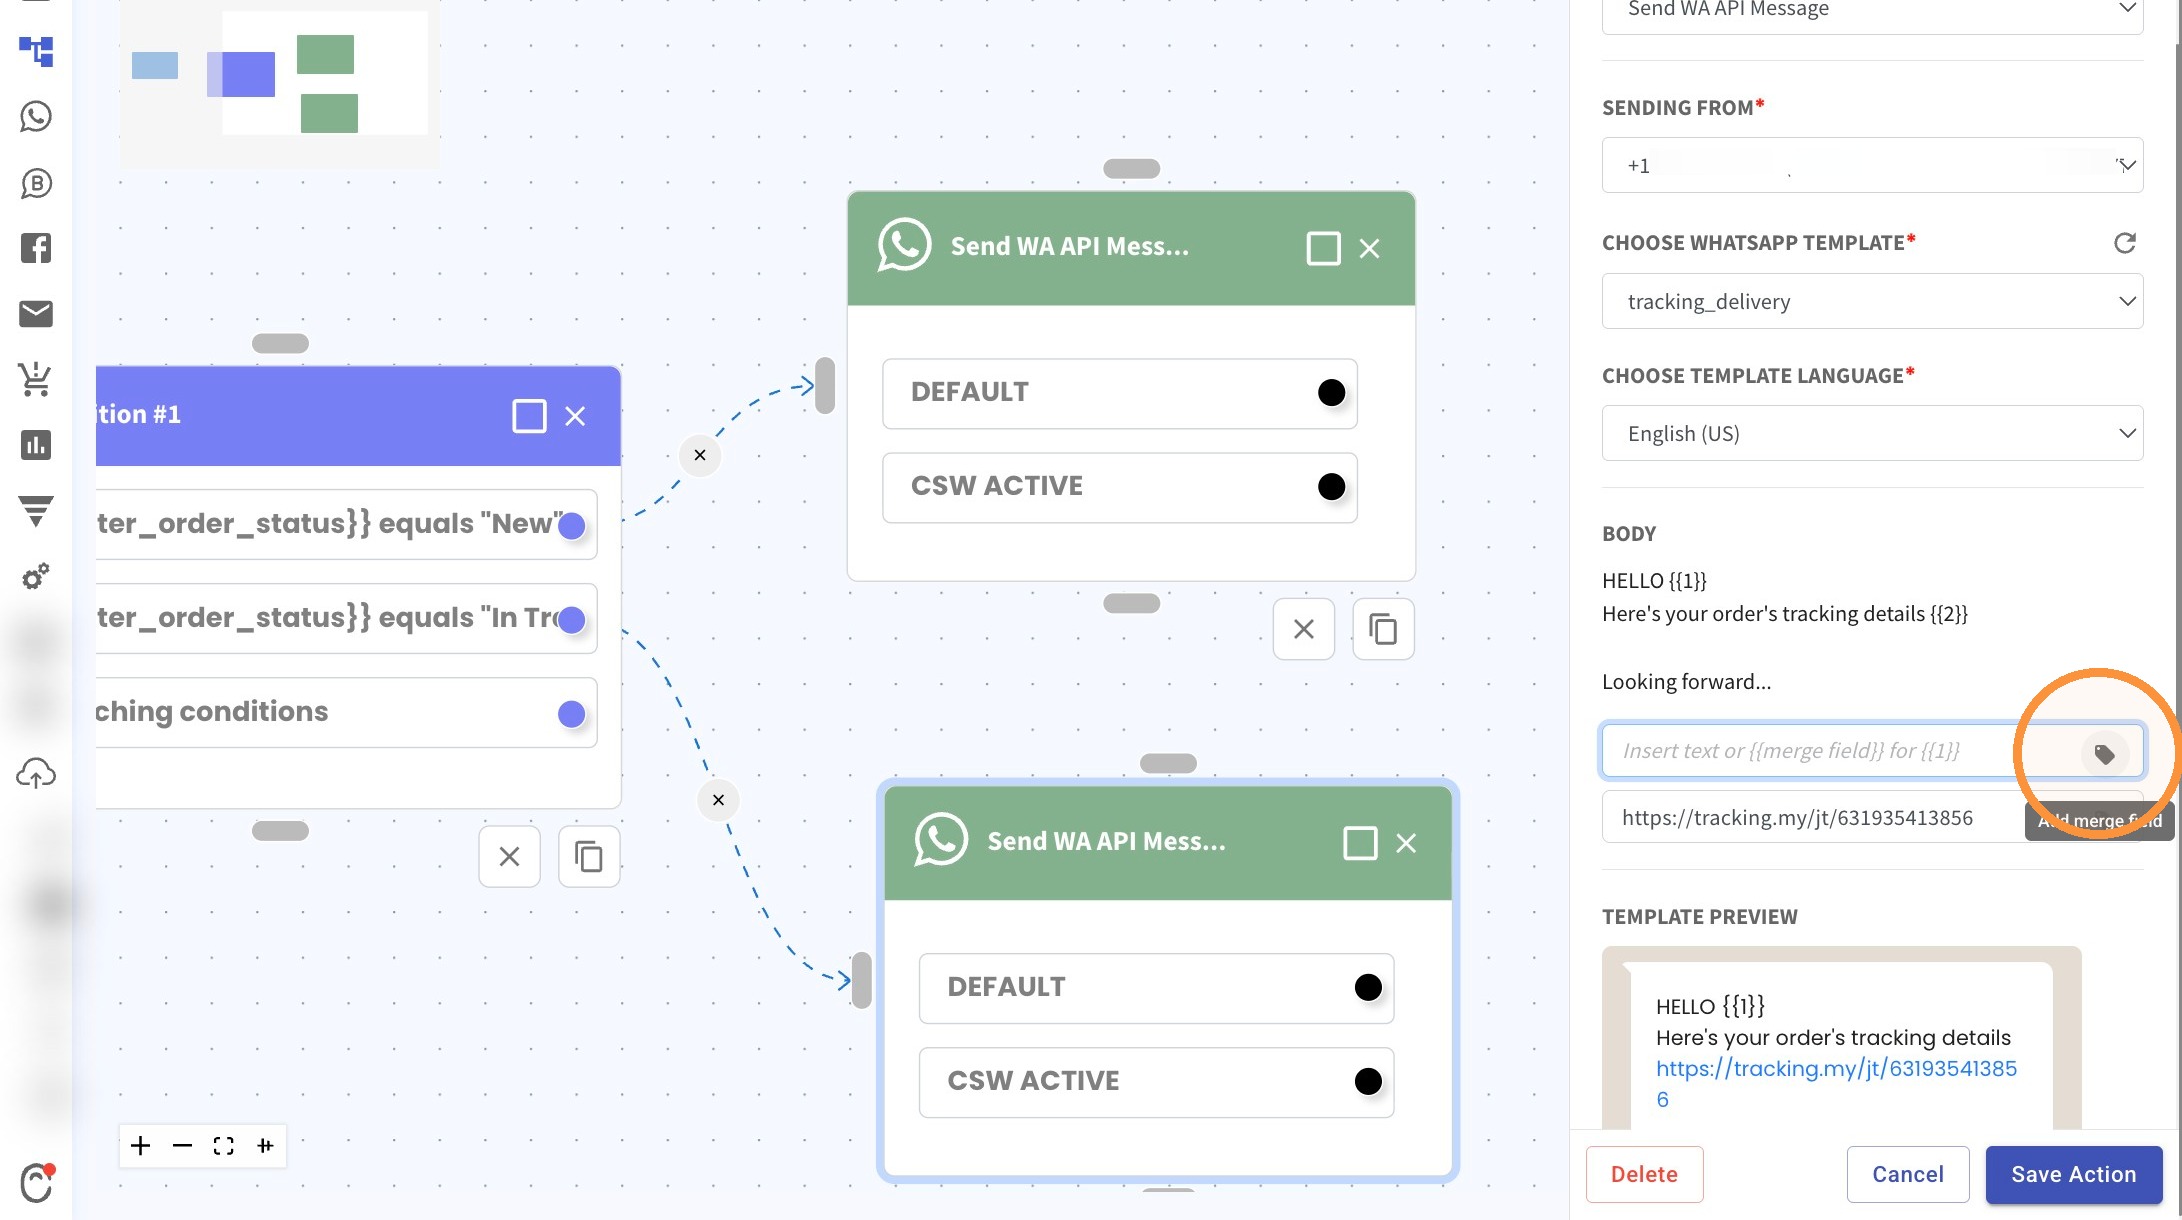
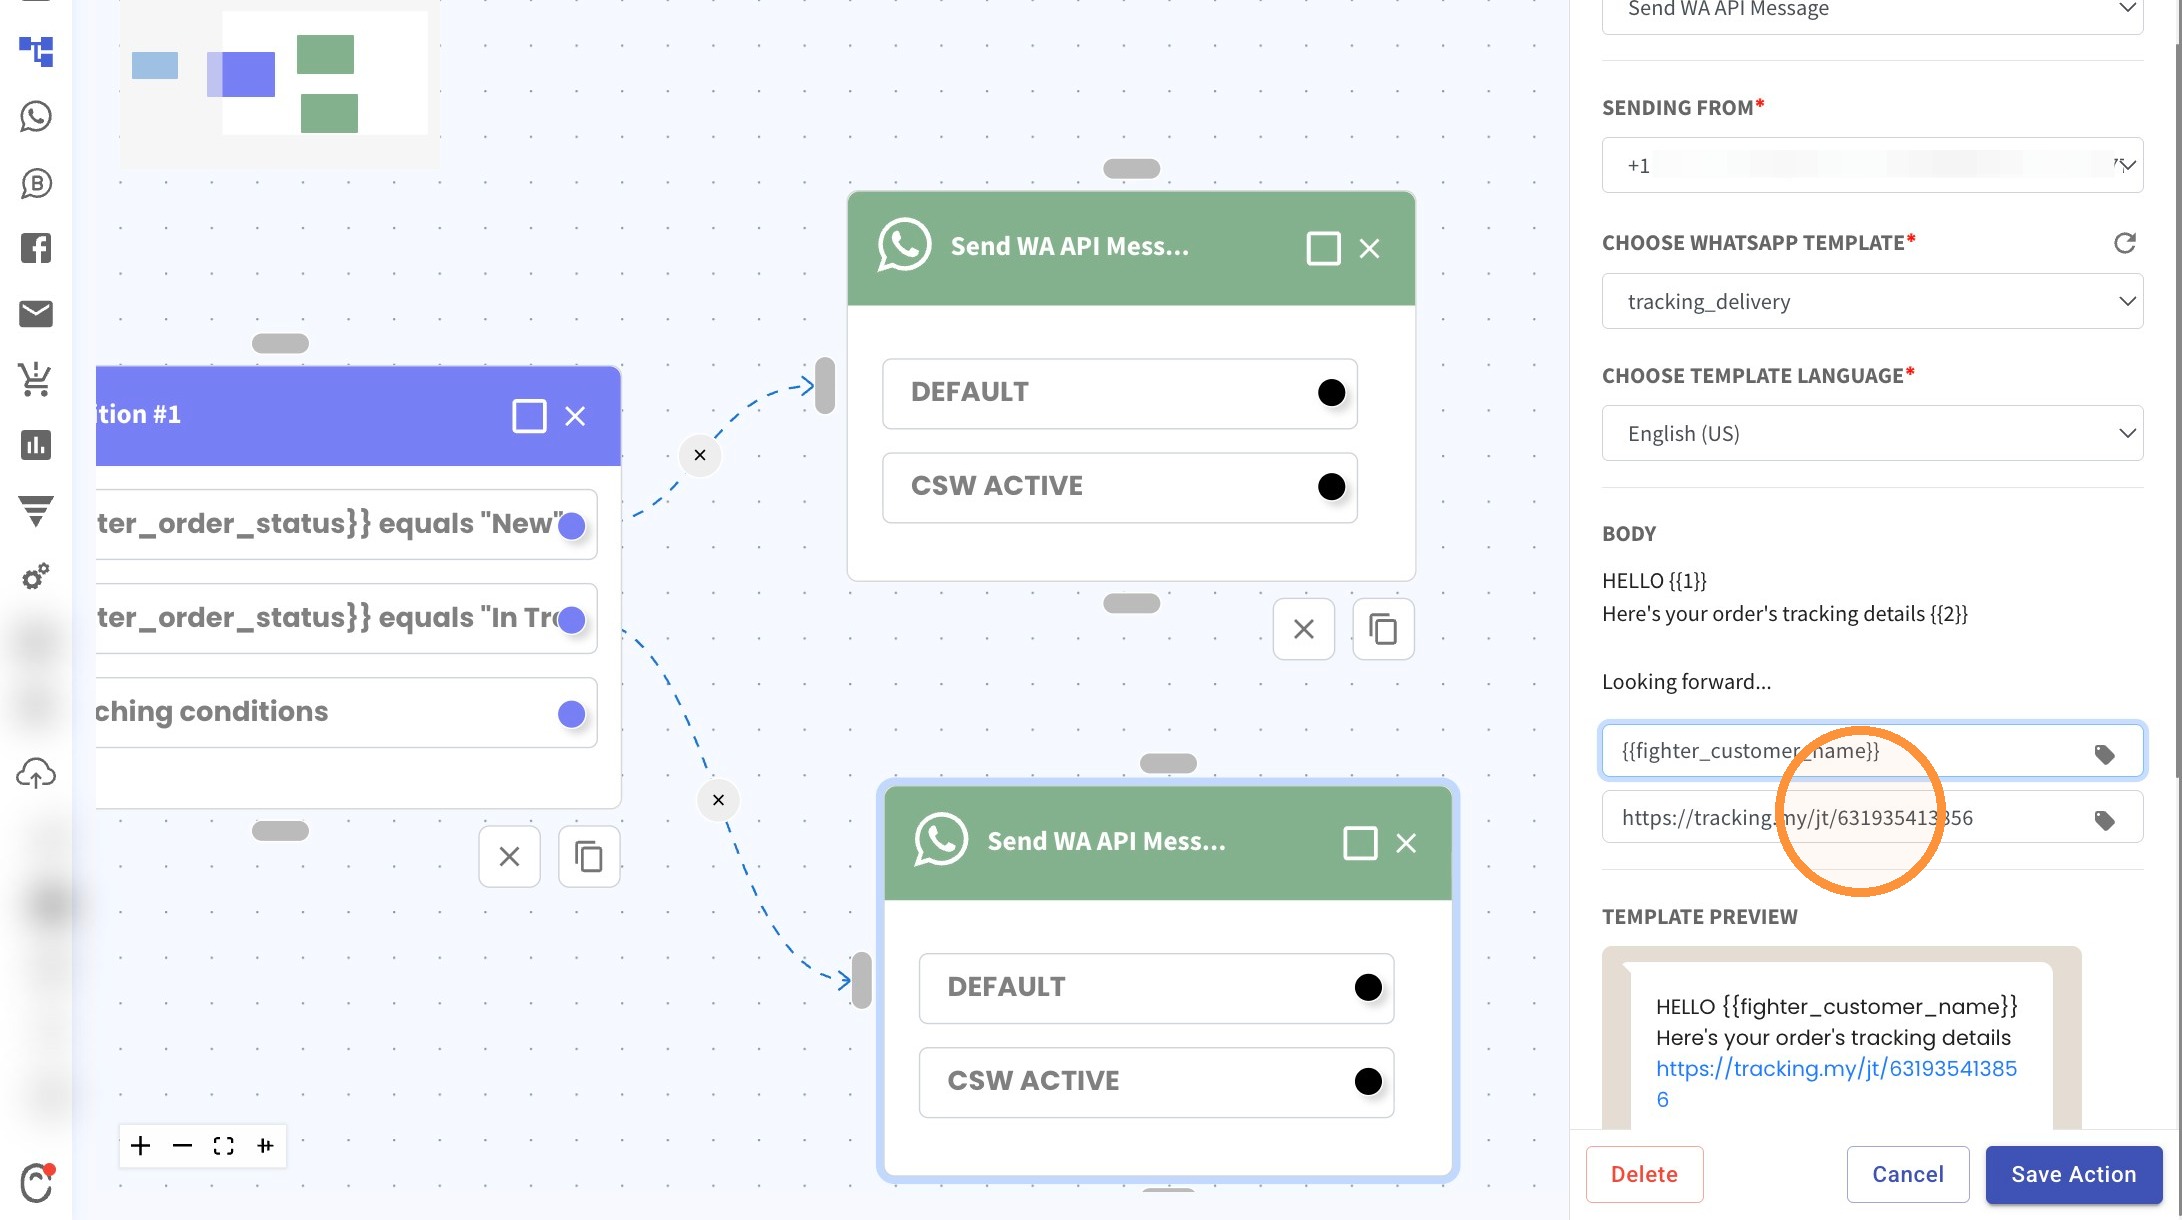
32. Example: Select "fighter_customer_name"
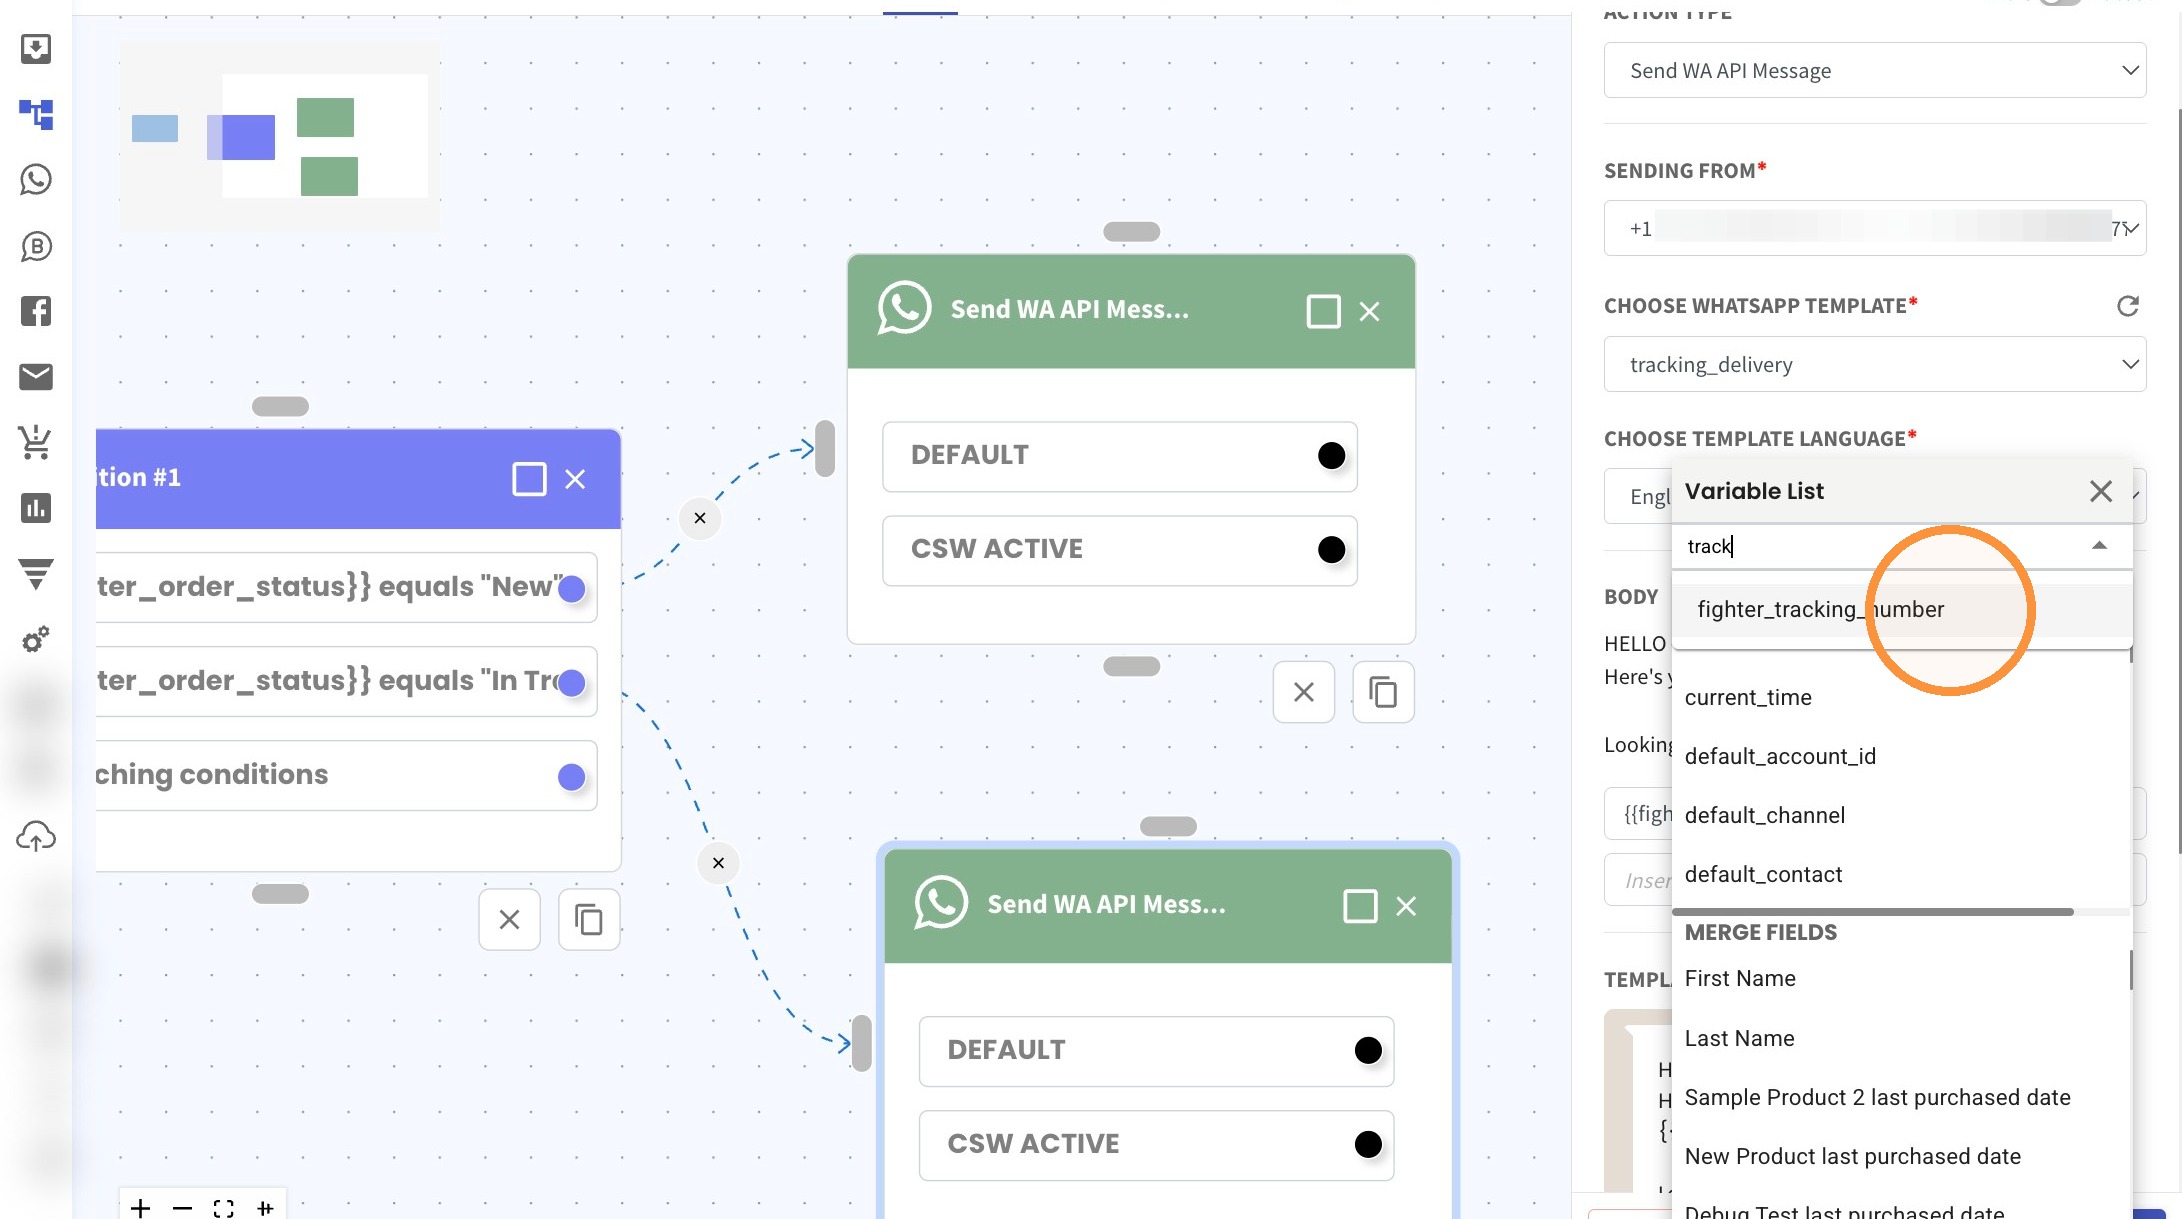
33. Repeat for the other variable if the template has more than one variable.
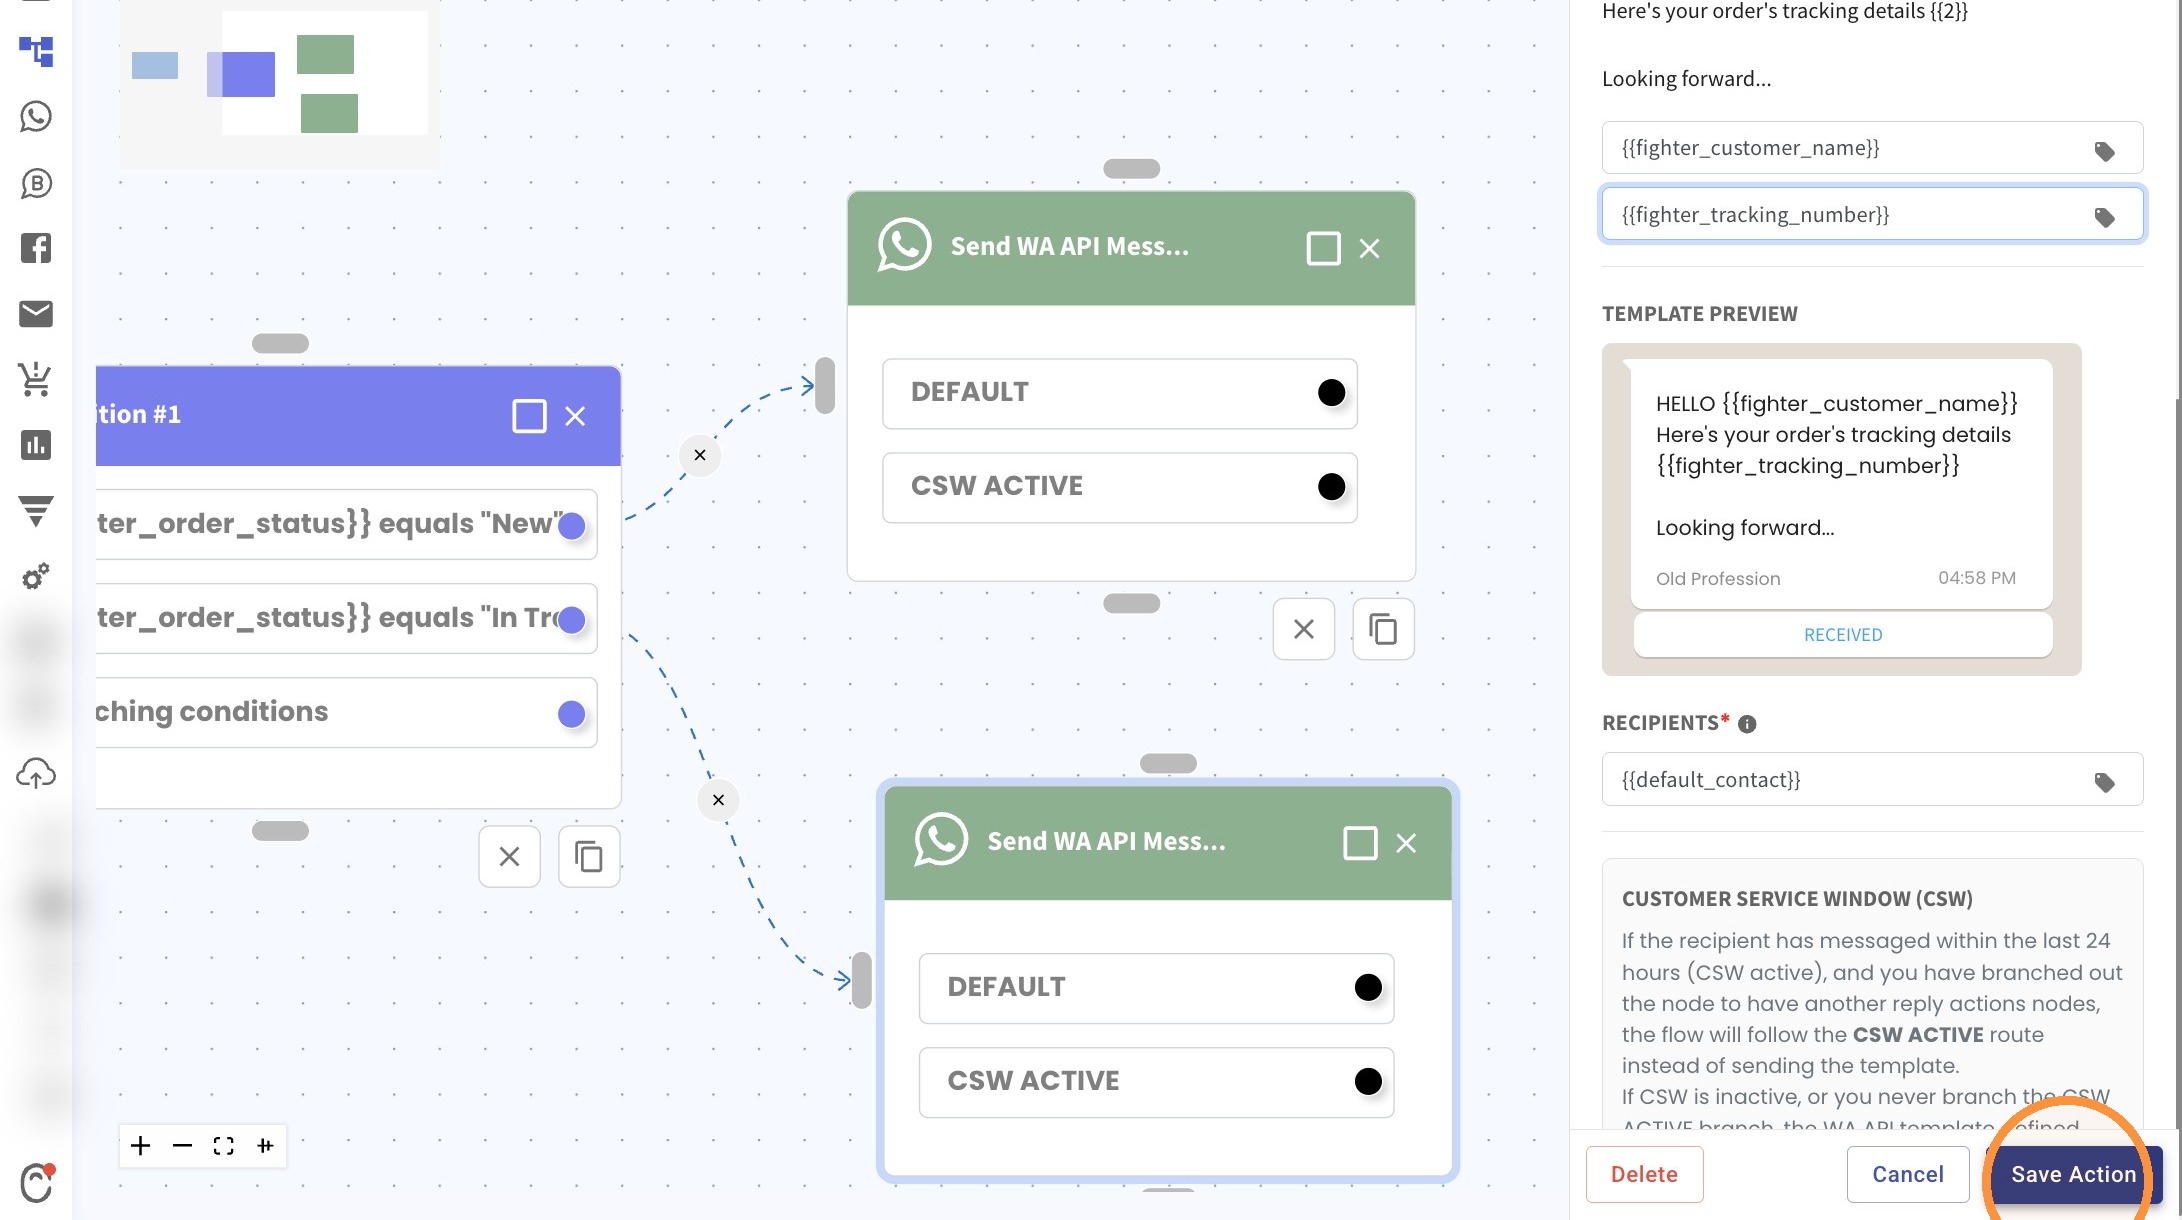
34. Example: Select "fighter_tracking_number"
35. Click "Save Action"
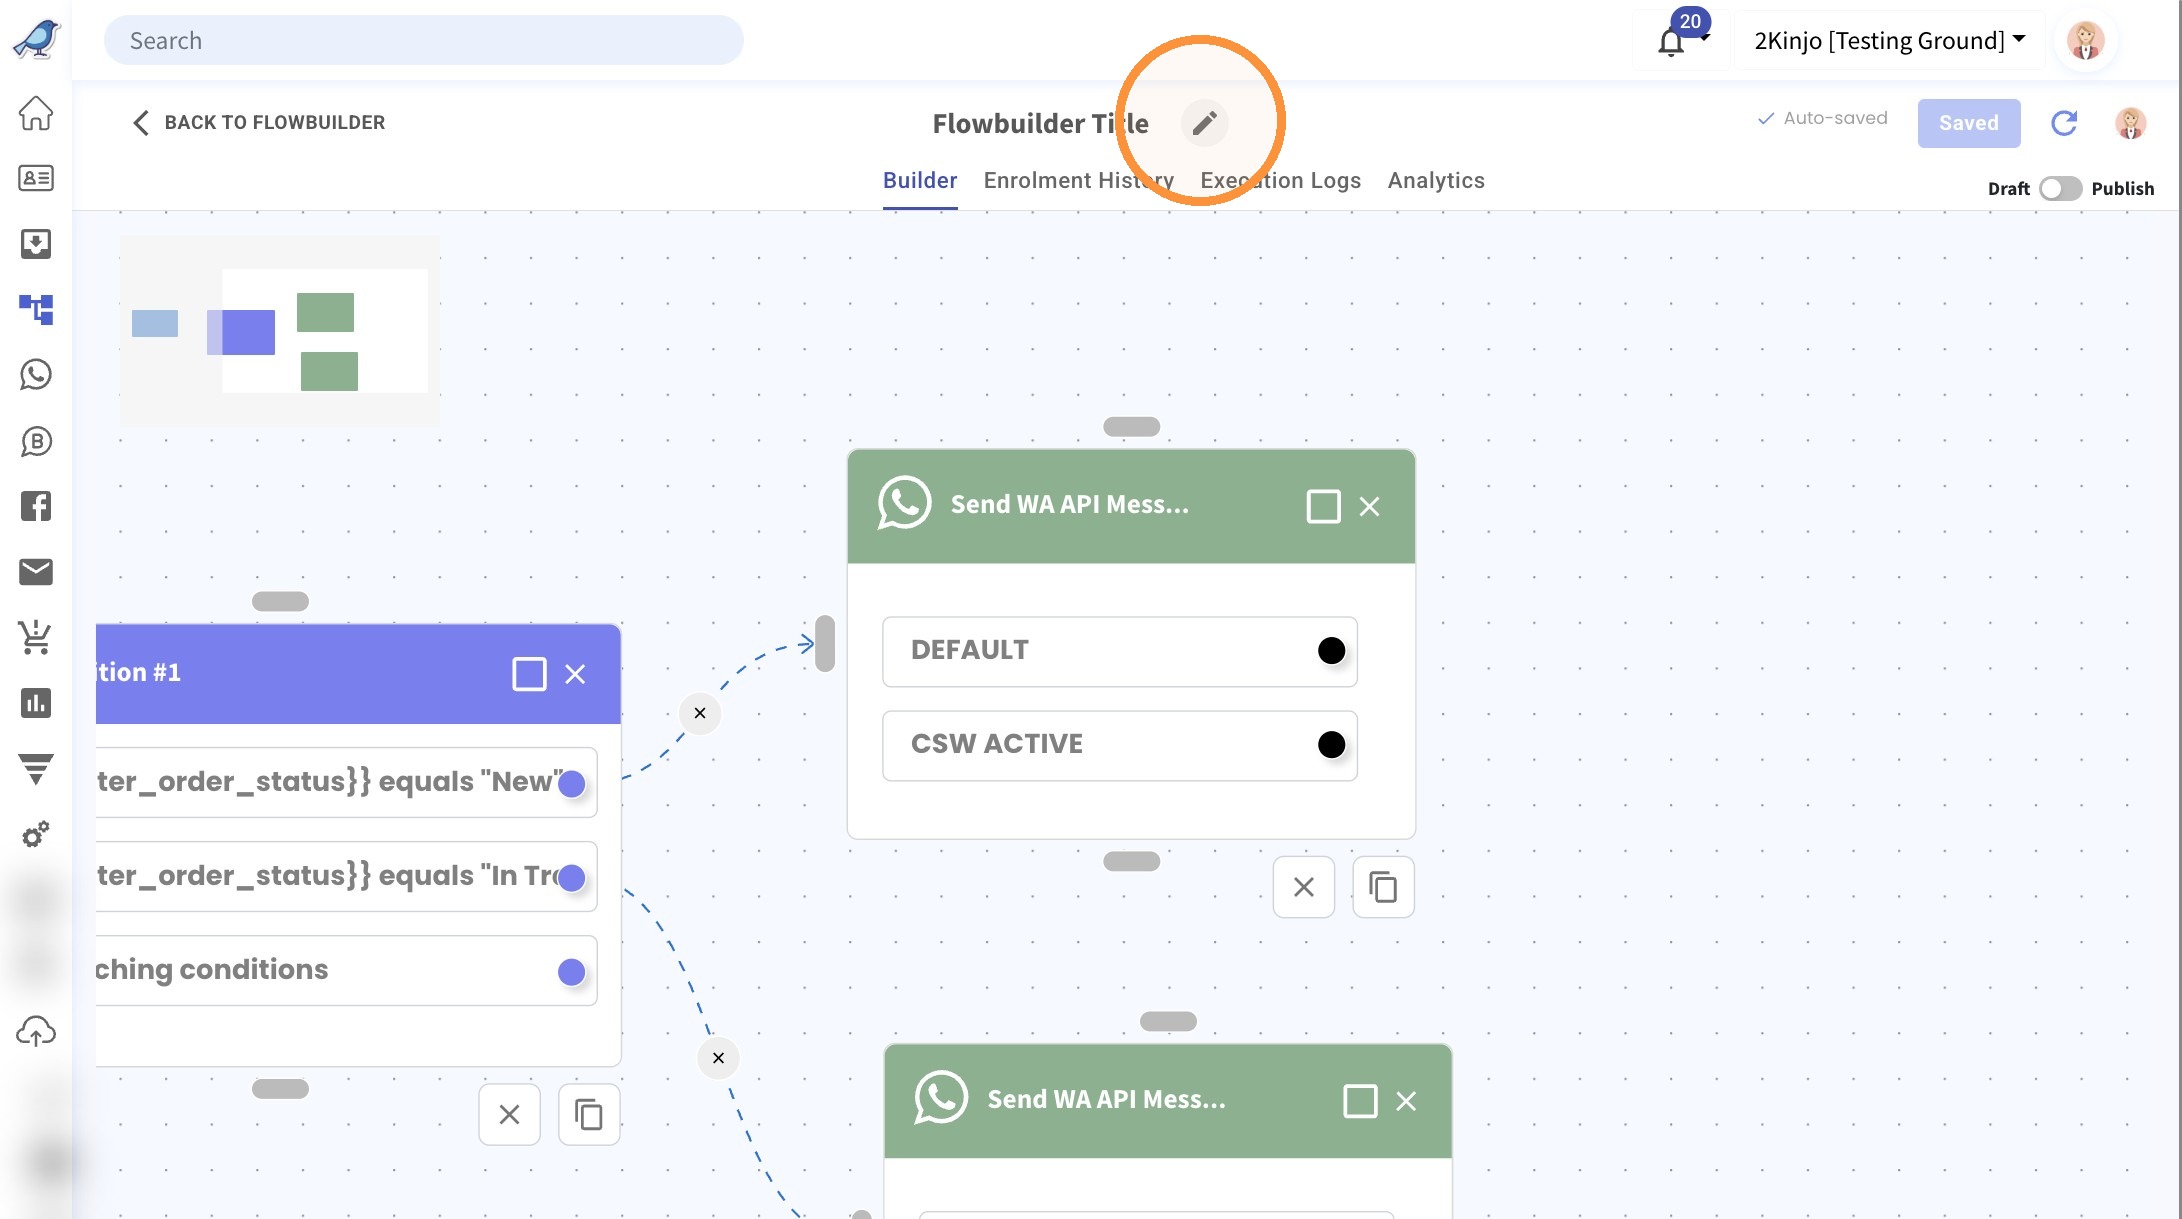
36. Click this icon to edit the flowbuilder name then make the changes.
37. Click "Save" or leave it a while then it will auto save.
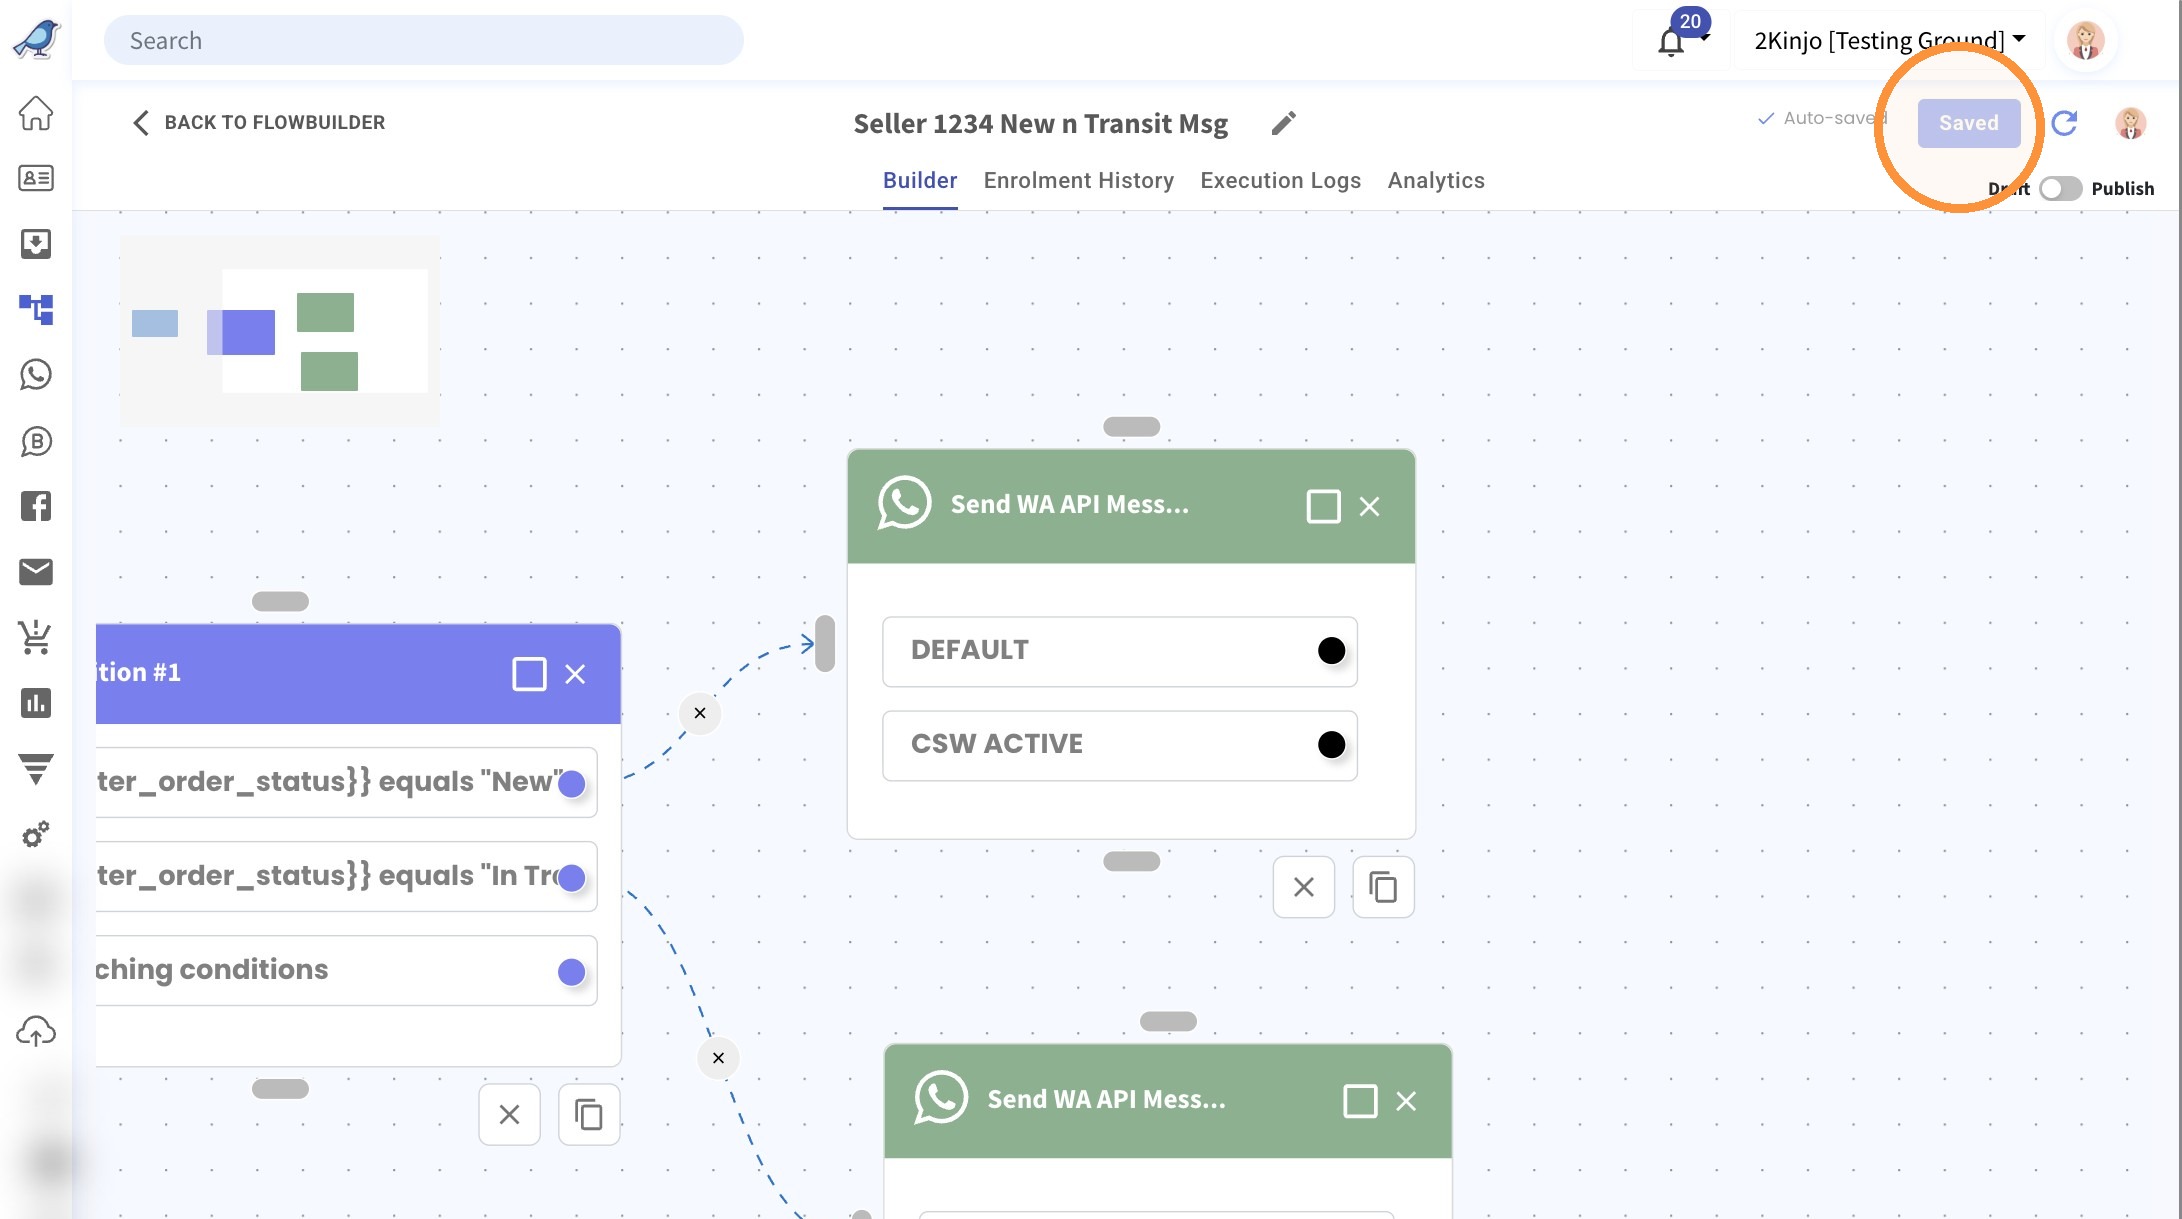
38. Click on the toggle to publish the flow.